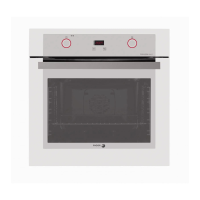
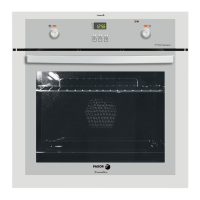
6. Push the oven towards the inside and fasten it to the unit with the 2 screws
(Figure 2) that you will find in the bag of accessories that came with the oven.
7. Push the control knob supplements into place depending on the correspon-
ding type of heat. All the supplements are in the bag of accessories that
came with the oven or the cooking hob. Next put the control knobs in place.
You will find these in the bag of accessories that came with the oven.
8. If the cooking function selector is not at position “0”, turn it to “0” and set the
time on the oven.
4. Install the bolt-
holder part by slot
ting it onto the 2
bolts on the oven
and fix it in place
with 2 screws, as
shown in the figu
re. All of these items will be found in the bag of accessories that comes
with the cooking hob.
b.2 VITROCERAMIC HOBS
1. The measurements of the furniture unit in which the oven is to be mounted
must coincide with those indicated in Figure 3.
12
3. Next you must place the cooking hob on the worktop, leaving it disconnec-
ted until the oven is installed as the oven is connected through the hob.
Respect the hob installation requirements (refer to the hob instruction manual).
5. Lift the cardans and the cable off the hob,
insert the oven into the furniture unit leaving
enough space to house the cardans on the
bolts, screw them in tight and put the cable
into its connection socket.

 Loading...


