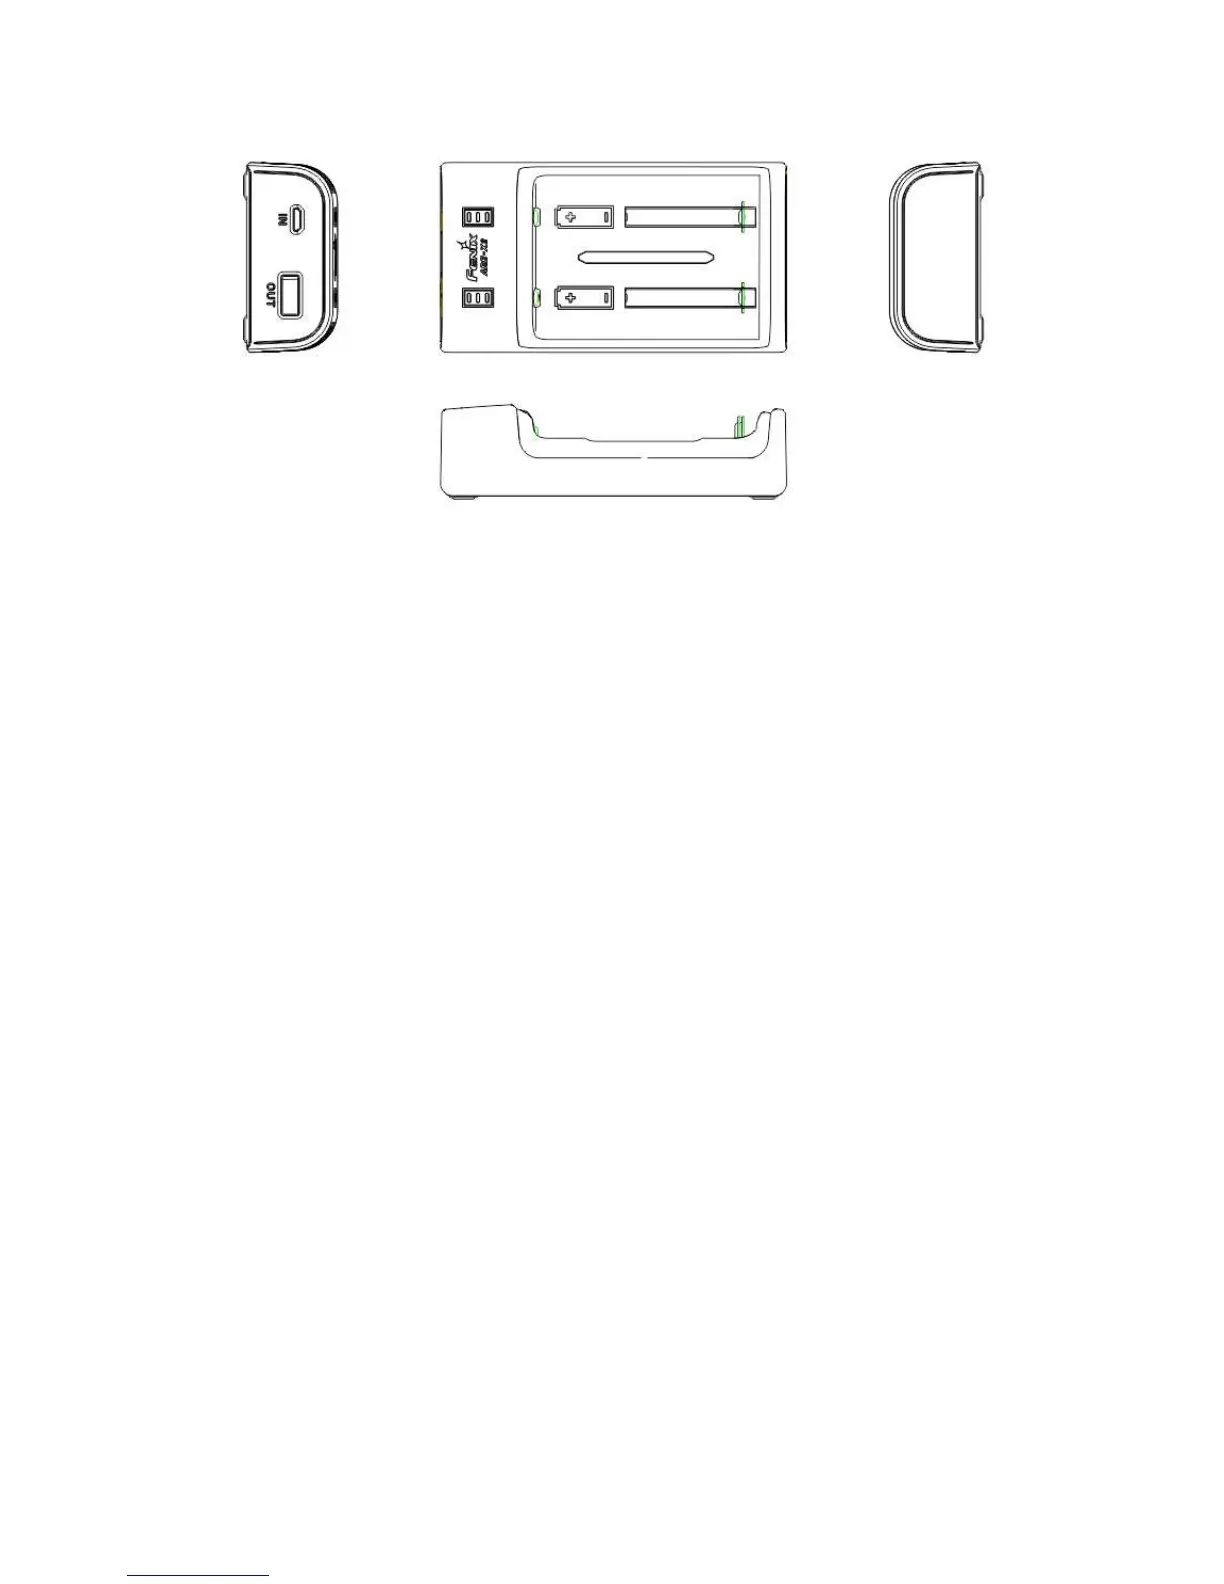
1. Insert the Batteries
Keep the battery polarity markings in conformity with the charger markings.
* Only to charge the allowed batteries, and never to charge non-rechargeable batteries.
2. Charge the Batteries
◎ Micro USB charging port
◎ When in charging process, the three LED indicators will perform to show the charging
state:
One flashes, two off: less than 30%
One constant-on, one flashes, one off: 30%-70%
Two constant-on, one flashes: 71%-95%
Three constant on: fully charged
◎ The two channels work independently. Due to the independent working circuit of the
two channels, so if two fully-charged batteries exchange the place, the charging goes
in a short time is normal. (5V, 1.5A adapters or above are recommended)
◎ Take out the batteries and cut off the power completely after charging is done.
3. Discharging
◎ USB port for other devices
◎ The preferred discharging channel will be the left one, but if it is not Li-ion battery,
then the right channel will be detected, if it is Li-ion battery, then the right channel will
be chosen to discharge.
◎ The discharging will be ceased when the discharging voltage is 3.0V
◎ When the discharging starts, the LED indicator will flash blue and then go out when
discharging is completely done.
◎ The discharging will not be fulfilled if Ni-MH and Ni-CD batteries are inserted.
4. Battery Power Indicator
◎ When battery is inserted, the LED indicator will be on for three seconds. And the
battery state can be displayed through the number of the constant-on LED:
 Loading...