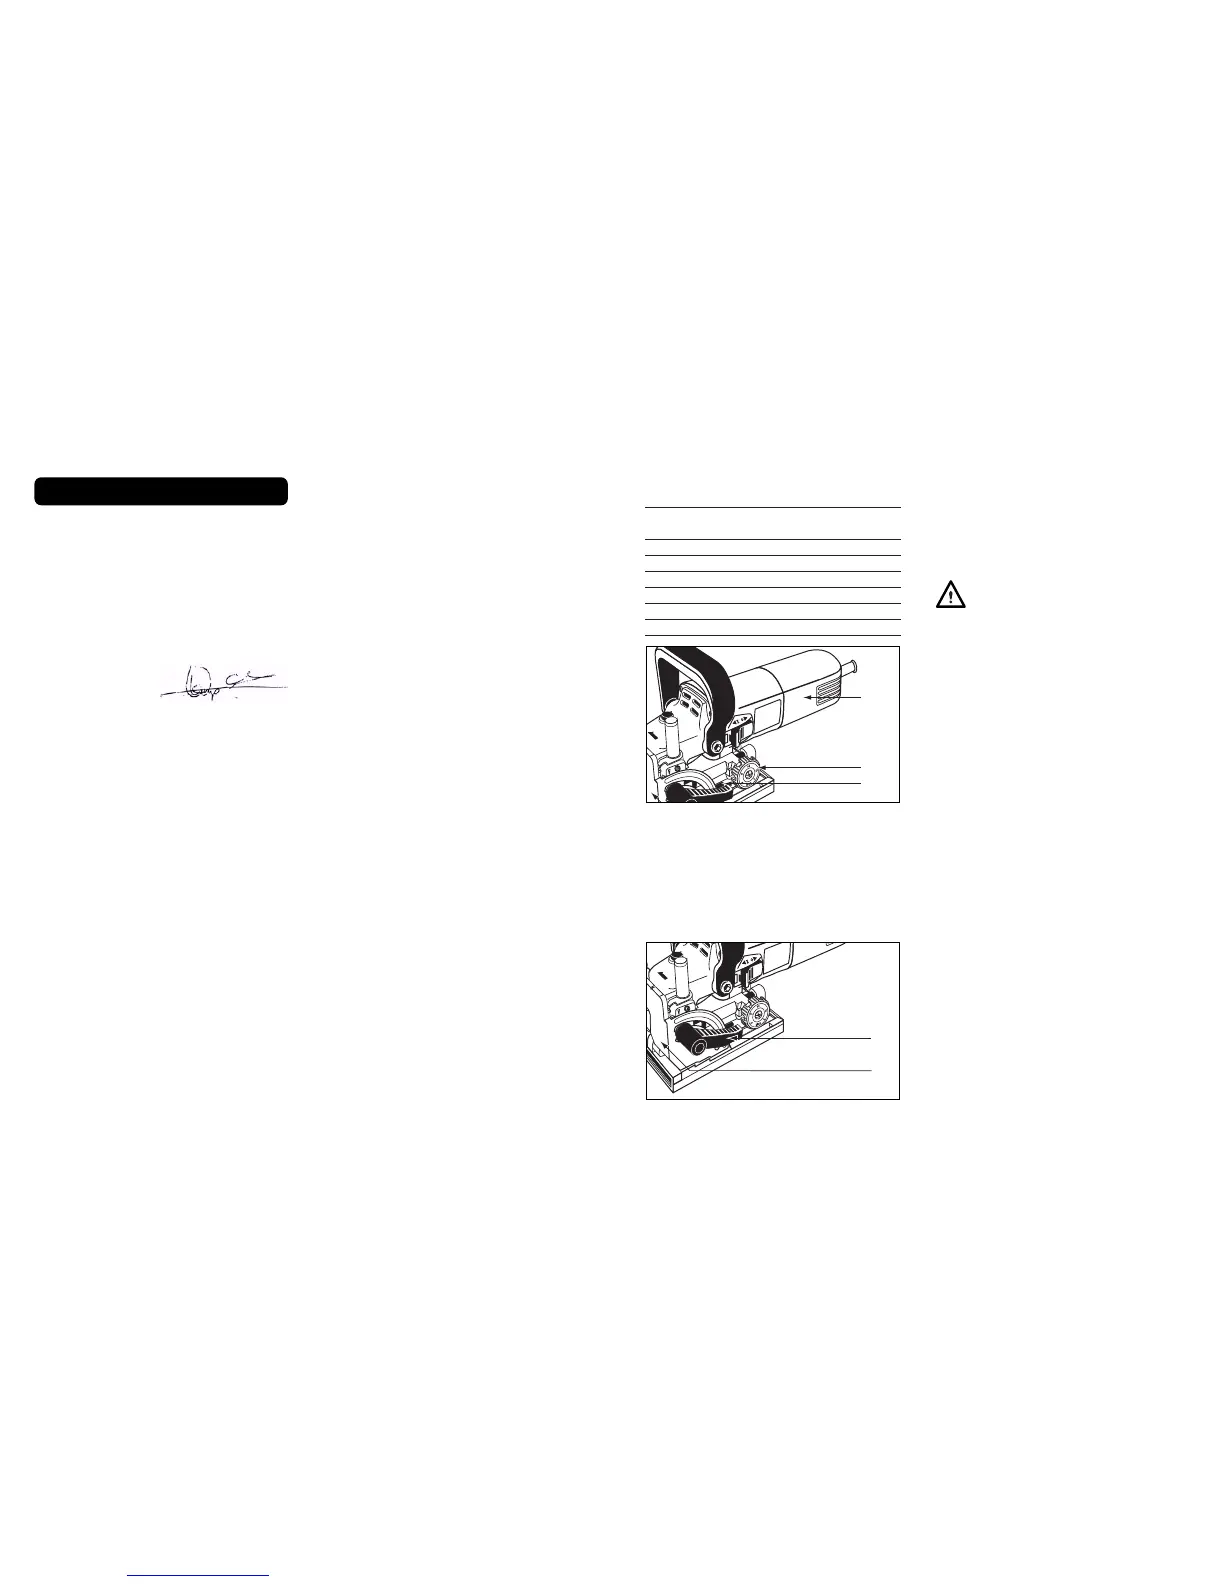
TO ADJUST THE CUTTING DEPTH
Referring to the illustration below.
- Move the motor body backwards as far as it will go,
then turn the adjustment knob (7) to the required
setting (see chart below).
- Move the motor base forwards and check that pin (A)
engages in the notch.
Knob marking Thickness Biscuit Cutting
of material Dowel depth in mm.
0 8-12 mm No. 0 8.0
10 12-15 mm No. 10 10.0
20 > 15 mm No. 20 12.3
S-Simplex 13.0
D-Duplex 14.7
Max. - - 18.0
ADJUSTING THE CUTTING ANGLE
Referring to the illustration below.
- Set the cutting angle by unlocking the clamping lever
(8) (turn anticlockwise), and rotating the angle stop
(4) to the required angle indicated on the quadrant
scale.
- After you have set the cutting angle, securely lock the
lever by turning clockwise, if the lever is in the way in
that position, pull it outwards and rotate to a better
position without unscrewing the adjustment clamp.
ATTACHING THE DUST BAG/DUST
EXTRACTION
- Insert the dust bag with its adaptor into the nozzle on
the right hand side of the jointer base. Empty the bag
frequently during use.
- The nozzle on the jointer base can also be used for
connection to vacuum dust extraction unit – not sup-
plied.
- Be aware this machine can produce fine dust,
which can be hazardous to your health.
Always wear a suitable protective mask and
use dust extraction.
USING THE BISCUIT JOINTER
This jointer is intended for use on wood, wood deri-
ved and plastic products only
BEFORE OPERATING
- Check the voltage on the jointer corresponds with
your power supply voltage and that the plug and lead
are in good condition.
- Check you have the correct type of saw blade for the
machine, that it suitable for the spindle speed of the
jointer and that it is mounted correctly.
- Do not use cutting discs or circular saw blades in this
machine.
- Do not use parts other than supplied with the
machine to make the blade fit properly.
- Check you have a blade suitable for the material being
cut and that it is in good condition. If any teeth are
missing or the blade shows cracks or other damage -
replace immediately.
- Run idle for 30 seconds - if there is any abnormal
vibration or other fault – switch off, inspect and rec-
tify before continuing.
OPERATION
- Plug into a suitable mains supply and switch on.
- Be aware that this machine has a powerful
motor and needs two hands to operate it
safely.
- To switch the jointer ON Slide the ON/OFF switch
forwards.
- To switch OFF Depress the ON/OFF switch – the
switch will automatically move to the OFF position.
DURING USE
- Place the base/angle stop gently but firmly onto the
work piece and let the blade come to full speed
before cutting the work piece – this is a powerful
machine and will kick if the blade is pressed too hard
or jammed in the cut. Always use two hands to con-
trol the machine.
- Keep the base/angle stop in firm contact with the
work piece.
- Do not force the jointer. Move gently and steadily
along the line of cut.
- Check material for foreign bodies
- For example check for nails screws etc.
- Clamp material properly. Do not use hand or foot to
support the work piece. Saw away from yourself.
- Use constant gentle pressure.
 Loading...