EasyManua.ls Logo

Fiamma GARAGE SLIDE PRO BIKE User Manual

Fiamma GARAGE SLIDE PRO BIKE
16 pages
To Next Page IconTo Next Page
Page #1 background imageLoading...
Page #1 background image
fiamma.com
Carry-Bike
Herausziehebarer Fahrradträger
DE
Montage- und
Gebrauchsanleitung
Sliding bike carrier
EN
Installation and
usage instructions
Porte-vélos coulissant
FR
Instructions de montage et
mode d’emploi
Portabicicletas corredizo
ES
Instruciones de montaje y uso
Portabiciclette estraibile
IT
Istruzioni di montaggio e d’uso
GARAGE SLIDE PRO BIKE
50 cm
9-13 cm
3-7 cm
145 cm
145 cm 105 cm
34 cm
74 cm
50
Question and Answer IconNeed help?

Do you have a question about the Fiamma GARAGE SLIDE PRO BIKE and is the answer not in the manual?

Fiamma GARAGE SLIDE PRO BIKE Specifications

General IconGeneral
ModelGARAGE SLIDE PRO BIKE
BrandFiamma
Capacity2 bikes
TypeBike Rack
MaterialAluminum

Summary

Goods Receipt Inspection

Maintenance Instructions and Advice

Installation Step 1

First Installation Step

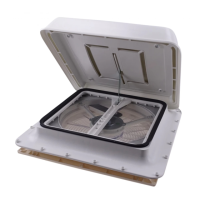
Initial step in the installation process, showing the first connection or placement.

Installation Step 2

Second Installation Step

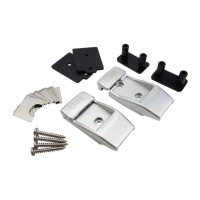
Second step in the installation process, detailing component assembly.

Installation Step 3

Third Installation Step

Third step in the installation process, focusing on frame attachment.

Installation Step 4

Fourth Installation Step

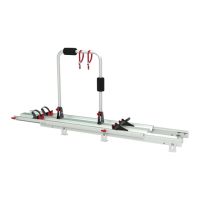
Fourth step in the installation process, involving sliding components.

Installation Step 5

Fifth Installation Step

Fifth step in the installation process, continuing slide mechanism integration.

Installation Step 6

Sixth Installation Step

Sixth step in the installation process, securing the frame with screws.

Installation Step 7

Seventh Installation Step

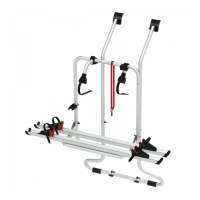
Seventh installation step, attaching support arms and securing parts.

Installation Step 8

Eighth Installation Step

Eighth installation step, positioning and attaching bike securing straps.

Installation Step 9

Ninth Installation Step

Ninth installation step, locking the securing straps.

Usage Step 1

First Usage Step

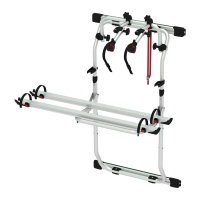
First step for using the bike carrier, involving positioning.

Usage Step 2

Second Usage Step

Second step for using the bike carrier, securing the first bike.

Usage Step 3

Third Usage Step

Third step for using the bike carrier, indicating a stop point.

Usage Step 4

Fourth Usage Step

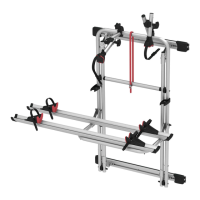
Fourth step for using the bike carrier, securing the second bike.

Usage Step 5

Fifth Usage Step

Fifth step for using the bike carrier, indicating a locking mechanism.

Usage Step 6

Sixth Usage Step

Sixth step for using the bike carrier, indicating a final stop point.

Warranty Fiamma

Environmental Information

Related product manuals