4. When the vehicle commences charging, the Charge Rate
Indicator Lights will cycle from left to right, and then
both turn off. This pattern will repeat while the vehicle
is charging. The lights are illuminated at the rate of
approximately one cycle per second.
NOTE: The vehicle should start charging automatically. If
not, please check the following:
• Charging Cordset - The charging cordset status indi-
cators illuminate green or red to identify the charging
cordset status. Refer to “Troubleshooting Using The
Status Indicator Display” in this section for further
information on the charging cordset status.
• Wall Receptacle – Check whether the wall receptacle is
functional (no power outage) and/or plug the charg-
ing cordset into a different wall receptacle.
• Charging Schedule – Check whether or not the charg-
ing schedules have been enabled. If enabled, check
that you are within the scheduled time and date. If a
charging schedule has been enabled and you are
outside the time and date, you may override the
schedule for this charging event by plugging in the
charge connector, unplugging it, and then plugging it
back into the vehicle charge inlet. Complete the double
plug sequence within ten seconds for it to override the
set schedule.
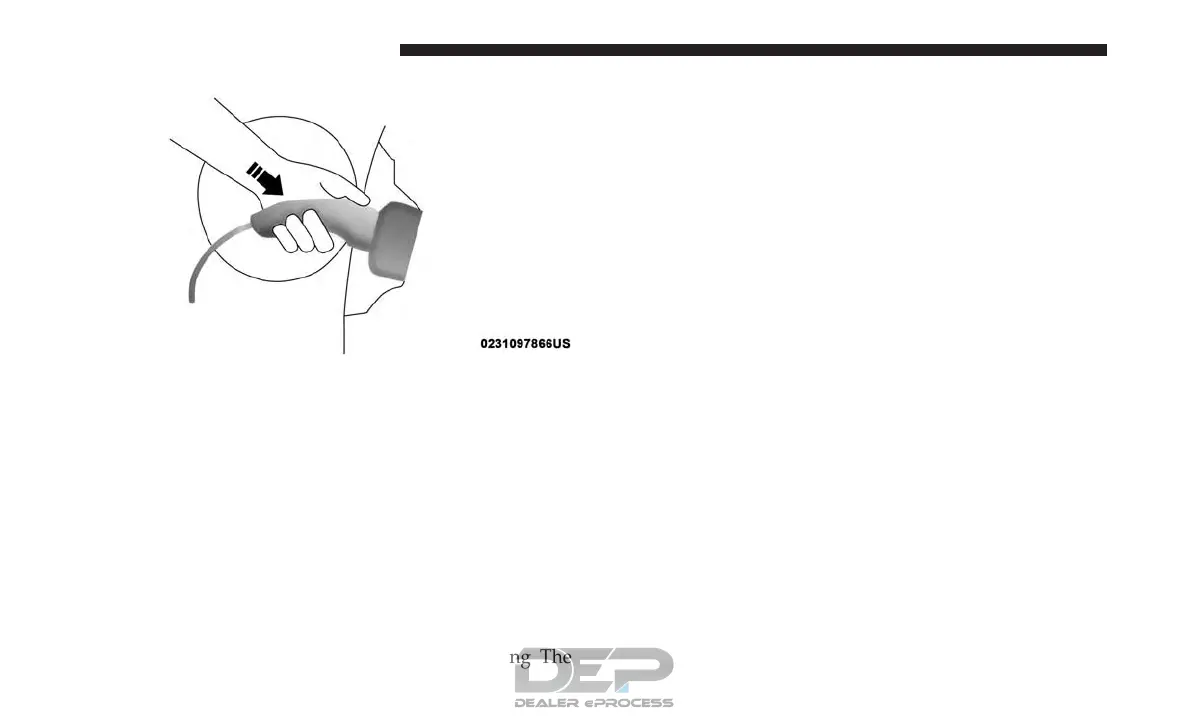
5. To stop the charging process, disconnect the vehicle side
connector first and then the charging cordset from the
wall receptacle. To disengage the vehicle coupler, push
the button on the charge connector (1) before removing
the connector from the vehicle charge inlet (2).
Inserting The Charge Connector Into The Vehicle Charge
Inlet
26 GETTING TO KNOW YOUR VEHICLE



 To Next Page