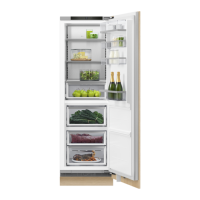
24
ADJUST HEIGHT IN CAVITY SECURE PRODUCT
2
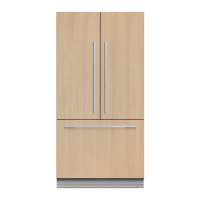
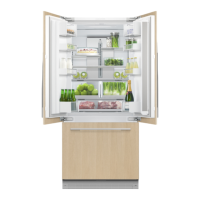
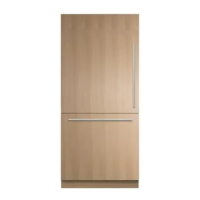
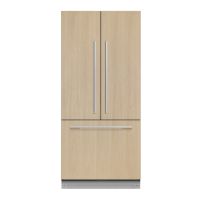
Multiple product installs:
Beginning with the outside feet, turn the
righthand screw to adjust the rear of the
product followed by the lefthand screw
to adjust the front. Once product is set
in cavity, adjust the central feet.
Ensure feet engage with the floor and
the upper bracket touches the alcove.
Snap the ends off both spacers.
2
4
Open the door and use the supplied hex
key to expand the spacers. Ensure no
gaps are present.
Install kit D
4
Unscrew the crosshead screws to
remove depth gauges. Set aside.
1
Turn the righthand screw to adjust the
rear of the product followed by the
lefthand screw to adjust the front. Turn
clockwise to raise and anti-clockwise
to lower.
Ensure feet engage with the floor and
the upper bracket touches the alcove.
Profile view - alcove alignmentFront view
Open the door and secure following
the sequence shown. The longer screws
should be used where shown in blue, and
the smaller screws where shown in red.
Ensure a gap between drill and product
is maintained to avoid cosmetic damage.
1
Install kit B & H
3 3
Clip covers onto spacers.
Ensure cover A is fitted to spacer A and
cover B to spacer B.
Install kit B
Plan view
Ensure all depth gauges are flush to the
front of the alcove.
Where this is not possible:
Measure the distance between the
chassis front and the alcove front as
shown, ensuring it is 2 7/16” (62mm)*.
*assuming panel thickness of 3/4” 19mm.
 Loading...