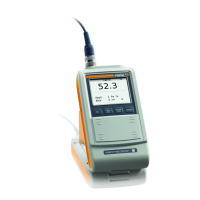
Operator‘s Manual FERITSCOPE
®
FMP30 Page 63
Normalization, Calibration and Master Calibration
To verify a correct normalization, perform several reference measure-
ments on certified calibration standards. A corrective calibration must
be performed if the mean values obtained from several single readings
are not within the guaranteed error limit stated on the calibration stan-
dards.
6.2.2 Documenting the Normalization with a Printer
Fig. 6-1 Print form of a normalization (example)
Explanations to Fig. 6-1:
ENTER The new characteristic will be computed au-
tomatically and stored. The instrument is
again ready to make measurements.
( 2.1 ‘Display’, beginning on Page 8.)
FISCHER FERIT-
SCOPE FMP30
Instrument type:
2008-07-23 Current date
NORMALIZATION Normalization will be documented
Date Time Date and time of the normalization
Appl. No. Number of the Application
Probe Probe that has been used to perform the normalization
Fe Applied measurement method
fe. Mean value of all readings obtained for the normalization.
s Standard deviation of the readings obtained for the nor-
malization.
Key sequ. /
Action
Detail of the display Explanation
FISCHER FERITSCOPE FMP30 23.07.08
NORMALIZATION 23.07.08 12:38
Appl.No.: 3 Probe: FGAB1.3Fe
Fe
fe.= 98.86 Fe% s= 0.321 Fe%

 Loading...