Assembly:
Small Component list
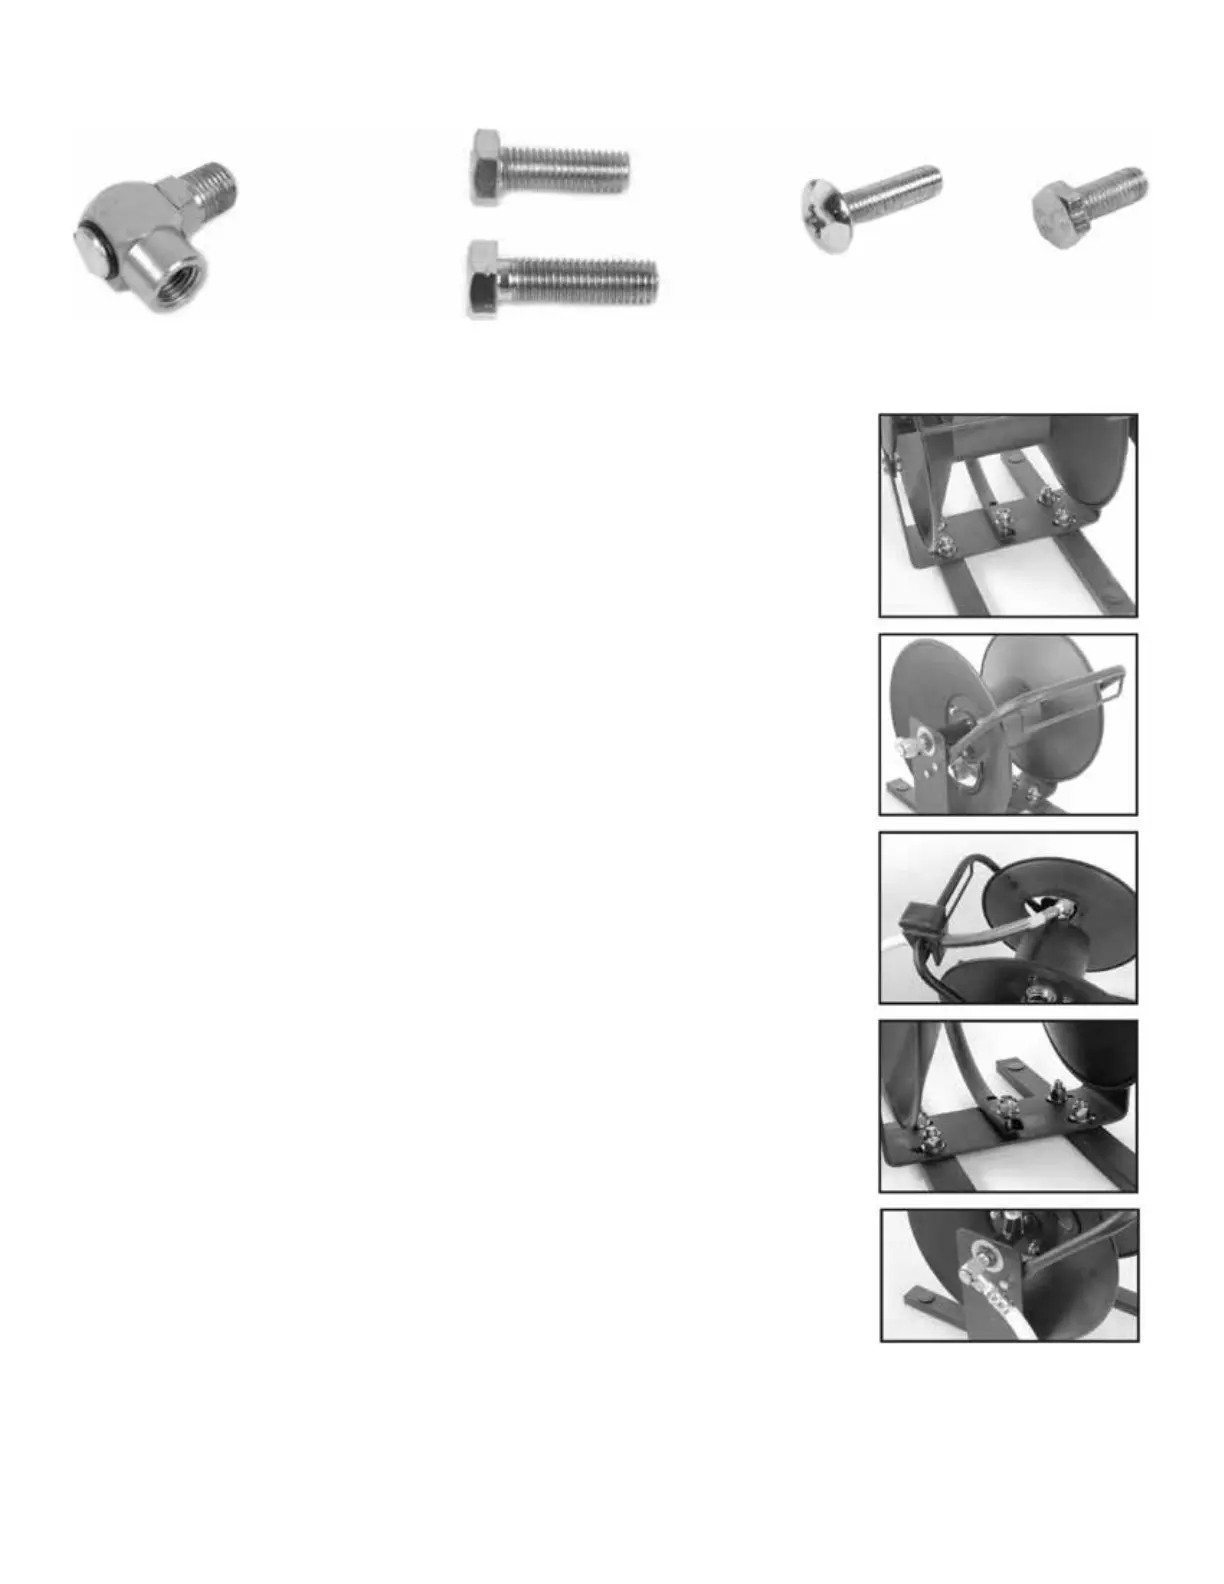
Inlet swivel
1 7/16 in. (#1) bolt
1 5/8 in. (#2) bolt
1 1/8 in. (#3)
phillips bolt
13/16 in. (#4) bolt
Figure 1Figure 2Figure 3Figure 4Figure 5
Tools suggested: 2 adjustable wrenches, 10mm wrench,
phillips screwdriver
1. Attach support legs to mounting base, requires 4 (#1) bolts and 4 large lock nuts & washers. See Figure 1, also refer
to Figure A & B illustration on page 1.
2. Attach hose layering bracket to mounting base, requires 4 (#4) bolts and 4 small lock nuts / washers. See Figure 2,
also refer to Figure A illustration on page 1.
3. Open the air hose assembly and remove 1 of the black bend restrictors from the end of the hose and discard.
4. Place the hose layering guide onto the hose layering bracket, see Figure 3, also refer to Figure A illustration on page 1.
5. Place end of hose through hose layering guide. See Figure 3
6. Apply thread tape on the hose end fitting that has the black bend restrictor removed. Now securely tighten the hose end
onto the 90º brass elbow fitting, see Figure 3.
7. Now attach the swivel handle. Place the threaded end of handle through hole on the handle arm. Refer to Figure A
illustration on page 1. Place lock nut washer on threaded end first, followed by a regular washer and small hexagon nut.
Tighten the lock nut until handle is secured.
DO NOT WIND UP HOSE ASSEMBLY YET.
8. Attach carrying handle to mounting base, flat part of carrying handle should be placed on top of mounting base as
shown in Figure 4. Requires 2 (#2) bolts and 2 large lock nuts / washers.
9. After carrying handle is assembled, use swivel handle to wind hose onto reel use layering guide to wind hose evenly
on reel.
10. Take both hose stopper halves and place around hose about 4-5 in. down the hose end that has bend restrictor on it.
Use 2 phillip screws and 2 small hexagon nuts. Locking nuts should go into the designated hexagon holes on the hose
stopper. Tighten hose stopper using phillips screwdriver to make hose stopper stay at the desired position.
11. Place thread tape on male end of inlet swivel. Now place male end of inlet swivel into the female end on the side of
the mounting base, see Figure 5. Tighten securely with wrench.
12. Apply thread tape to both ends of the 5 ft. lead-in hose. Tighten one of the male hose ends into the inlet swivel on the
side of the mounting base.
TWO YEAR LIMITED WARRANTY
For warranty information visit flexzilla.com/warranty or call 800-645-8258
 Loading...