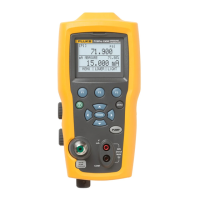
719Pro
Calibration Manual
8
All calibration commands are performed on the functions selected on the lower
display. Use this command sequence to turn off all but the lower display:
DISPLAY UPPER, OFF DISPLAY MIDDLE, OFF DISPLAY LOWER, ON
As long as the Product has been at a stable temperature, within the range of
20 °C to 26 °C for an hour or more, the Product only needs 5 minutes to warm
up. If temperature conditions were previously <10 °C or >40 °C, then the Product
must be allowed to stabilize for a minimum of 3 hours prior to calibration.
Adjust Voltage Input
The test equipment to adjust the voltage input is listed in Table 7.
Table 7. List of Test Equipment to Calibrate Voltage Input
Quantity Manufacturer Model Equipment
1 Pomona
2948-36-2 (red)
2948-36-0 (black)
Low-thermal EMF
banana to banana
leads
1 Fluke 5522A Calibrator
1. Use the test lead set to attach the voltage output of the 5522A to the input of
the product.
2. Send this command to put the Product into Voltage mode:
FUNC LOWER,DCV
3. Use the 5522A to input 0 V.
4. When the reading is stable, send the command:
CAL_POINT[0][0]
5. Use the 5520A to input 15 V.
6. When the reading is stable, send the command:
CAL_POINT[0][1]
7. Use the 5520A to input 30 V.
8. When the reading is stable, send the command:
CAL_POINT[0][2]
The voltage range is now calibrated.

 Loading...