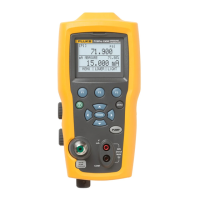
Pressure Calibrator
Calibration Adjustment
9
Adjust mA Input
The test equipment to adjust the mA input is listed in Table 8.
Table 8. List of Test Equipment to Calibrate mA Input
Quantity Manufacturer Model Equipment
1 Pomona
2948-36-2 (red)
2948-36-0 (black)
Low-thermal EMF
banana to banana
leads
1 Fluke 5522A Calibrator
1. Use the test lead set to attach the voltage output of the 5522A to the input of
the Product.
2. Send this command to put the Product into Current mode:
FUNC LOWER,DCI
3. Use the 5522A to input 0 mA.
4. When the reading is stable, send the command:
CAL_POINT[0][0]
5. Use the 5520A to input 12 mA.
6. When the reading is stable, send the command:
CAL_POINT[0][1]
7. Use the 5520A to input 24 mA.
8. When the reading is stable, send the command:
CAL_POINT[0][2]
9. The milliamp measure range is now calibrated. Use the 5522A to verify the
calibration.
Calibrate mA Source
1. Place a short from V/mA to the COM input of the Product.
2. Send this command to put the Product into Current Source mode:
FUNC LOWER,DCI
IO_STATE SOURCE
3. Once the Product is in the Current Source mode, send the command:
CAL_MA_SRC
4. The Product will then internally calibrate mA source based on the 5522A mA
read calibration.
The milliamp source range is now calibrated.

 Loading...