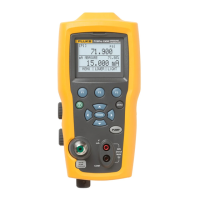
719Pro
Calibration Manual
10
Adjust RTD
The test equipment to adjust RTD is listed in Table 9.
Table 9. List of Test Equipment to Calibrate RTD
Quantity Manufacturer Model Equipment
4 Pomona
2948-36-2 (red)
2948-36-0 (black)
Low-thermal EMF
banana to banana
leads
1 Fluke 720URTDA RTD Adapter
1 Fluke 5522A
Resistance Standard
(w/ a 4:1 TUR)
1. Connect the Product to the Resistance Standard:
a) Plug the 720URTDA into the Product.
b) Connect the HI side of the current output (ohms measure) jacks of the
720URTDA to the NORMAL HI of the 5522A.
c) Connect the LO side of the current output (ohms measure) of the
720URTDA to the NORMAL LO of the 5522A.
d) Connect the HI side of sense jacks of the 720URTDA to the AUX HI of
the 5522A.
e) Connect the LO side of the sense jacks of the 720URTDA sense input to
the AUX LO of the 5522A.
f) Set the 5522A to 4 WIRE COMP.
2. After you have made the connections, send this command to put the Product
into RTD mode:
FUNC LOWER,RTD
3. Use the Resistance Standard to input 90 Ω.
4. When the reading is stable send the command:
CAL_POINT[0][0]
5. Use the Resistance Standard to input 140 Ω.
6. When the reading is stable, send the command:
CAL_POINT[0][1]
The RTD range is now calibrated.

 Loading...