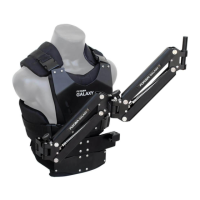
2
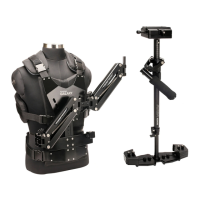
Aach back and front of Vest by clipping
shoulder buckles. Then Put-on the Vest and
aach chest buckles. Tighten the shoulder
Velcro straps to a snug posion.
Tighten lower straps with help of Velcro on
back for a comfortable t and lock them with
buckles.
Make Vest t as ght as possible. Doing so
provides maximum control over the stabilizer
system and makes for slip-free operaon.
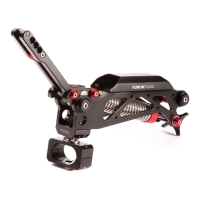
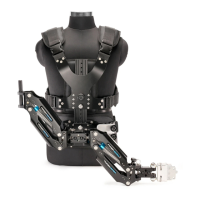
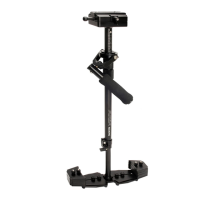
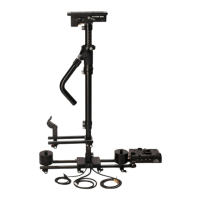
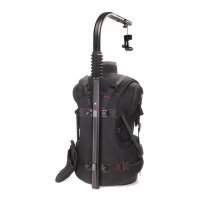
Stabilizer Arm & Vest Setup
To compensate for the weight of camcorder
and stabilizer, an adjustable tension spring
knob is provided. Turn the knob clockwise to
set angle of arm at a desired fixed position
and anti-clockwise for taking smooth gliding
shots.
Arm Adjustment
The length of chest plate can be adjusted
according to your height by using Adjustment
Knob.
Insert Arm-Vest Connector into space
provided.
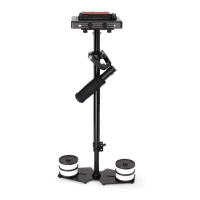
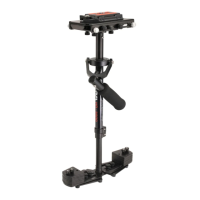
The universal Arm mount requires no tools to
aach it to Vest. When assembling, just put it
into the mount, as shown. Now aach Spool
Adapter to Comfort Arm in order to mount
your Stabilizer onto it.
NOTE: Once the t of Vest feels comfortable, you can remove it by un-clipping the buckles and strap
from one side only. This makes it easy to remove and dress it back on, when needed.
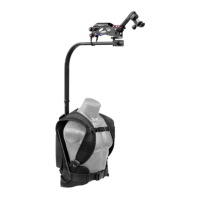
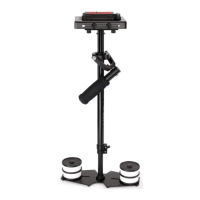
NOTE: If you are using Stabilizer Jr. or Glidecam Handheld Stabilizer, you will need to replace Spool
Adapter post.
 Loading...