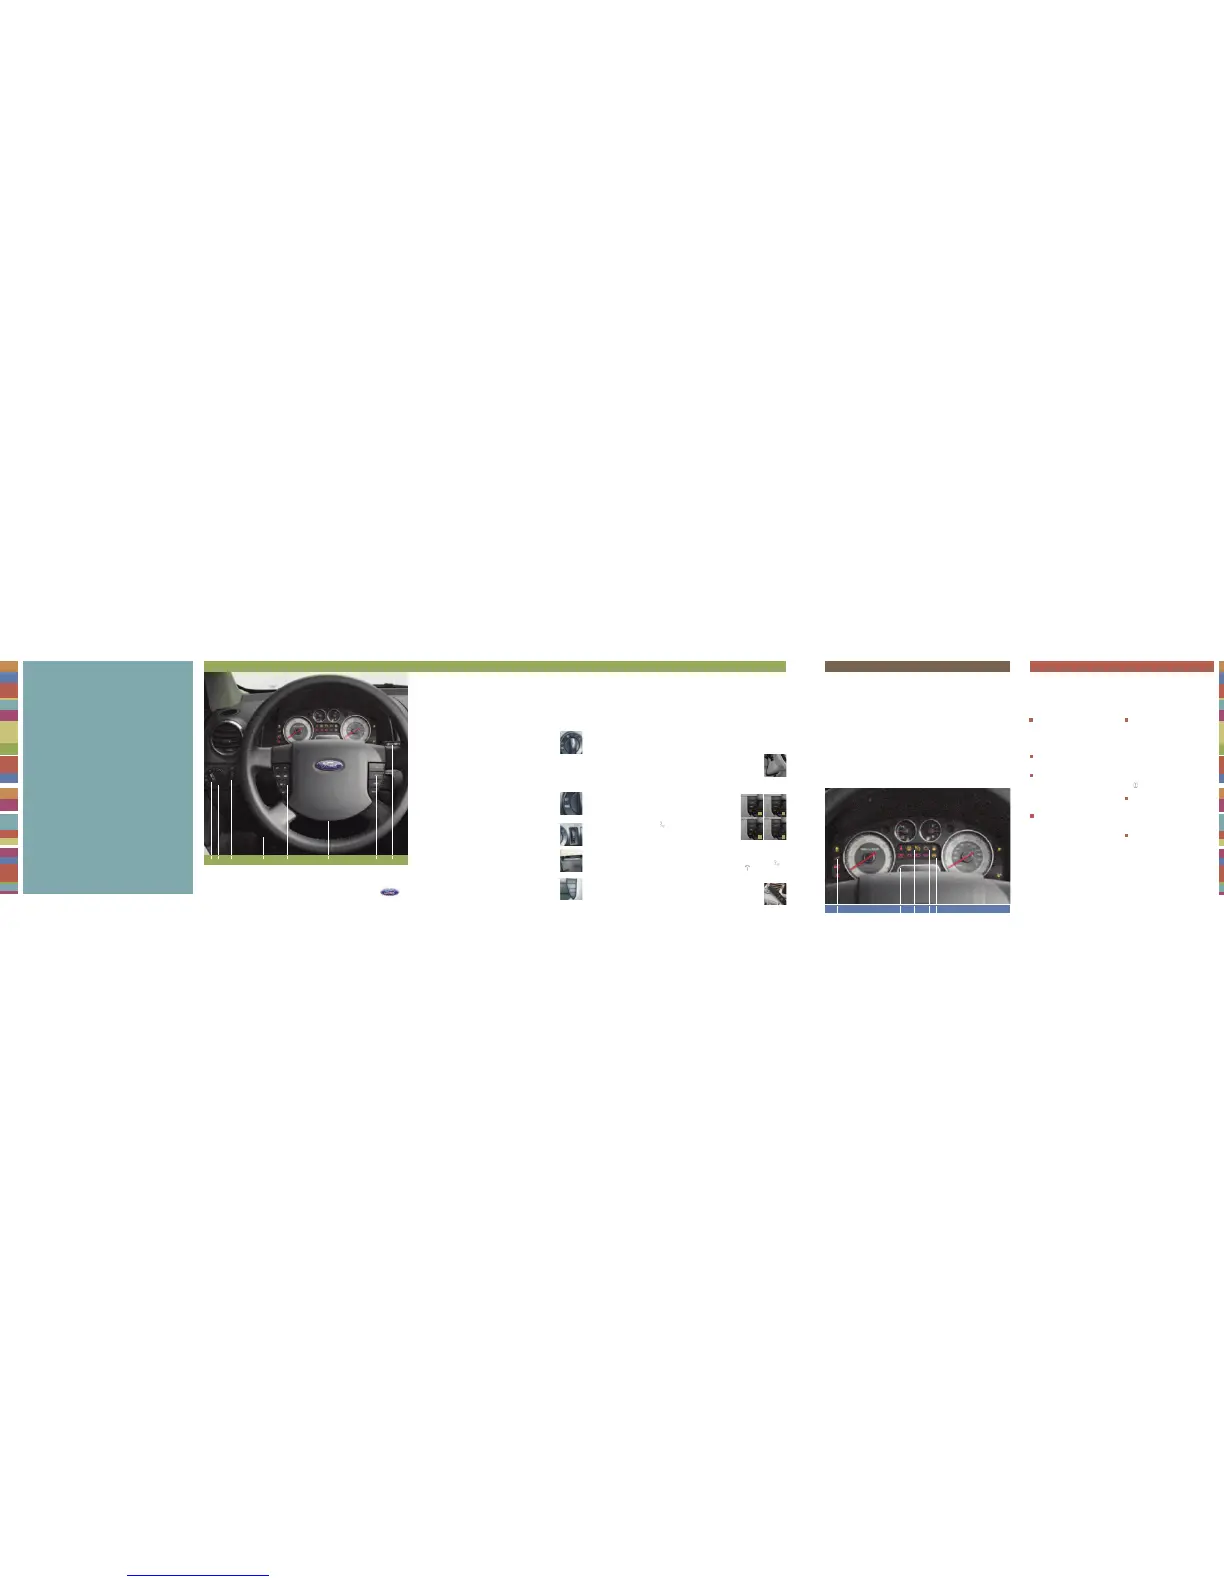
ONE | HEADLAMP CONTROL
Turning the headlamp control clockwise to the first position turns on the parking lamps,
instrument pan el lamps, license plat e lamps, and th e tail lamps. Cont inuing to turn t he
headlamp control to the second position turns on the headlamps. To use the autolamp
light-sensitive, automatic on-off control for the headlamps, turn the headlamp control
counterclockwise. If the windshield wipers are turned on for a fixed period of time, the
exterior lamps will turn on with the headlamp control in the autolamp position. To turn autolamps off, turn
the control clockwise to the O (OFF) position. To activate the high beams, simply pull the turn signal lever
towards you to the seconddetent. Pull the lever towards you again to deactivate them.Use the same lever
to activate the “Flash to Pass”feature. Pull the lever towards you to the first detent to activate and release
it to deactivate.
TWO | FOGLAMP CONTROL
With the ignition on, the foglamps can be turned on when the headlamp control is in the
parking lamp, headlamp, or autolamp position, and the high beams are not on. Simply pull
the headlamp control towards you to turn on the foglamps. The foglamp indicator light will
illuminate. The foglamps will not operate when the high beams are activated.
THREE | PANEL DIMMER
Use this control to adjust the brightness of the instrument panel andall applicable switches
in the vehicle during headlamp and parking lamp operation. Move the control to the full
upright position, past the detent, to turn on the interior lamps.
FOUR | HOOD RELEASE
To open the hood, pull the hood release handle under the bottom of the instrument panel,
near the steering column. Go to the front of the vehicle and release the auxiliary latch
located under the front center of the hood. Use the prop rod to support the raised hood.
FIVE | SPEEDCONTROL
For your speed control to work, you must press and release the ON button. Pressing and
releasing the OFF button, disengages the system and turns it off. To set a desired speed,
press the ON button, accelerate to the desired speed, press and release the SET+ button,
then take your foot off the accelerator pedal. You can increase speed using speed control
by pressing and releasing the SET+ button until you reach the desired speed, increasing speed by 1 mph
(1.6km/h) with each tap. You can decrease speedin the same way using the SET- button.
Pressing the RSM
(resume) button will automatically return the vehicle to the previously set speed. To disengage the speed
control, press the OFF or CNCL button or press the brake.
SIX | TILT STEERING COLUMN
To adjust the steering wheel, push the adjustment lever down to unlock the steering
column. While the lever is down, tilt the steering column to your desired position. While
holding the steering column in place, pull the lever up to its original position to lock the
steering column. Do not adjust while driving.
SEVEN | STEERINGWHEEL AUDIO CONTROLS (IF EQUIPPED)
A. Audio controls: These controls allow you to adjust the radio and CD
features from the steering wheel. Press MEDIA to select AM, FM1, FM2 or
CD. Press SEEK to access the next/previous strong station or track on a
CD. Press VOL+/- to adjust volume and MUTE to mute the volume.
B. Navigation/SYNC™ Hands Free Feature (if equipped): Press and hold
VOICE briefly until the icon appears on the Navigation Display to
use the voice command feature. Press SEND or END to complete a
voice command.
C. Navigation System PushTo Talk (PTT) Hands FreeFeature (if equipped): Press and hold PTT brieflyuntil
the VOICE icon appears on the Navigation display to use the voice command feature. Press PTT again
to end a voice comman d.
D. SYNC™ System Hands Free Feature (if equipped): Press and hold VOICE briefly until the icon
appears on the display to use the voice command feature. Press and hold to send a call or text
message. Press OK to c onfirm your selection.
EIGHT | WINDSHIELD WIPER /WASHER
The multi-function lever controls the windshield wiper modes, speeds and the windshield
washer. Rotate the end of the cont rol away from you to increase the speed of the wipers.
Rotate the control towards you to decrease the speed of the wipers. For windshield
washer control, push the end of the stalk briefly. With a quick push and hold, the wipers
will swipe three times with washer fluid. With a long push and hold, the wipers and washer fluid will
activate for up to ten seconds.
TEN TWELVE THIRTEEN
NINE | THROTTLE CONTROL /
TRANSMISSION LAMP
The throttle control / transmission lamp illuminates when
a
powertrain fault or an AWD fault (if equipped) has been
detected. Contact your dealer as soon as possible.
TEN | MESSAGE CENTER
With the ignition in the RUN position, the message center
displays importantvehicle informationby constantlymonitoring
vehicle systems. You may select display features on the
message center for a display of status, preceded by a brief
indicator chime. The system will also notify you of potential
vehicleproblems with a display of system warnings. Formore
detailed information, please consultyour Owner's Guide.
ELEVEN | SPEED CONTROL LAMP
The speed control lamp will Illuminate when the speed
control is engaged. It will turn off when the speed control
system is disengaged. The controls for the speed control
are located on the steerin g wheel. Press and release the
ON and OFF buttons to engage and disengage the
system. Speed control does not work at speeds below
30 mph (48 km/h). For more information, please consult
your Owner’s Guide.
TWELVE | CHECK ENGINE LAMP
The check engine indicator lamp illuminates when the
ignition is first turned to the RUN position to check the
bulb. If the lamp stays on or blinks, the On Board
Diagnostics System has detected a malfunction. Drive
in a moderate fashion (avoid hea vy acceleration or
deceleration) and have your vehicleser vicedimmediately.
THIRTEEN | ABS WARNING LAMP
In an emergency, apply continuous force to the brake pedal.
Do not pump the brakes. Any pulsation or mechanical noise
youmay feelor hear isnormal.If thelampstays onor continues
to flash, have your vehicle serviced. Normal braking is still
functionalunless the brake warning lamp is also illuminated.
ELEVENNINE
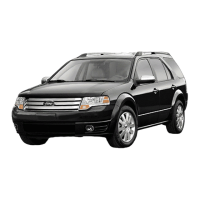
TAURUS X
2008
QUICK REFERENCE GUIDE
INSTRUMENT PANEL AND
INTERIOR
FEATURES
LOCATION OF SPARE TIRE AND TOOLS
Your vehicle is equipped with a temporary spare tire,
which is smaller than a regular tire, and designed for
emergency useonly. The jack, spare tire,jack handle, and
lug nut wrench are under the carpeted floor panel in the
rear ofthe vehicle. Ifthe 3rd row seatis stowed in thefloor,
you willneed to unstowit to access thespare tire andjack.
FUSES
If your electrical components are not working properly, a
fuse may haveblown. Please consult yourOwner's Guide.
FUEL PUMP SHUT-OFF SWITCH
This device stopsthe electric fuel pump from sendingfuel
to the engine whenyour vehicle has had a substantial jolt.
After an accident, if the engine cranks but does not start,
this switch may have beenactivated. The fuel pump shut-
off switch is located in the front passenger footwell area
in the right upper corner. For switch reset instructions,
please consult your Owner's Guide.
UNLEADEDFUELRECOMMENDATIONS
For optimum performance, use “Regular” unleaded fuel
with a pump (R+M)/2 octane rating of at least 87. We do
not recommend the use of gasolines labeled “Regular”
with octane ratings of 86 or lower that are sold in high
altitude areas.
TIRE PRESSURE
Safe operation of your Taurus X requires that your tires
be properly inflated. The Ford recommended inflation
pressure is fou nd on the Tire Label or the Certification
Label located near the front door latch on the driver's
side. At least once a month and before long trips, inspect
each tire and check the air pressure with a digital or dial-
type tire gauge. Don't forget the spare. Air pressure
should be checked when thetires are cold. Inflate all tires
to the inflation pressure recommended by Ford Motor
Company. As an added safety feature, your vehicle has
been equipped with a tire pressure monitoring system
(TPMS) that illuminates a low tire pressure warning
light when one or more of your tires is significantly
under-inflated.
ROADSIDE ASSISTANCE
In addition to your New Vehicle Limited Warranty, Ford
providesnew vehicle ownerswith a complimentary roadside
assistance program. It coverschanging a flat tire, jump starts,
limited fuel delivery, lock-out assistance, winch out, and
towing ofyourvehicle.
United States (800) 241-3673 Canada (800) 665-2006
REAR WINDOW BUFFETING
When one or both of your rear windows are fully open,
you may experience a wind throb or buffeting noise.
This is common amongall vehicles and can be eliminated
simply by lowering a front window two to three inches.
2005 TAURUS X
ESSENTIAL
INFORMATION
As the owner of this very capable, very versatile and most refined new Ford Taurus X, you really are… ready to go. And wherever you're going, you'll get there with confidence and style.
Pack it for work, pack it for play... your new Ford Taurus X is ready to take you… well… just about anywhere. From tight city streets to snow-covered country roads, your adventures are
about to begin. So, what are you waiting for? Let's go. This Quick Reference Guide was designed to help you quickly get to know your new Taurus X and its features. For the most detailed
information, please consult your Owner's Guide. So, let's get started. The sooner you know more about your new Taurus X… the sooner you can get packing.
“YOUR
ADVENTURES
ARE ABOUT TO BEGIN.”
ONE
TWO THREE
FOUR FIVE SIX
SEVEN EIGHT
B
A
C D

 Loading...