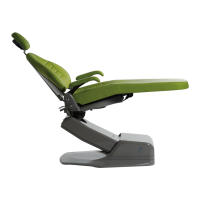
3900 Chair
Headrest Positioning For Wheelchair
e headrest can be used to accommodate wheelchair patients.
1 4
2 3
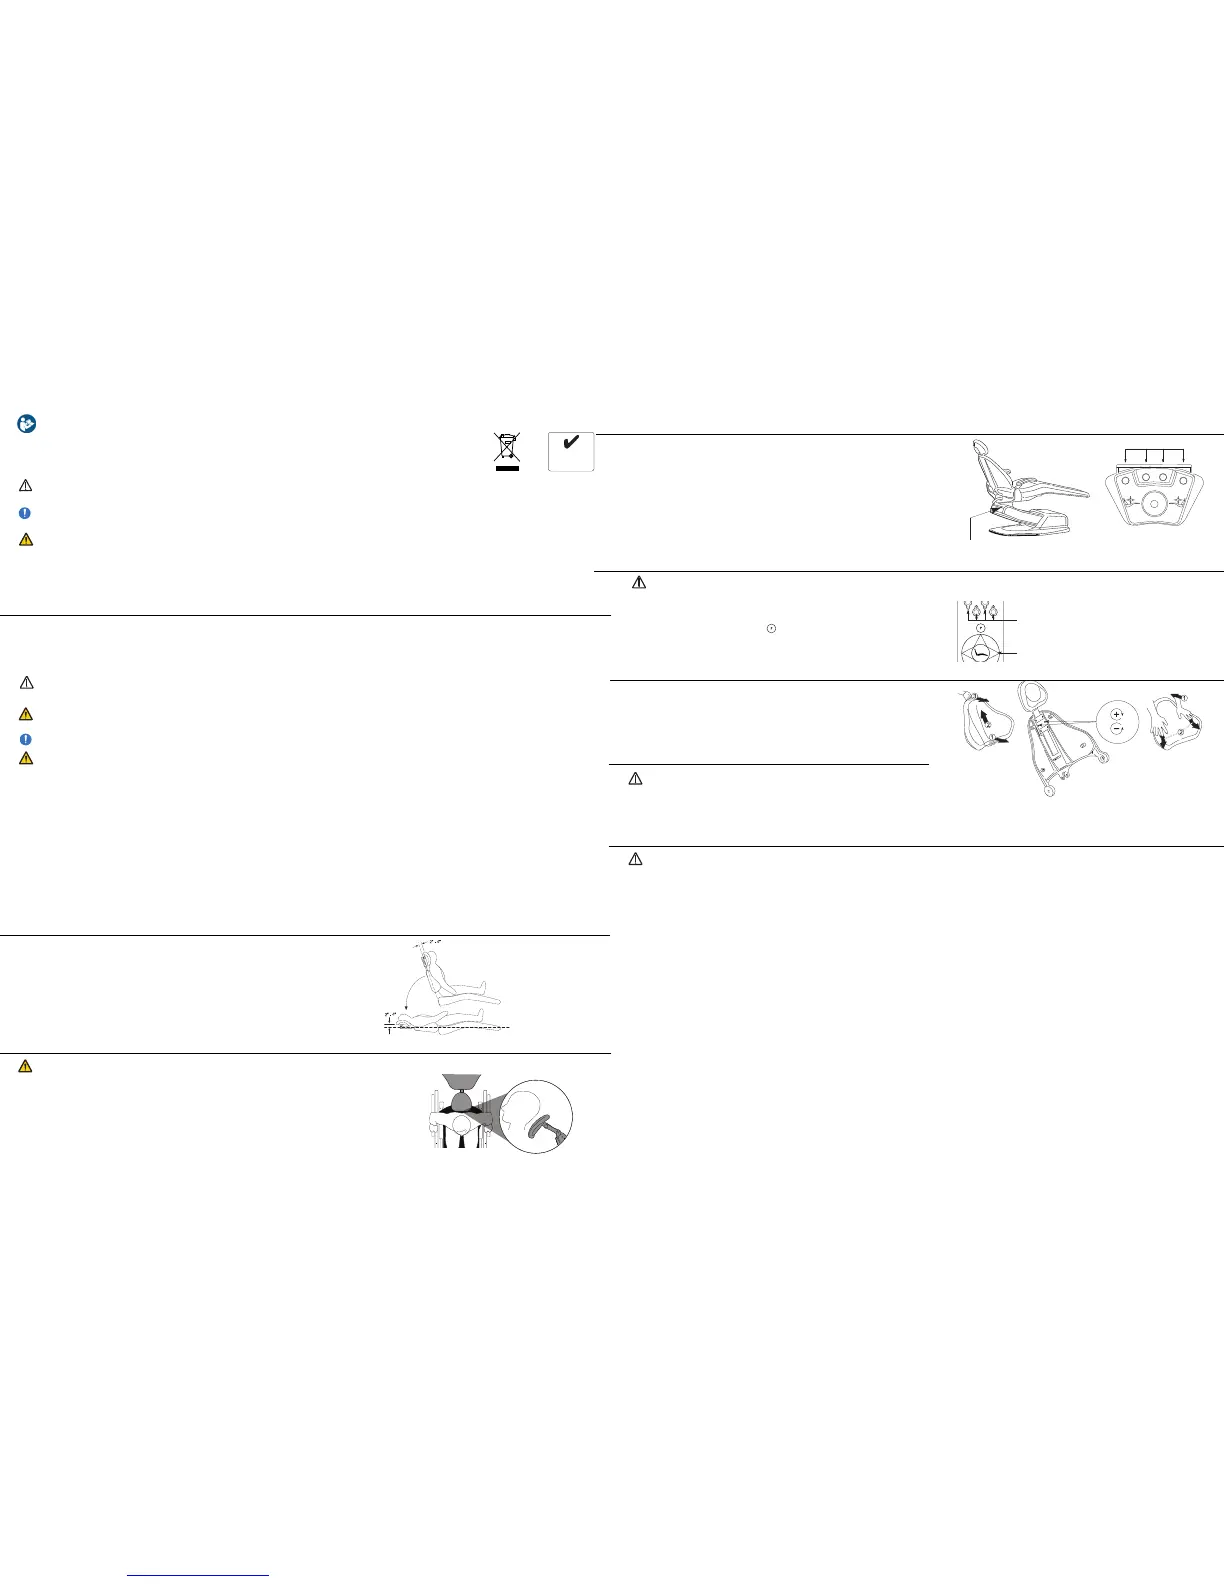
Figure 1. Upright
1. Slide the headrest up until it is free from the chair. Turn the headrest 180
o
.
2. Slide the reversed headrest back into the backrest and push it all the way down.
3. Run the chair to its full back up position. Adjust headrest height by moving the
chair up or down (using the base up function on the footswitch or touchpad).
4. Position patient. (Figure 3.)- If necessary ne tune headrest position.
Figure 2. Recline
Figure 3. Headrest Positioning For Wheelchair
Figure 4. Program Button
1 2 3 4
Figure 5. Foot Control
Manual Positioning
Step 1. Position Chair. Common Presets:
1, 2 and 3 for operating positions and 4 for patient exit.
Step 3. Choose Preset Button
Beep-Beep indicates chair position set for selected
button (repeat process for each preset button)
Step 2. Push Program Button
Beep-Beep indicates programming mode activated:
go to step 3.
Figure 6: Touchpad
Presets
Programming Touchpad
2 of 4
Positioning Articulating Headrest
Properly positioning the articulating headrest to support the head in its natural relationship
to the spine reduces tension in the neck and jaw muscles decreasing the request
for “open wider please”.
1. While in upright position adjust headrest to match patient’s height (Figure 1.)
2. Articulate the headrest cushion to contact the back of patient’s head (Figure 1.)
3. Recline Patient - If necessary ne tune headrest position (Figure 2.)
Programming Foot Control
1. Position Chair. Common Presets: 1, 2 and 3 for operating positions
and 4 for patient exit.
2. Push Program Button (M) beep beep indicates programming mode
activated. Immediately go to step 3. (Figure 4.)
3. Choose Preset Button beep beep beep indicates chair position set for
selected button repeat process for each preset button. (Figure 5.)
4. More than three (3) beeps indicates a program failure for that preset
button, repeat steps 2 and 3.
User Responsibility Read this guide thoroughly, including all regulatory
information and product specications before use.
Disposal of medical equipment should be performed in
accordance with national and local regulations.
Forest Dental Products, Inc. has a quality system
certied by LNE/G-med to be compliant with the
requirements of ISO 13485:2003 (Certicate #7528).
Intended Use A dental chair is intended to
postition a patient for dental procedures in an of-
ce environment. ere are no contraindications
for this product which conict with EU direction.
93/42/EEC MDD
2002/96/EC WEEE
2011/65/EU RoHS
Compliant With EU Directives
RoHS
2011/65/EU
CAUTION indicates that a particular procedure or precaution must be followed to avoid
system irregularity or possible damage to the product.
NOTE indicates special information to improve the ease of maintaining the product, or
to clarify important information.
WARNING indicates that the personal safety of the patient, end user or technician could
be compromised by disregarding the WARNING. Not following instructions may result
in an injury.
Alert Symbols e safety notices associated with the following should be given special
attention when they appear in maintenance, operating and emergency procedures in the guide.
Contraindications ere are no contraindications for this product.
WARNING: Ensure wheelchair wheel locks are engaged prior to positioning patient head on headrest.
CAUTION: Use barrier protector to prevent overspray contaminants from prematurely aging electronic components.
1. Remove backrest cushion. (Figure 7.)
2. Adjust screws (Figure 8.)
3. Replace backrest cushion. (Figure 9.)
TOOLS NEEDED: Phillips screwdriver
Headrest Tension Slide Adjustment
CAUTION: To minimize possible injury to patient the chair is equipped
with movable armrests allowing easier entry/exit. Remember to lower armrest
down for patient (for easier entry/exit) at start and end of operation. Armrests
are not intended to support patient weight while entering or exiting the chair.
Armrest
Cleaning
CAUTION: Follow all manufacturer’s warnings. Forest, Naugahyde or Ultraleather® cannot be held responsible for damage or injuries resulting from the use or
misuse of any cleaning products. Cleaning agents may contain harsh or unknown solvents; they are also subject to formula changes made by the manufacturer with-
out notice. If you use cleaning agents other than those described, it is strongly recommended that you test them rst in an inconspicuous area to be certain they will
not damage the upholstery, plastic or metal surfaces.
Naugasoft Chair Upholstery
1. Remove Light Soil
• Apply a solution made from one part household dishwashing liquid mixed with nine parts warm water with a so, damp cloth.
• If necessary, the above solution may be applied with a so bristle brush.
• Wipe thoroughly with a so cloth dampened in plain water.
2. Removing Heavy Soil
• Dampen a so white cloth with lighter uid (naphtha) and rub gently.
• Wipe thoroughly with a so cloth dampened in plain water.
3. Removing Stain with Rubbing Alcohol
• Prior to removing the stain try the solution mixture in a concealed area to prevent unwanted discoloration.
• Dampen a so white cloth with alcohol and rub gently.
• Rinse treated area thoroughly to remove any alcohol residue using a so cloth dampened in plain water.
Ultraleather
®
Chair Upholstery
1. Remove stain immediately
• Spot clean with mild soap and water.
• Air dry or dry quickly with warm setting of a hair dryer.
• For stubborn stains, use mild solvent.
• For tougher stains, Fantastik® and Formula 409® brand spray cleaner have been shown to be successful.
2. For the following stains, a mild detergent may be used. Blot or wipe stains immediately: ketchup, mayonnaise, butter, red wine, liquor,
coee, tea, Coca-Cola®, make-up, face cream, lipstick, machine oil, urine, blood, steak sauce, soy sauce, chocolate, milk.
Figure 7. Backrest
Figure 8. Screws
Figure 9. Cushion
3 of 4
With proper maintenance and service, Forest Dental products are designed for a dened “Service Life” under normal use (based on approximately
50 patients per week) of 15 years from the date of manufacture. Some components may become obsolete due to changes in technology or due to
product improvements and may necessitate product updates or upgrades. At the end of the dened Service Life, all products require examination
by a trained Service Technician prior to continued use. Following this, additional examinations are required every 5 years.
WARNING: No user-serviceable parts located in oor box. Only authorized and trained professionals should access line voltage componets
in chair base.
NOTE: Refer to Service Manual and Installation Instructions for complete technical descriptions.
WARNING: Power down chair and unplug the power cord before changing blown fuse(s). For your convenience, extra fuses are located in the
pump cover.
CAUTION: Federal law restricts this device to sale by or on the order of a dental practitioner licensed by the law of the State in which he/she
practices to use or order the use of the device.
Expected Service Life
Specifications Input voltage 115 VAC/230 VAC 50/60Hz
Control voltage 5 VDC
Fuses 115VAC F1/F2 -10A, F3-125mA
230VAC F1/F2 - 6.3A, F3-63mA
Duty cycle 5% (interminttent 25s ON, 300s OFF)
Protection against electrical dangers: Class I device, Type B
Maximum patient weight 300 lbs (136 kg)
Delivery system capacity 125 lbs (57 kg)
Total li capacity 450 lbs (225 kg)
Noise level <40 dB
Normal use condition: Temperature from 5°F to 104°F (10°C to 40°C)
Relative humidity from 30% to 75%
Atmospheric pressure from 70 to 106 KPa
 Loading...