12 13
Assembly
2
1. Remove the dust cover that protects the SIM sockets.
2. Insert your MicroSIM (3FF) SIM card(s) into the SIM socket(s).
3. Observe the following guidelines:
• If installing one SIM card, you can insert the card into either SIM socket.
• If installing two SIM cards, use SIM1 as the primary socket and SIM2 as the
secondary.
4. Insert the SIM card(s) into the SIM socket(s), making sure that the card is facing down
with the cut corner on the left. (If necessary, press the card again to remove it.)
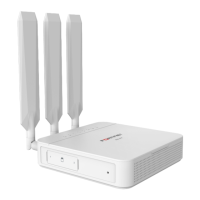
5. Replace the cover, and then attach the antennas.
IP Conguration
3
After you have connected the FortiExtender network interfaces, the device automatically
attempts to obtain an IP address from a DHCP server. If you do not use DHCP, you can
congure a static IP address.
To congure a static IP address:
1. Use an Ethernet cable to connect one of the LAN ports to the Ethernet port of your
computer.
2. Set the computer Ethernet port to DHCP mode, and connect it to port1, port2, or port3.
3. Open your web browser and point to the default FortiExtender web GUI address:
http://192.168.200.99
4. In both the username and password elds, type admin and press the Enter key on
your keyboard. (Note: If you are logging in to the device for the rst time, you will be
prompted to change the default password. We strongly recommend that you change the
password right away.)
5. Go to Networking>Interface, where you’ll see all the system interfaces.
6. Select a desired interface, set it to “static” mode, congure the static IP address, and click
Save.

 Loading...