29
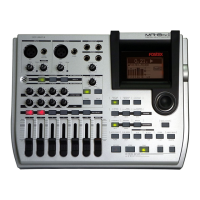
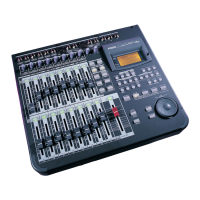
MR-8mkII Owner’s Manual (Names and functions)
31. [LOCATE A/IN] / VWX8 key
Pressing this key while holding down the
[STORE] key sets the LOCATE A point (or
punch in point) (see page 51 and 56).
In the menu mode, this key is used for char-
acter entry of V, W, X, v, w, x and 8.
33. [PLAY MODE] / STU7 key
Selects a play mode. You can select from
among normal, auto play, auto return and
loop (see page 47).
In the menu mode, this key is used for char-
acter entry of S, T, U, s, t, u and 7.
32. [AUTO PUNCH] / PQR6 entry key
Turns on or off the auto punch mode (see
page 57).
In the menu mode, this key is used for char-
acter entry of P, Q, R, p, q, r and 6.
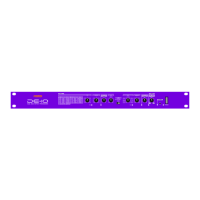
POWER USB FOOT SW
ON
DC IN
LIGHT
OFF
12V
INPUT A SELECT
INT MIC
GUITAR
MIC/LINE
1
2
34 5
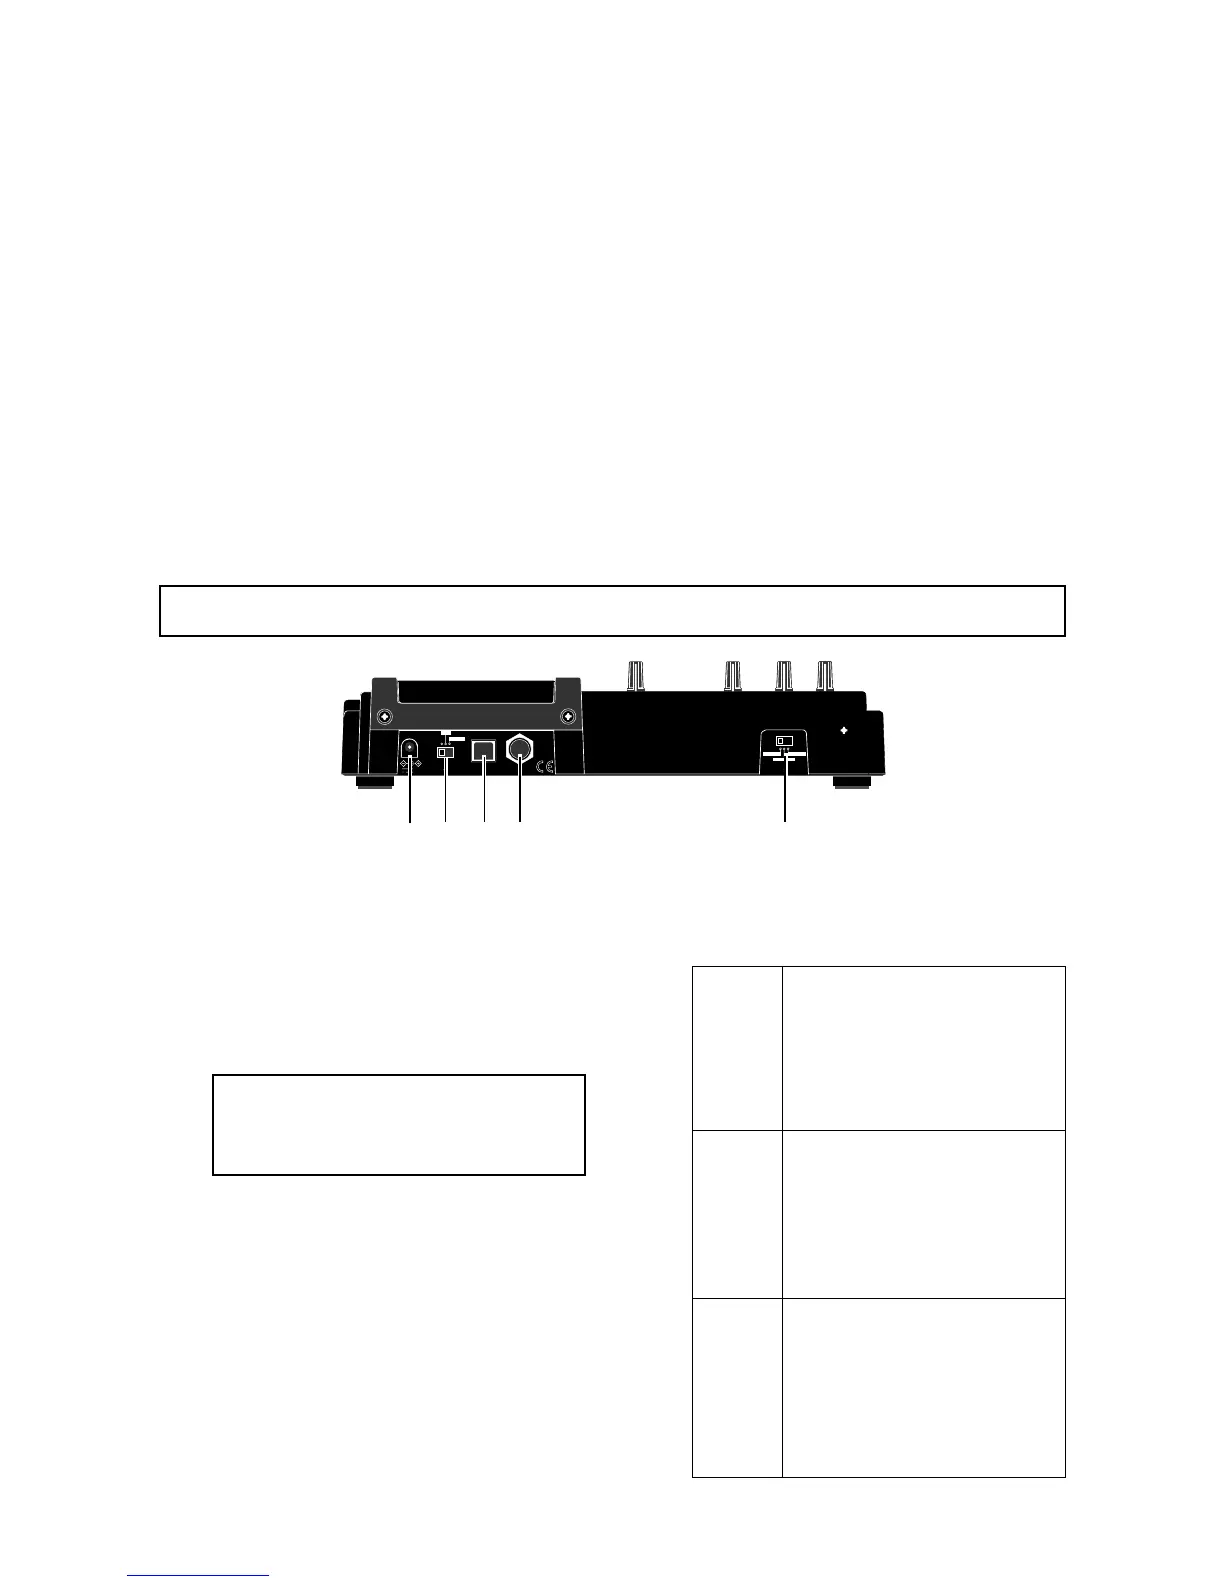
Rear panel
Set the switch to this position when
the source is an external microphone
or line level source.
Both the [BAL] (XLR) and [UNBAL/
GUITAR] (phone) connectors can be
used. You can also use the mic simu-
lation insert effect.
MIC/LINE
GUITAR
INT MIC
4. [FOOT SW] jack (TRS phone jack)
Set the switch to this position when
the source is a guitar connected to
the phone connector.
Both the [BAL] (XLR) and [UNBAL/
GUITAR] (phone) connectors can be
used. You can also use the amp
simulation insert effect.
Set the switch to this position when
the source is the built-in microphone.
When the switch is set to the “INT
MIC” position, you cannot use the [IN-
PUT A] connectors (both the [BAL]
and [UNBAL/GUITAR] connectors),
as well as the insert effect.
1. [DC IN] connector
Connect the supplied AC adaptor to this con-
nector (see page 18).
5. [INPUT A SELECT] switch
This switch must be set appropriately accord-
ing to the input source of the [INPUT A] chan-
nel (see page 37).
Used to connect with an unlatched-type
footswitch (see page 55).
<Note>:
When driving the MR-8mkII by bat-
teries, we recommended not use the back-
light, because the batteries are exhausted
quickly.
Used to turn on or off the power.
By setting this switch to “LIGHT”, the back-
light of the LCD display lights up (see page
22).
2. [POWER] switch
3. [USB] port (USB B type)
Used to connect with a personal computer
using a standard USB cable for song file data
transfer between the MR-8mkII and the per-
sonal computer (see page 118).
[F FWD] key
Pressing this key fast forwards the recorder.
During playback, pressing this key starts 3 x
cueing (see page 46).
While holding down the [STOP] key, press-
ing this key locates to the recording end of
the current song (REC END) (see page 50).
[REWIND] key
Pressing this key rewinds the recorder.
During playback, pressing this key starts 3 x
reverse cueing (see page 46).
While holding down the [STOP] key, press-
ing this key locates to the beginning (ABS
ZERO) of the current song (see page 50).
This key is also used to go up the menu
screen layer while a menu screen is dis-
played.
 Loading...