8
Warning: When lowering the arm make certain clothing or ngers are not positioned
under it.
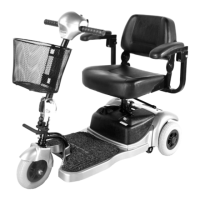
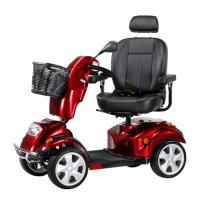
The seat as tted to your scooter, has a fold down backrest. The seat has four height positions.
Your dealer will position the seat to allow you the most comfortable driving position.
4. Seat Height Adjustment:
You may need to alter the seat height setting at a later
date, please follow these instructions.
(3)
(4)
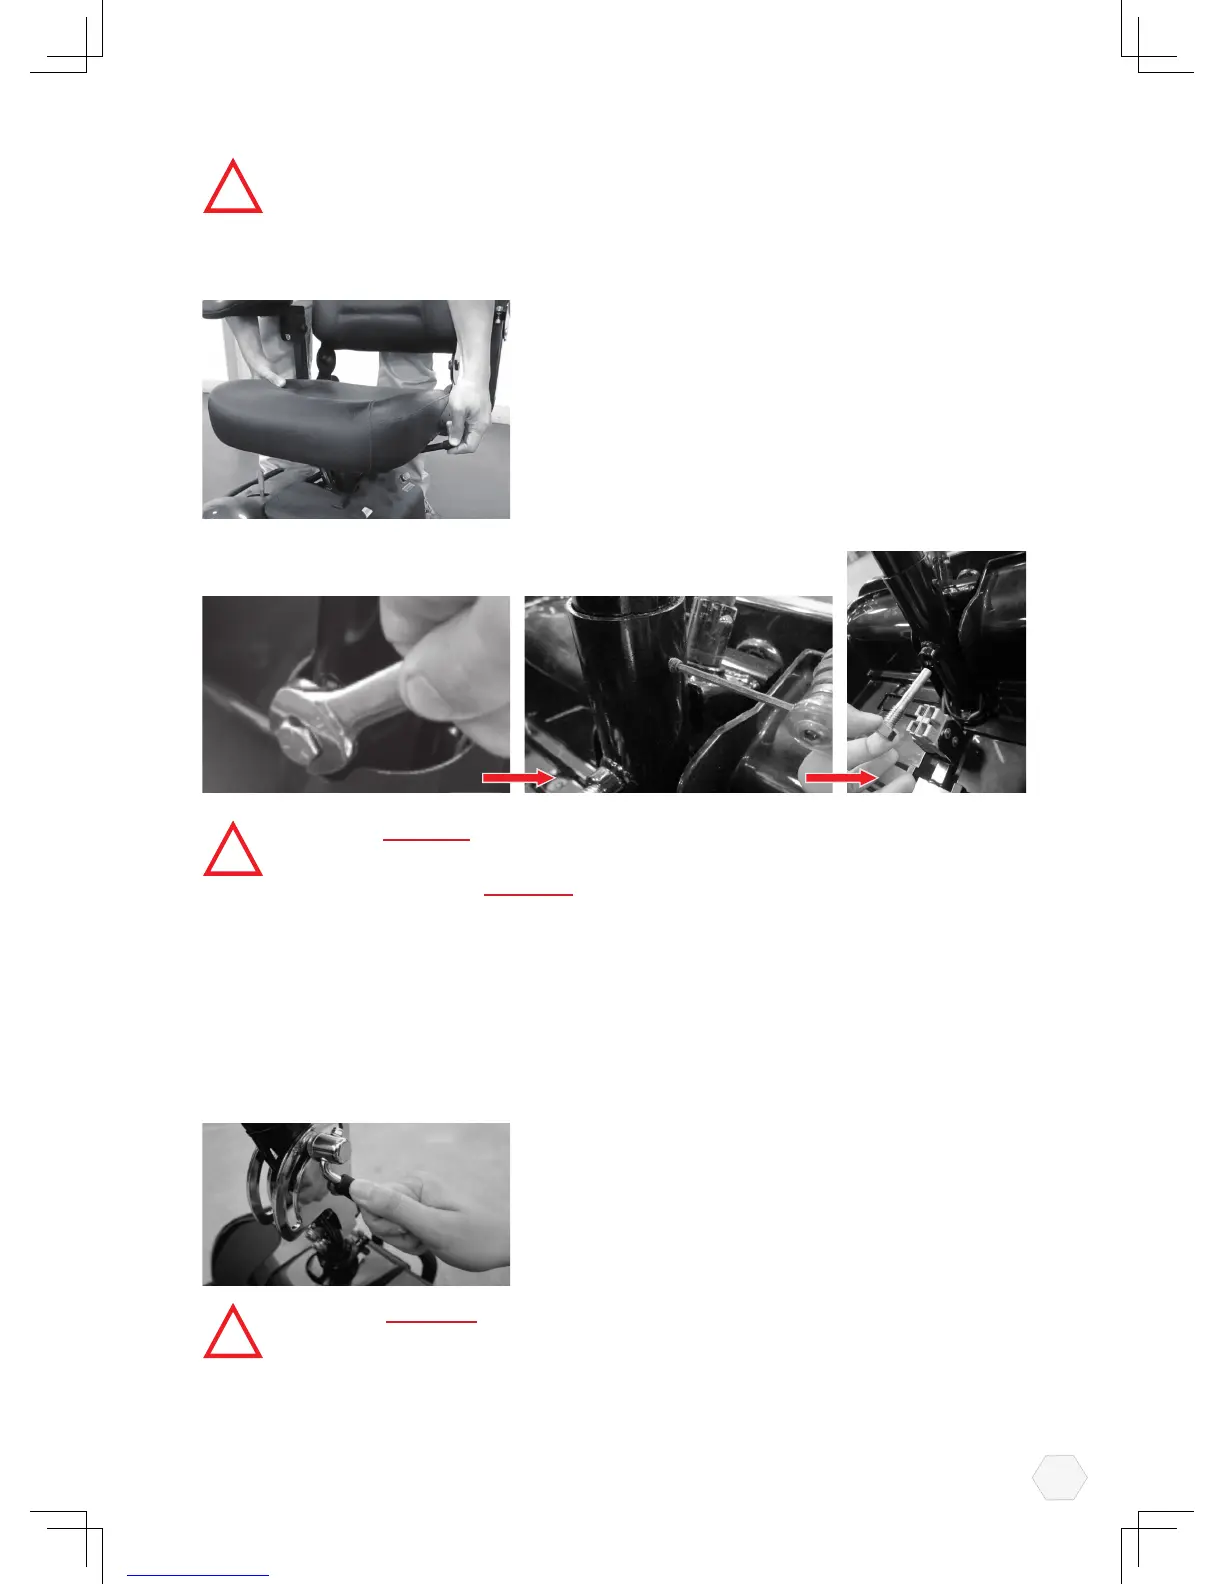
Re-tighten the 10mm xing screw.
Ret the seat onto your scooter.
Warning: DO NOT have the seat set too high, you must be able to place both feet
rmly on the scooter's oor area. Stability will be reduced the higher your seat is set
on the mounting tube. ALWAYS take great care when cornering, lean into the corner
to achieve the best stability from your scooter.
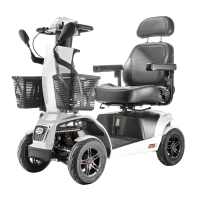
5. Handlebar Adjustment:
The handlebar of your scooter is designed to allow you to position it in a comfortable
driving position. It can be locked into numerous positions or unlocked to move freely for
transportation. The handlebar lock is operated by a black lever positioned on the right hand
side of the handlebar. To release the handlebar from a locked position pull the black lever
upwards, the handlebar will now move freely, but under mild tension.
To lock the handlebar into a comfortable driving position,
simply push the black lever downwards until the
handlebar is locked rmly into position.
With the combination of the seat adjustments together
with the handlebar movement, you should nd a suitably
comfortable driving position.
Warning: ALWAYS make certain the handlebar locking lever is fully down and
the handlebar is securely clamped onto the chrome support plates before driving
your scooter. For service adjustment of this part, refer to the "Care & Maintenance"
section of this manual.
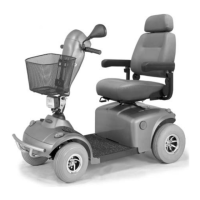
(1)
(2)
Remove your seat from the scooter by lifting the seat.
With the aid of a 16mm wrench (not supplied) loosen
the 10mm seat clamp fixing bolt from side of seat
post. Remove the 10mm xing bolt and reposition the
bolt into one of the four preferred location holes of
the seat mounting tube.
 Loading...