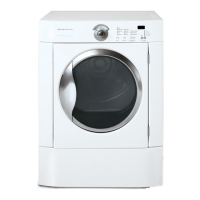
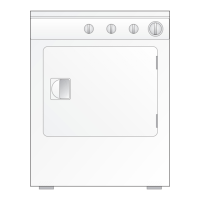
Figure 1
1.Open door and remove four (4) plugs in the door opening
opposite the hinges. Retain all parts for uses later, unless
otherwise noted. (Figure 1) Note: Use care in removing plugs
in not scratching paint on the front panel.
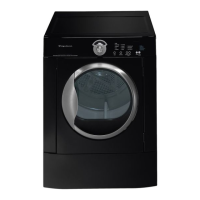
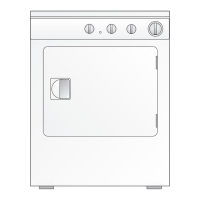
Figure 2
2. Begin removing the four (4) screws that attach the hinge to
the front panel. (Figure 2) For best results, start by only
removing one screw per hinge. Then only loosen the two
remaining screws while firmly holding door to prevent damage
to hinge, front panel or door. After the remaining screws are
loosened, continue to remove all.
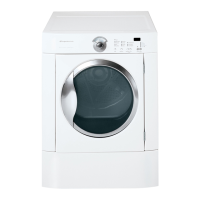
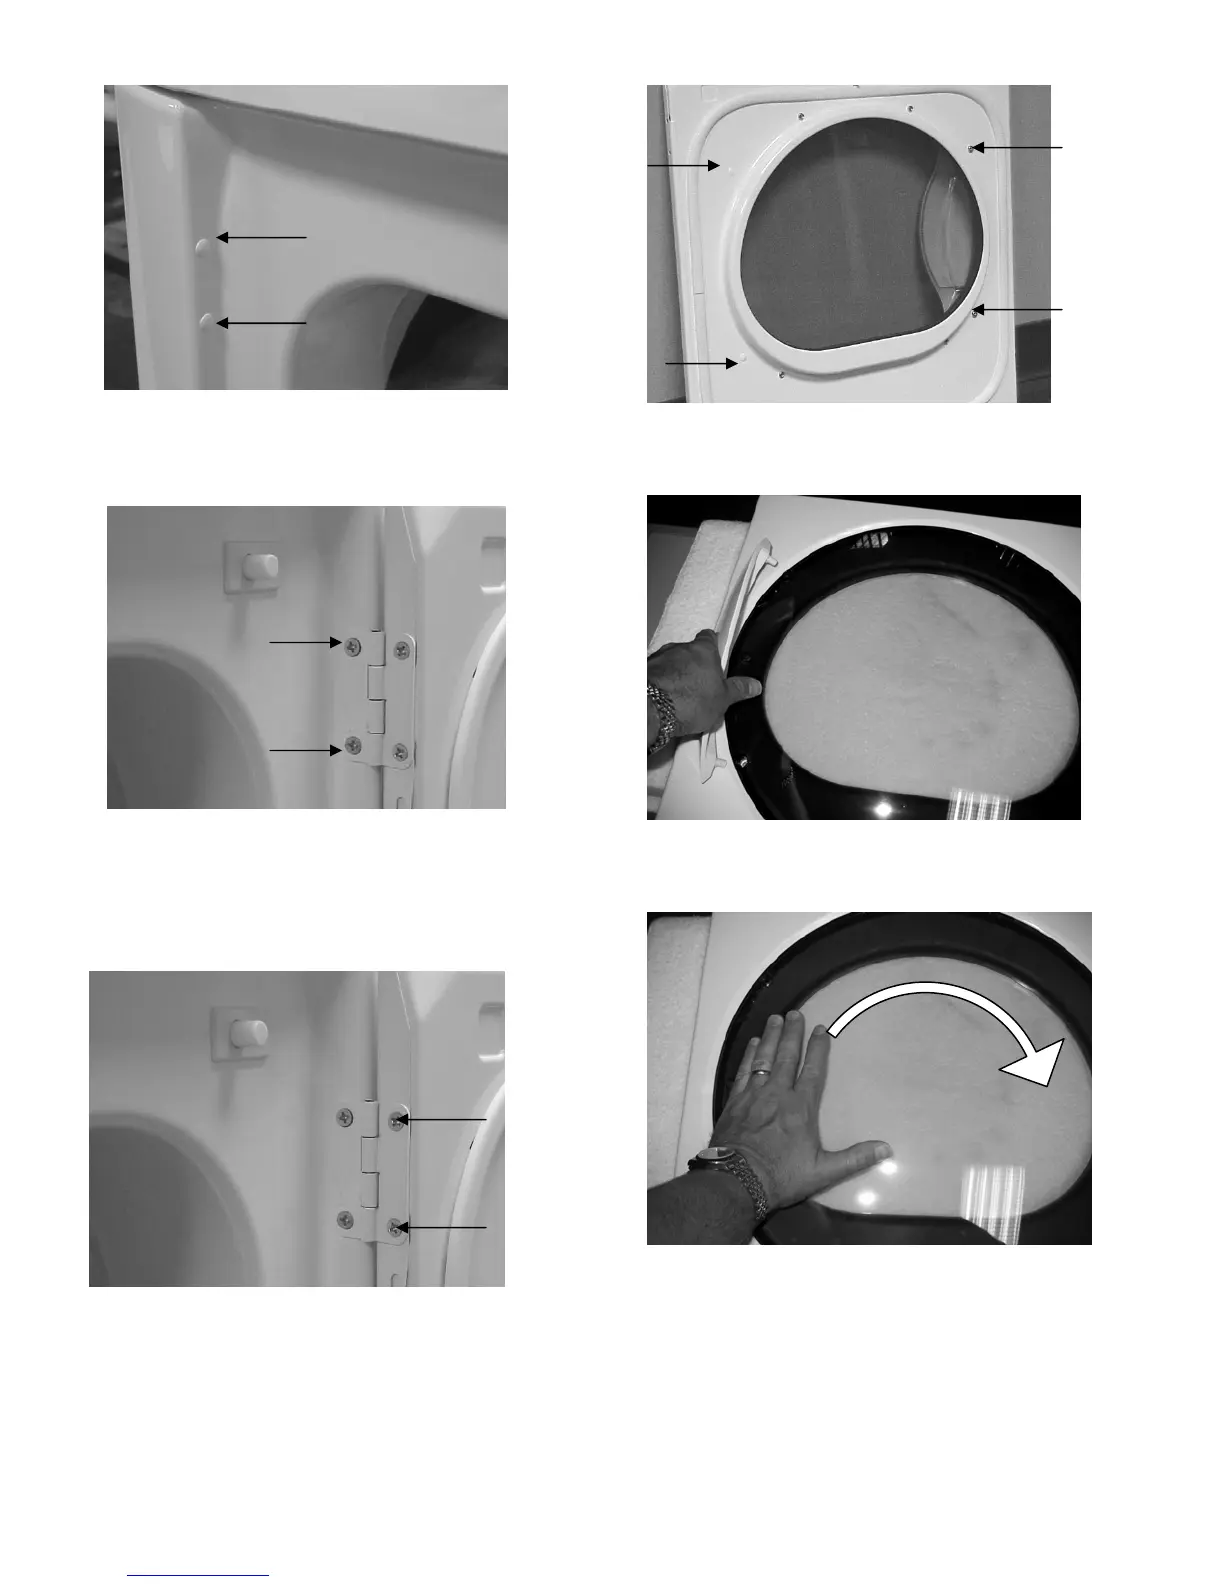
Figure 3
3. Place door on a towel or pad handle side down to prevent
any possible scratches to door. Remove all remaining four (4)
screws between hinge and door. (Figure 3)
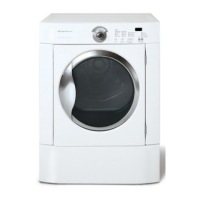
Figure 4
4. Remove two (2) door handle screws and two (2) hole plugs
from door. Again taking care not to scratch paint on door.
(Figure 4)
Figure 5
5. Pull handle away from door assembley. (Figure 5)
6. Install two (2) hole plugs from step 4 into holes that door
handle screws were just removed.
Figure 6
7. Flip door so lens side is facing up. Apply moderate pressure
downward and rotate lens 180 degrees so that holes in lens
align with transition ring plugs. (Figure 6) (Only required on
doors with transition plugs).
Window Door Reversal Instructions