For questions, please call 1-800-672-4399. For questions, please call 1-800-672-4399.
7c
Carrying Plastic Handle - the handles included
with this crate are repositionable and can be used for
transporting an unassembled crate.
Folded Crate
Plastic Pan
Divider Panel
Floor Grid
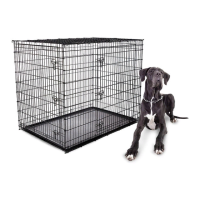
DOG CRATE ASSEMBLY INSTRUCTIONS
Assembly instructions for Frisco All-in-1 Multi-Stage 3 Door Collapsible Wire Dog Crate models 247915, 247916, 247917.
DIVIDER PANEL INSTRUCTIONS
Our crates are designed to provide a safe, comfortable space for your pet. Think of it as his very own castle! Usually, dogs won’t
do their business in the same area where they sleep, but if the crate is too large, they may choose to go potty in one end and
sleep in the other. To avoid this, use the divider panel to shorten the length of the crate so it’s the right size for your pet.
FLOOR GRID INSTRUCTIONS
This crate includes a floor grid to use while potty training a puppy weighing up to 30 lbs. Once your puppy is potty trained,
you should remove the floor grid.
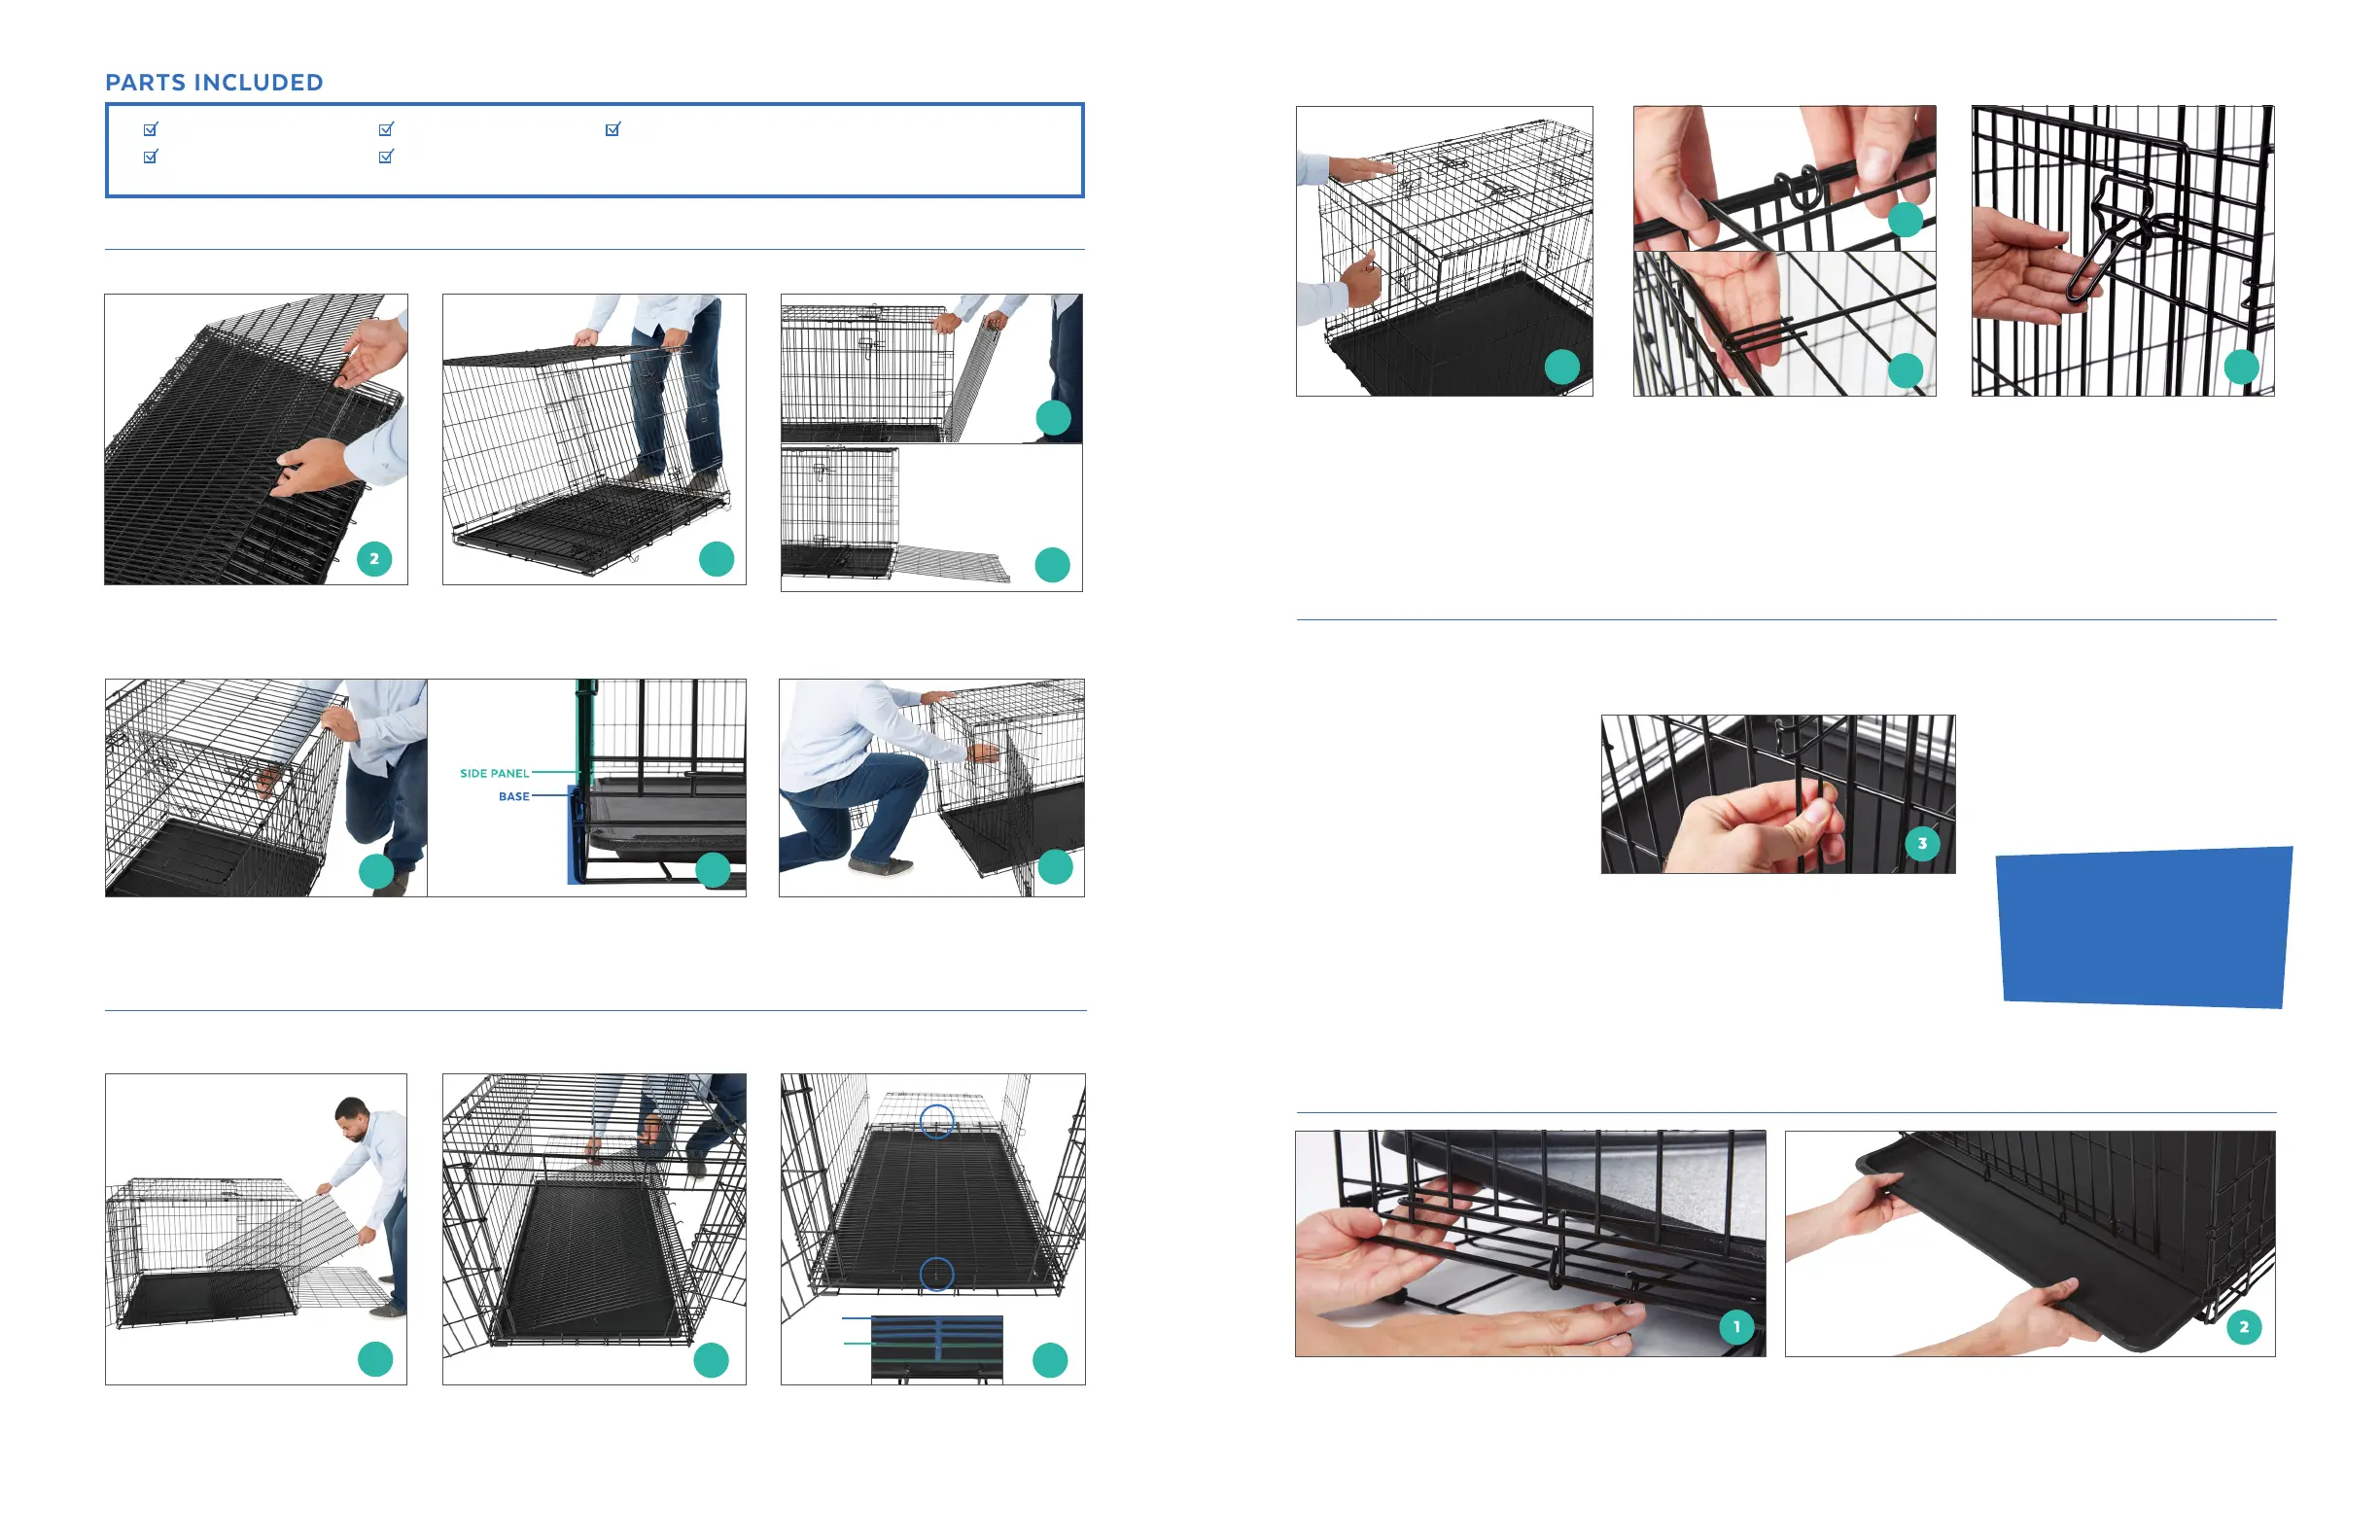
PLASTIC PAN INSTRUCTIONS
STEP 1 From the front of the crate, lift the pan above the
pan-locking latch, then push the pan-locking latch inward
under the pan.
STEP 1 First, determine the proper
length the crate should be for your
pet. He should have enough room
to stand up without hunching, turn
around comfortably and stretch his
legs out fully, but no larger than that
(See Weight Recommendations).
STEP 2 Insert the divider panel into
the opening at an angle, making sure
the hooks face the back of the crate.
STEP 3 Stand the divider panel up at the desired
position and attach the hooks securely to a vertical
wire on one side, then slightly pull the side panel
in to attach the hooks on the other side.
STEP 2 Remove the pan by sliding it out toward you from the
front of the crate. Reverse steps to reinsert pan and reengage the
pan-locking latch.
As your dog grows,
you can adjust the length of the
crate by adjusting the divider
panel. Remove the divider panel
when your pet is fully grown.
NOTE: If the crate has a side
door, hook the divider panel onto
the door’s vertical wire. In this
case, the side door will not operate
while the divider panel is in use.
7a
7b
STEP 7 (a) Insert the floor grid through the back of the crate. (b) With the side door open, fit the side hooks on the floor grid over the
BOTTOM wire on the regular side panel first, then over the BOTTOM wire on the side door panel. (c) Then, fit the floor grid hooks over the
MIDDLE wire on the front and back panel and make sure the floor grid is level.
HINT: The divider panel and floor grid should not be used together. Using the divider
panel with the floor grid may damage the protective coating on the floor grid.
5a
4a
9a
9b
5b
4b
6
3
108
STEP 8 Push the back panel into the
crate, then pull it back into place and
secure it with the side and top clips.
Make sure to fit the hook on the floor
grid over the BOTTOM wire on the back
panel.
STEP 5 (a) Pull up the front panel and secure it with the side and top clips.
(b) The side panels should rest inside the base of the crate as indicated.
STEP 6 Open the front and side doors.
Remove the divider panel from the crate.
STEP 2 (a) Set the floor grid aside.
(b) Unhook the two side hooks and
unfold the crate like a book.
STEP 9 (a) To secure the door panel,
pull it forward and then push down on
the top panel. Position the u-shaped
hooks on top of the door panel over the
wire on the top panel. (b) The center
horseshoe(s) should rest on top of
the door panel. Repeat this process to
secure the back panel.
STEP 4 Pull the back panel all the way
out and lay it flat outside the crate.
STEP 3 With both hands, grab and
lift the top panel. You will see the crate
start to take shape.
STEP 10 To open and close the
door(s), lift the lock handles at about a
90-degree angle on the panel door and
slide to open, and into the lock to close.
To disassemble, reverse the process.
MIDDLE
WIRE
FLOOR
GRID
 Loading...