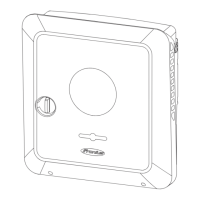
Notes on Anti-theft device
Anti-Theft
Device
Fronius Primo 3.8–8.2 only
An optional anti-theft device is included in the scope of delivery.
If required, the anti-theft device is installed before the inverter is screwed to the
wall bracket.
To ensure that the fixing screws cannot fall out in the inverter's data communica-
tions area, these are fitted with a screw release.
To remove the fixing screw from the inverter
-
Push the fixing screw upwards from the other side e.g. using needle-nose pli-
ers
-
Undo the fixing screw
Mounting the Anti-Theft Device
IMPORTANT! Please refer to the instructions for attaching the inverter to the
wall bracket.
1
Swing the inverter out
2
Push the fixing screw upwards
from the other side e.g. using
needle-nose pliers
3
Undo the fixing screw
4
Insert the fixing screw into the
anti-theft device
5
Insert the anti-theft device plus
fixing screw into the inverter
6
Swing the inverter in
7
Tighten both fixing screws to the
specified torque
41
EN-US

 Loading...