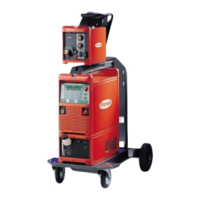
Replacing components
1
Replace components, connections
and hoses as per the Spare Parts List
Water-cooled version:
2
Connect the power cable (1)
3
Seal the gas connection (2) in the
thread with Loctite 542, tighten and
secure the gas hose with clamp 7
4
Seal the water connection (3) in the
thread with Loctite 542, tighten and
secure the water hose with clamp 8
Gas-cooled version:
2
Connect the power cable (1)
3
Seal the gas connection (2) in the
thread with Loctite 542, tighten and
secure the gas hose with clamp 8
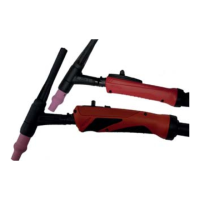
Inserting hose components
1
Screw M7 power connection (1) onto
retractable adapter (2)
2
Insert Minitek plug (3) into adapter
recess
3
Place gas and optional water hoses
onto the power cable 4.5 cm behind
the power connection (4)
4
Wrap Minitek plug and hoses in
adhesive tape (5) and secure for
drawing in
32
 Loading...