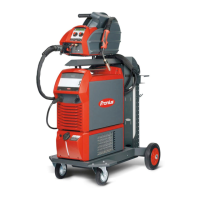
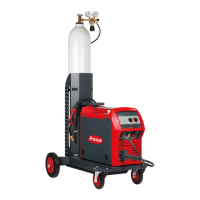
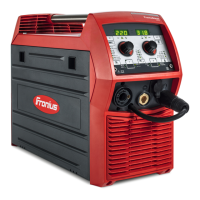
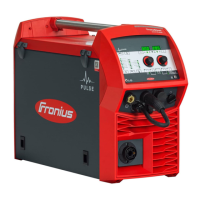
MIG/MAG standard synergic welding
MIG/MAG
standard syner-
gic welding
1
Press the "Material" button to select the filler metal to be used.
2
Press the "Wire diameter" button to select the diameter of the wire elec-
trode used.
3
Press the "Shielding gas" button to select the shielding gas to be used.
The assignment of the SP position is in the welding program tables in the
appendix.
4
Press the "Process" button to select the desired welding process:
-
MIG/MAG standard synergic welding
5
Press the "Mode" button to select the desired MIG/MAG mode:
-
2-step mode
-
4-step mode
-
Special 4-step mode
IMPORTANT! Under certain circumstances, it may not be possible to
change welding parameters that have been set on the control panel of a
system component (TR 2000 or TR 3000 remote control) on the control
panel of the power source.
6
Use the "Parameter selection" buttons to select the welding parameters to
be used to specify the welding power:
-
Sheet thickness
-
Welding current
-
Wire speed
-
Welding voltage
7
Use the appropriate adjusting dial to set the relevant welding parameters.
The welding parameter values are shown in the digital display located
above them.
All welding parameter set values remain stored until the next time they are
changed. This applies even if the power source is switched off and on again.
To display the actual welding current during welding, select the welding
current parameter.
8
Open the gas cylinder valve
9
Setting the shielding gas flow rate:
-
Tap the "Gas-test" button
-
Turn the adjusting screw on the underside of the pressure regulator
until the pressure gauge shows the required gas flow rate
-
Tap the "Gas-test" button again
69
EN

 Loading...


