Adjust Image Transfer
679
Appendix
16
12 Place five or more blank sheets of the same size as the print sample over the print sample.
Then close the document cover and select [Start]. After the print sample is completely
scanned, remove the print sample and the blank sheets. When the sample is printed on
both sides of the sheet, perform steps 11 and 12 for each side of the sample printout.
Note • The number of times you need to scan the print sample depends on the number of pages of the
print sample and whether it is 1 sided or 2 sided.
- Once for 1 page and 1 sided
- Twice for 1 page and 2 sided
- Twice for 2 pages and 1 sided
- 4 times for 2 pages and 2 sided
• [Start] is displayed after the first scanning is completed. Make sure to select [Start] after scanning all
the printouts.
• Selecting [Start] with an insufficient number of scanning will cause an abnormal end of the
adjustment in the next step.
• Any print sample can be scanned up to four times regardless of how many times it needs to be
scanned. If the required number of scanning times is exceeded, the transfer output value is adjusted
based on only the later samples required.
• When scanning a print sample which needs to be scanned twice or more, make sure to scan all the
printouts. If you scan a print sample together with another print sample printed after 24 hours or
more from the preceding sample printing, only the later sample will be used for adjustment.
13 After scanning has been completed, select [Start].
Note • The message "Adjustment has been completed." is displayed when the adjustment process is
completed normally.
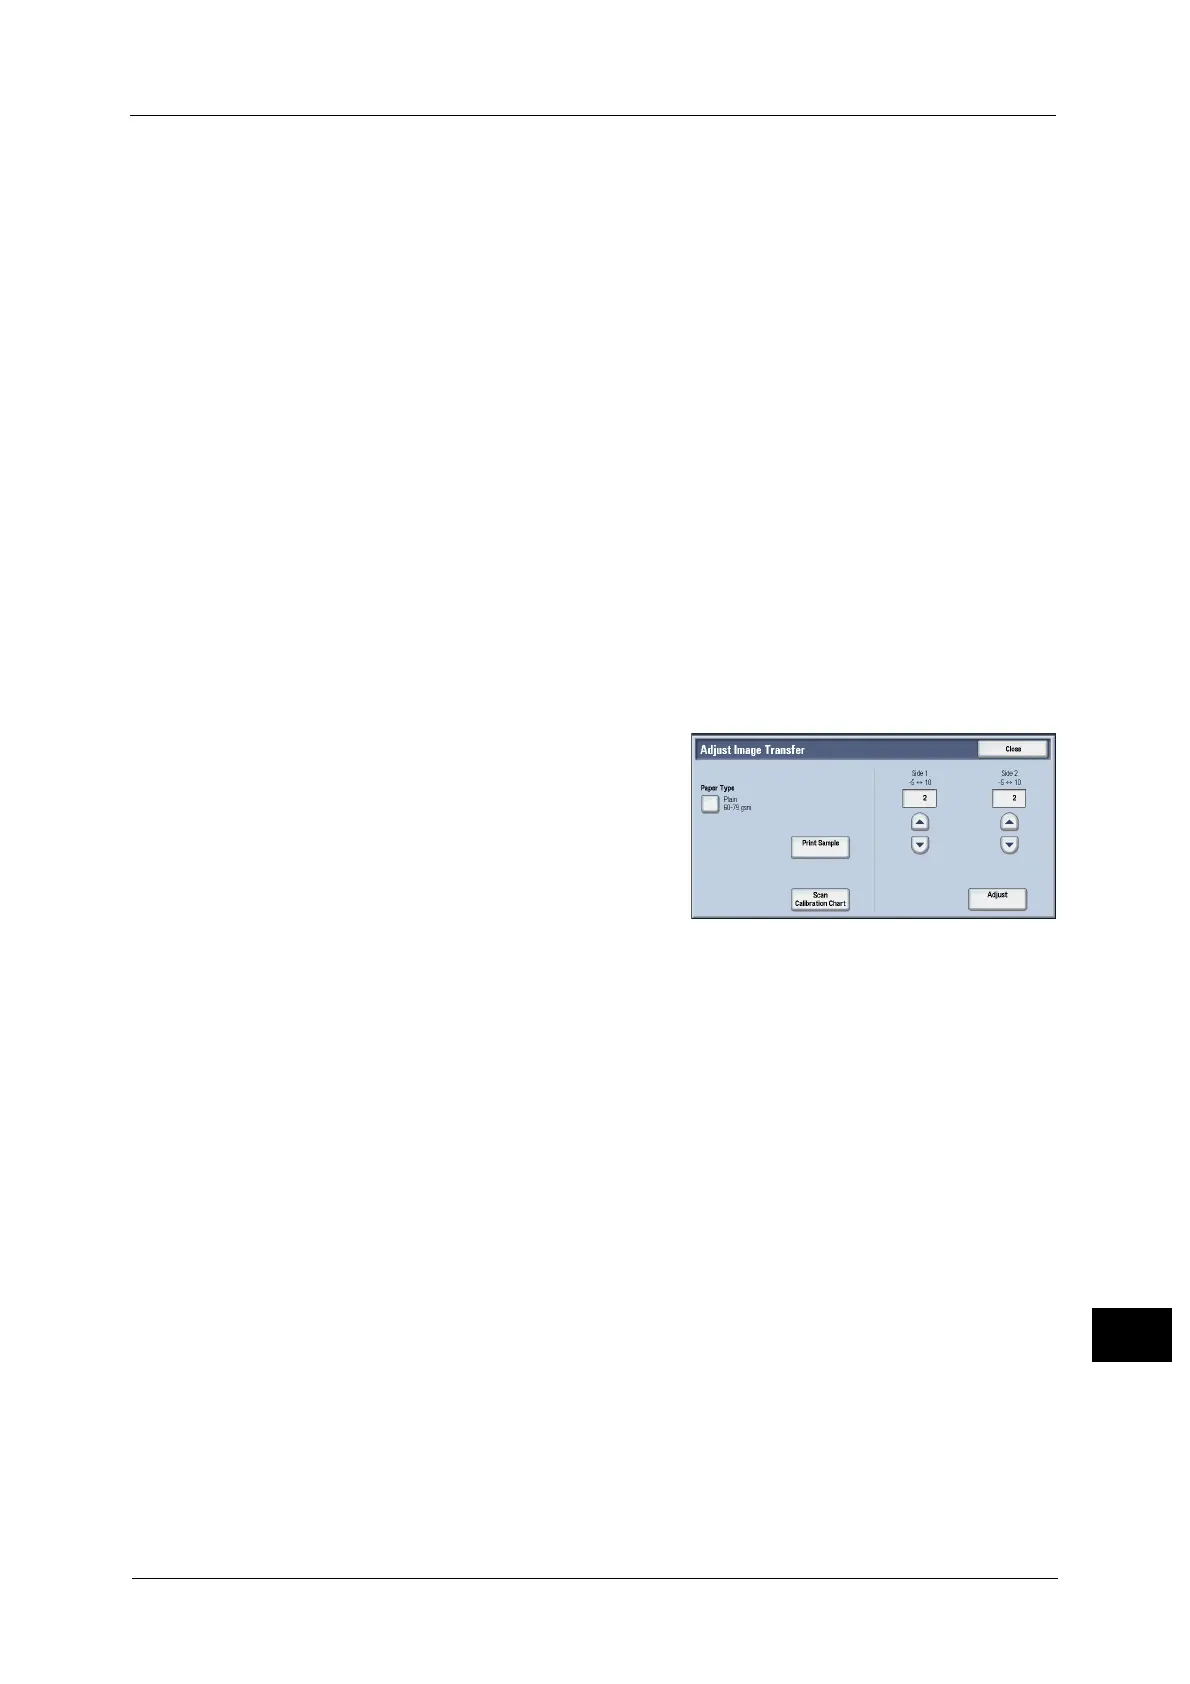
14 Recommendable adjustment setting (sample
number) is displayed on [Side 1] and [Side 2] .
15 Select [Adjust].
The specified transfer output values will be applied.
16 Select [Close].
 Loading...

