21
Using the Camera
2
20
ERASE OK?
YES
CANCEL
YES
CANCEL
SPOT
1
2
M
OFF
OFF
AUTO
0
:
:
:
:
:
:
PHOTOMETRY
1
2
M
OFF
OFF
AUTO
:
:
:
:
:
:
0
SHOOTING MODE
OFF
OFF
:
:
:
:
:
:
AUTO
1
2
M
M
S
A
0
Using the Menus
1Displaying the menu.
Press the “MENU/OK” button.
Instructions for the next step in the procedure
appear at the bottom of the LCD monitor. Press
the button indicated.
In the right side LCD monitor, press the
“MENU/OK” button to erase the displayed frame.
To cancel erasing, press the “DISP/BACK” button.
Up, down, left and right are indicated by black triangles in the Owner’s Manual. Up or down is shown
as “a” or “b”, and left or right is shown as “d” or “c”.
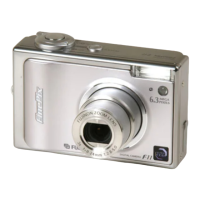
◆ Displaying the on-screen Help ◆
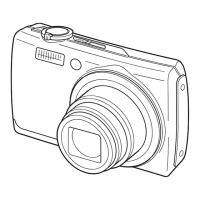
Zoom button
Photography: Press “ T ” to zoom in (telephoto).
Press “ W ” to zoom out (wide-angle).
Playback: Press “ T ” to enlarge the image.
Press “ W ” to revert to normal display.
Photo mode button
Photography: Select the
quality mode, sensitivity and
FinePix COLOR settings.
Playback: Specify the print
order (DPOF) settings.
(Playback) button
Press the “ ” button for about 1
second to turn the camera on in
Playback mode. Pressing the
“ ” button toggles between
Photography mode and Playback
mode.
g button
Photography: d button Turns Macro
( ) on and off.
c button Sets the Flash ( ).
Playback: Change frame or movie frame
advance.
DISP/BACK button
DISP: Press this button to select the LCD
monitor display.
BACK: Press this button to stop a
procedure midway through.
5Confirming the setting.
Press the “MENU/OK” button.
2Selecting a menu option.
Press the up or down arrow
on the 4-direction button.
3Selecting an option.
Press the right arrow on the
4-direction button.
4Selecting a setting.
Press the up or down arrow
on the 4-direction button.
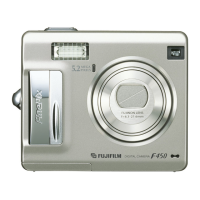
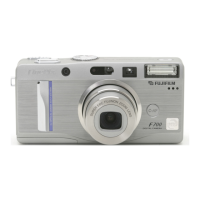
This section describes the camera’s functions.
Still
photography
Movie recording
Photography mode selector
Shutter speed / Aperture button
Selecting the Photography mode to “S” sets shutter
speed and to “A” sets aperture setting.
Auto
Scene position
Natural light
Manual
Shutter priority AE
Aperture priority AE
Movie
Turn the Mode switch to select the Photography mode.
Low light view button
The LCD monitor brightness is increased briefly.
BASIC OPERATION GUIDE
2
Using
the Camera
 Loading...