
J
John LangAug 20, 2025
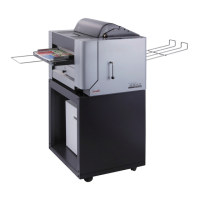
What to do if my FUJIPLA AL-MEISTER ALM3222 Laminator displays 'LAMINATION ERROR' or 'DISCHARGE ERROR' and the sheet won't come out?
- RRegina RasmussenAug 20, 2025
If your FUJIPLA Laminator shows a 'DISCHARGE ERROR' or 'LAMINATION ERROR', it indicates the laminated paper is stuck. Here's what to do: * Open the Feeder cover. * Cut the upper and lower film just below the guide roll. * Turn the operation lever to the OPEN position. * Firmly hold the cut film and pull it out. * Press the RESET button. If the sheet remains stuck, turn off the power and contact your dealer or the DryLam Tech-Line.