The FAULT LED for the DI (IN) port to which the cable is to be connected and the FAULT LED for the DI
(OUT) port blink on and off.
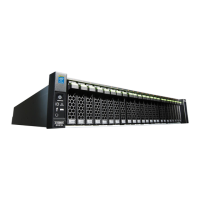
Drive enclosure 2
(drive enclosure
that is to be added)
Drive enclosure 1
Connect
here
Connect
here
16 Click the [Next >>] button.
A screen that indicates the drive enclosure has been added appears.
17 Click the [Done] button.
The [Add Drive Enclosure] screen closes and the screen display returns to the [Drive Enclosure] screen.
18 In the [Storage] screen of [Component], check that the added drive enclosure is displayed.
19 To install more additional drive enclosures, repeat Step 1 to Step 18.
20 Install the drives.
For details on drive installation, refer to "Additional Drive Installation Procedure" (page 48).
21 If a wrist strap is used, remove the wrist strap.
4.
Component Expansion/Function Enhancement
Installing Additional Drive Enclosures
68
FUJITSU Storage ETERNUS DX60 S4, ETERNUS DX60 S3 Hybrid Storage Systems Operation Guide (Basic)
Copyright 2018 FUJITSU LIMITED
P3AM-9012-08ENZ0

 Loading...