En-27
3. SETTING
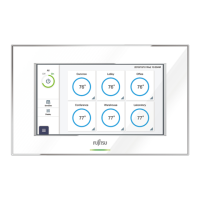
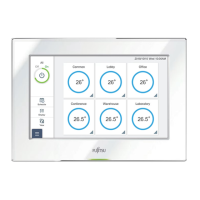
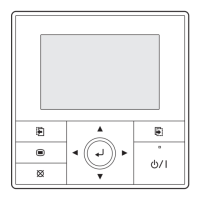
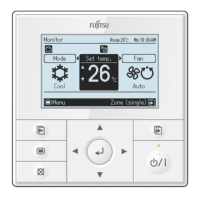
Set the required basic settings to use this controller. Tap the Menu button and select the menu you want to set. Perform
the setting according to the pop-up.
3 4
Menu button
Menu
5
No. Menu Seq Submenu Description Chap. No.
“Group Setting” 1 “Create New Group”
Sets grouping, group name operated from
this controller.
3-1-1
“Outdoor Unit”
1 “Operation Setting”
Sets the volume of the operating noise of the
outdoor unit.
3-2-1
2 “Schedule Setting”
Sets the schedule for controlling the
operation noise of the outdoor unit.
3-2-2
3
“Preference”
1 “Backlight Setting” Sets the backlight of screen.
3-3-1
2 “Panel Calibration” Calibrates the touch panel position.
3-3-2
3 “Sound Setting” Sets the Beep sound.
3-3-3
4 “Date Setting” Sets the date and time.
3-3-4
5 “Password Setting” Sets the passwords.
3-3-5
4
“Maintenance”
1 “Error History” Displays the error history.
3-4-1
2 “Display Sensor Values” Displays the sensor values.
3-4-2
3 “Information” Displays the version information.
3-4-3
4 “Test Operation” Perform the test operation of the indoor unit.
3-4-4
5
“Installer Setting”
1 “Language Setting” Sets the languages.
3-5-1
2
“Central controller
Address Setting”
Sets the Central Controller address.
3-5-2
3 “Indoor Unit Registration” Registers the indoor unit.
3-5-3
4 “Temp. Unit Setting” Sets the temp. unit.
3-5-4
5 “Pressure Unit Setting” Sets the pressure unit.
3-5-5
6 “Remote Setting” Sets the remote operation.
3-5-6
7 “External Input Setting” Sets the external input.
3-5-7
8 “Mail Setting” Performs the mail setting.
3-5-8
9 “Timer Setting” Sets the timer.
3-5-9
10
“Indoor Unit Sensor
Room Temp. Display
Setting”
Sets the room temp. display.
3-5-10
11 “Initialization” Performs the initialization.
3- 5-11

 Loading...