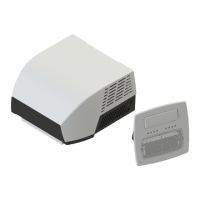
5. Secure the gasket and marker light bracket onto your
vehicle using four flat head #6 x 3/4” self-drilling screws.
If the mounting surface is uneven, apply sealant around
the gasket for better sealing.
#6x
3
/
4
" flat head
#2 Phillips head
Mount Cameras (right side shown)
• Reattach the camera to the marker light bracket.
Before fixing the camera, check its pairing status
with the monitor by resuming power temporarily.
Forincandescent lights, make sure the removable light
bulb is properly installed before replacing the lens cover.
Ensure that the lens on the camera face backwards after
installation, with the MONITOR PAIRING button at the
bottom.
If you cannot find the video from the camera on the
monitor screen or you have an unbundled camera, see
the Quick Start Guide for the monitor or online user
manual for pairing procedures.
1
3
2
#1 Phillips head
#4x
1
/
4
" self-tapping
• For the rear camera, mount the antenna onto the
camera securely and keep the antenna straight, adjust
the view angle of the camera by rotating it upwards and
downwards (0~50°) so that you can see the bottom edge
of your vehicle and the road conditions behind.
Torque: ≤8 In-lbs
Tip: See the complete user manual online for detailed
functional explanations.
IG-FCM00009 V2.0
Furrion Innovation Center & Institute of Technology
• 52567 Independence Ct., Elkhart, IN 46514, USA
©2007-2020 Furrion Ltd. Furrion® and the Furrion logo are
trademarks licensed for use by Furrion Ltd. and registered
inthe U.S. and other countries.
Patents pending (FCE48TASL)
?
@
www.furrion.com/support
support@furrion.com
1-800-789-3341
 Loading...