4
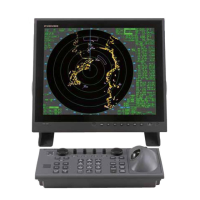
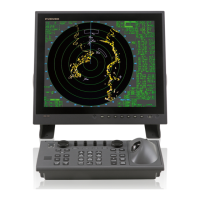
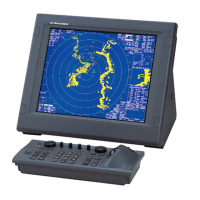
3 Fasten the control unit to the console.
1) Remove the bottom cover of the console panel and the duct cover attached to the right side of the con-
sole.
2) Set flush mount plate B (for RCU-014) or flush mount plate C (for RCU-015) to the console panel.
3) Set the control unit (RCU-014 or RCU-015) to the hole of the flush mount plate B or flush mount plate
C, which is set to the console panel.
4) Draw the signal cable from the control unit into the console and route it through the right duct.
5) Fasten the flush mount fixture (4 pcs. for RCU-014, or 6 pcs. for RCU-015) to the rear side of the control
unit (which is set to the flush mount plate B or flush mount plate C) with washer-head screws (M4×12).
6) Screw nut (M5) onto wing screw (M5×40). Screw in the wing screw in other hole in the flush mount fix-
ture to fasten the control unit to the console and then tighten the nut.
Flush Mount Plate
Control Unit
Console Panel
View
A
Duct Cover (back)
Duct
Signal Cable from Control Unit
View
B
Bottom Cover of
Console Panel
A
B
View
View
RCU-014
Flush Mount Fixture
RCU-014: 4 pcs.
RCU-015: 6 pcs.
RCU-015
Washerhead Screw
M4x12
RCU-014: 4 pcs.
RCU-015: 6 pcs.
Wing Screw M5x40
Control
unit
Flush
Mount
Fixture
A
A
A
RCU-014: 4 pcs.
RCU-015: 6 pcs.
Nut M5

 Loading...