13. Route Planning
13-2
13.2 Main Menu for Route Planning
The main parameters for the route planning are:
• Latitude and longitude of the waypoint
• Channel limits to the waypoint
• Turning radius of the waypoint
• Maximum and minimum speed limits for a leg
There are two phases for a route: Route Plan and Route Monitor. Route plan is used for planning the route and route
monitor is used to control a route for monitoring.
To complete route planning, do the following
1. Create a new route or choose an existing one. See paragraph 13.4 “Creating a New Route”.
2. Modify your route if necessary. See paragraph 13.5 “Modifying an Existing Route”.
3. Make chart alarm (safe water) calculation. See paragraph 13.4.3 “Using the check page”.
4. Optimize your route. See paragraph 13.6 “Route Optimization”.
Description of Plan Route menu
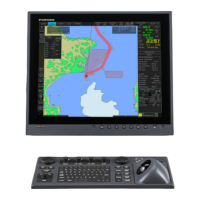
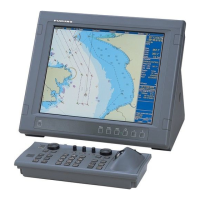
1. Place the cursor on Route in the status bar, and the following dialog box appears:
2. Click the Plan button to open the Plan Route dialog box. The Plan Route dialog box appears together with the
Plan Route menu, shown below.
3. The Plan Route menu is where you select, unselect or create a route. If it is not shown, that is, a route has been
selected, you can show it by placing the cursor on the triangle in the Plan Route dialog box.
Select:
Choose an existing route and edit it for use. Choose Select from the menu and
push the thumbwheel, and a list box appears. Spin the thumbwheel to choose
appropriate route from the list box, push the thumbwheel to confirm and then
click the OK button.
Unselect:
Deselect a route here. The operation is similar to how you select a route.
Create:
Create a new route. An input box appears; enter name for new route, using the
thumbwheel. The route name may have up to 30 alphanumeric characters. See
also paragraph 13.4.
Exchange with Monitored:
This function exchanges planned and monitored routes. Planned route is used both as alternative route and as an
editable route.
 Loading...