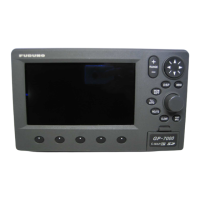
9. OTHER FUNCTIONS
9-14
10. Select [4 BPS].
11. Select [1 4800 bps], [2 9600 bps] or [3 38400 bps].
12. Select [5 Sentence].
13. Use the cursorpad to select the sentence then press the NU/CU ENT key.
14. Use the cursorpad (W or X) to select the TX interval. TX interval is available in [-
- -] (off), [0.1s]*, [0.2s]*, [1s], [2s], [3s], [4s], [5s], [6s], [10s], [15s], [20s], [30s],
[60s] and [90s].
*: Only for GGA, GLL, GNS, RMC and VTG when selecting [38400 bps] at step 11.
15. Press the NU/CU ENT key.
Note 1: Keep the Load Rate below 100% when setting the TX intervals. The TX
interval for other than the ZDA sentence cannot be guaranteed if the rate exceeds
100%.
Note 2: For the TX interval of [0.1s] or [0.2s], set the positioning cycle (refer to
paragraph 9.3.7) as follows:
• For [0.1s], set the positioning cycle at 10Hz.
• For [0.2s], set the positioning cycle at 5Hz or 10Hz.
16. Set [2 Output Data2], [3 Output Data3] and [4 Output Data4] as well.
17. Press the MENU/ESC key to close the main menu.
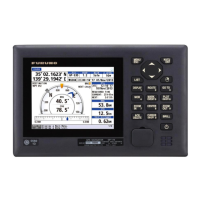
9.6.2 How to set the Ethernet
1. Press the MENU/ESC key to open the main menu.
2. Select [7 I/O] then [5 Ethernet].
3. Select [1 Sentence].
4. Use the cursorpad to select the sentence
then press the NU/CU ENT key.
5. Use the cursorpad (W or X) to select the TX
interval. TX interval is available in [- - -] (off),
[0.1s]*, [0.2s]*, [1s], [2s], [3s], [4s], [5s], [6s],
[10s], [15s], [20s], [30s], [60s] and [90s].
*: Only for GGA, GLL, GNS, RMC and VTG.
 Loading...