1–3
Note 1: When PDOP value exceeds 6 in
the 3D mode, the position fixing method
is automatically changed to 2D.
Note 2: The "DEMO" icon appears when
the display is in the demonstration mode.
To return to normal mode, turn off the
power and turn it on while pressing and
holding down the [NU/CU ENT] key.
Turning off the power
Press the [POWER] key.
The next time you turn on the power the unit
starts up with the last used display mode.
1.3 Adjusting Display
Contrast and Brilliance
1) Press the [TONE] key. The display shown
in Figure 1-3 appears.
Tone:
Brilliance:
[–] [+]
MENU : Escape
8 (0~31)
4 (0~4)
Figure 1-3 Screen for adjustment
of display contrast and brilliance
2) To adjust contrast, press t or s. Cur-
rent setting and setting range (0–31) are
shown to the right of "s".
3) To adjust brilliance, press ▲ or ▼. Cur-
rent setting and setting range (0–4) are
shown to the right of "▲".
Note: Operate cursor keys within 10
seconds after pressing the [TONE] key.
Otherwise, the screen for adjustment of
contrast and brilliance will be cleared.
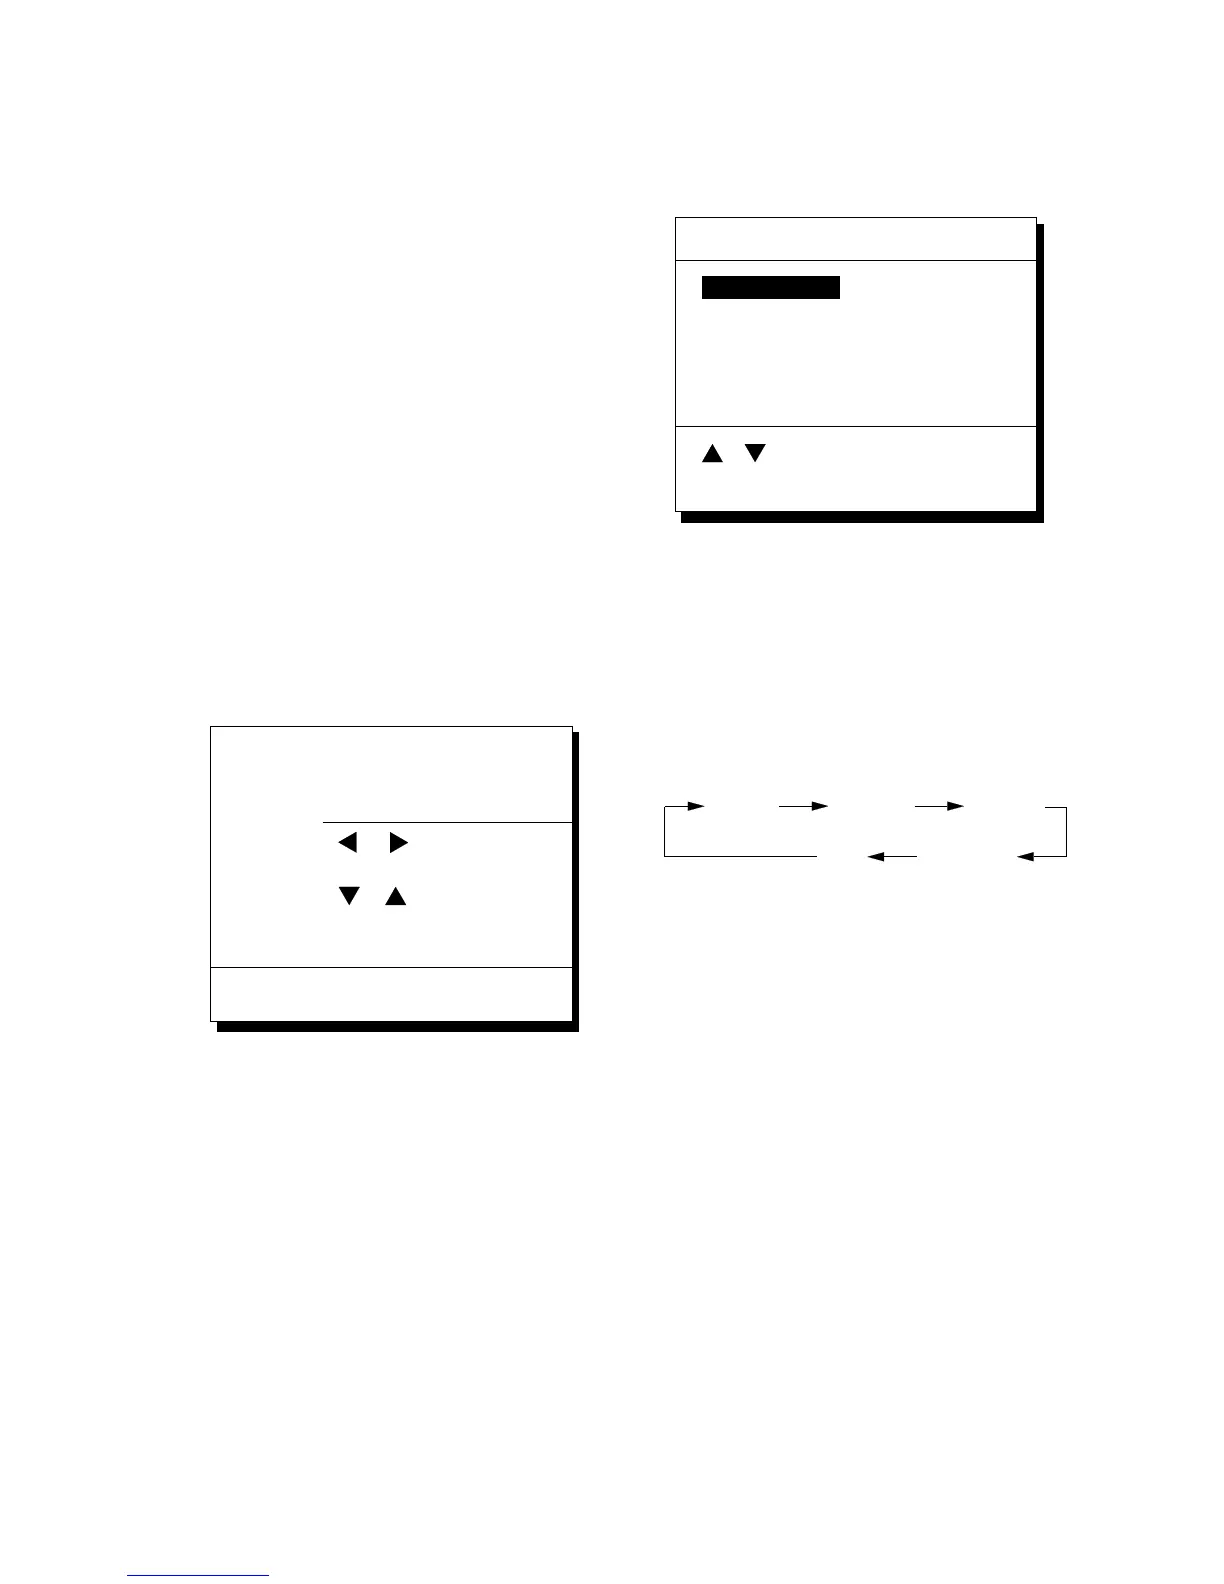
1.4 Display Mode
1) Press the [DISPLAY SEL] key. The dis-
play shown in Figure 1-4 appears.
Plotter 1
Plotter 2
Highway
Navigation
Data
Select Display
Plotter 1
MENU : Escape
: Select
Figure 1-4 Screen for
selection of display mode
2) Press the [DISPLAY SEL] key, ▲ or ▼
to select display mode. (When the [DIS-
PLAY SEL] key is pressed, the display
mode changes in sequence shown below.)
Selected display mode appears about 15
seconds later.
 Loading...