B
B
X
X
/
/
B
B
X
X
G
G
-
-
1
1
0
0
0
0
0
0
S
S
e
e
r
r
i
i
e
e
s
s
G
G
r
r
o
o
o
o
v
v
e
e
M
M
e
e
a
a
s
s
u
u
r
r
e
e
m
m
e
e
n
n
t
t
G
G
a
a
g
g
e
e
O
O
p
p
e
e
r
r
a
a
t
t
i
i
o
o
n
n
M
M
a
a
n
n
u
u
a
a
l
l
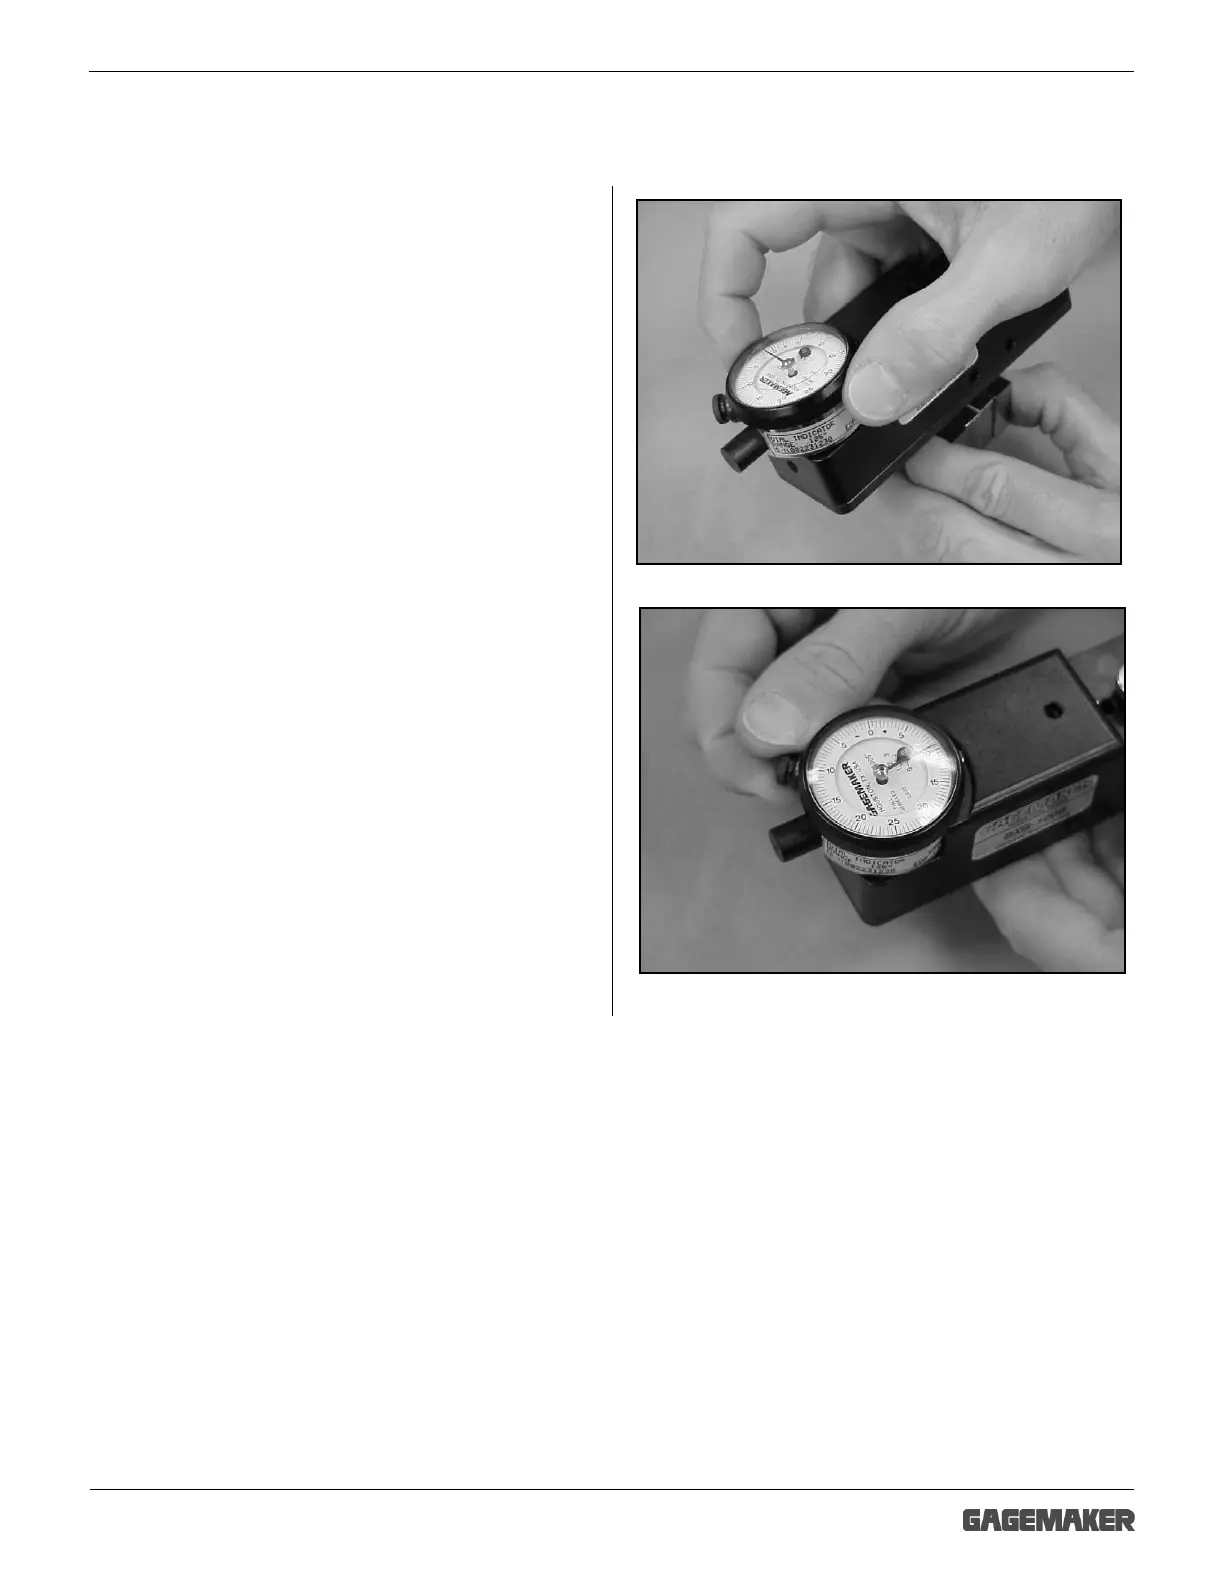
Zeroing the BXG-1000 Gage Using Gage Blocks (continued)
7. Turn the indicator dial on the BXG-1000 gage
to align the needle with zero.
8. Tighten the indicator clamp.
Note: Note the position of the small revolution
counter on the indicator before removing
the gage. Place a piece of masking tape on
the side of the gage and record the dial
setting of the small revolution counter to
eliminate incorrect indicator readings.
9. Set a frequency for verifying the zero setting of
all gages. As a minimum, the BXG-1000 gage
should be zeroed on gage blocks once during
each shift to ensure accurate readings.

 Loading...