EasyManuals Logo
Home>GAGEMAKER>Measuring Instruments>PG-6000

GAGEMAKER PG-6000 User Manual

GAGEMAKER PG-6000
24 pages
To Next Page IconTo Next Page
To Previous Page IconTo Previous Page
Page #13 background imageLoading...
Page #13 background image
P
P
G
G
-
-
6
6
0
0
0
0
0
0
T
T
h
h
r
r
e
e
a
a
d
d
D
D
i
i
a
a
m
m
e
e
t
t
e
e
r
r
G
G
a
a
g
g
e
e
O
O
p
p
e
e
r
r
a
a
t
t
i
i
o
o
n
n
M
M
a
a
n
n
u
u
a
a
l
l
13
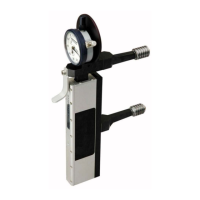
Zeroing the PG-6000 Gage Using Gage Blocks (continued)
6. Slide the lower adjuster arm approximately
.050” away from the upper arm to give the gage
the proper preload.
7. Tighten the bent bolt to secure the adjuster arm
in place.
8. Pull the retraction lever on the PG-6000 and
insert the thread rolls between the gage
block(s).
Questions and Answers:

Question and Answer IconNeed help?

Do you have a question about the GAGEMAKER PG-6000 and is the answer not in the manual?

GAGEMAKER PG-6000 Specifications

General IconGeneral
BrandGAGEMAKER
ModelPG-6000
CategoryMeasuring Instruments
LanguageEnglish

Related product manuals