Hardware Used
Nut
x 4
AA
DD
4
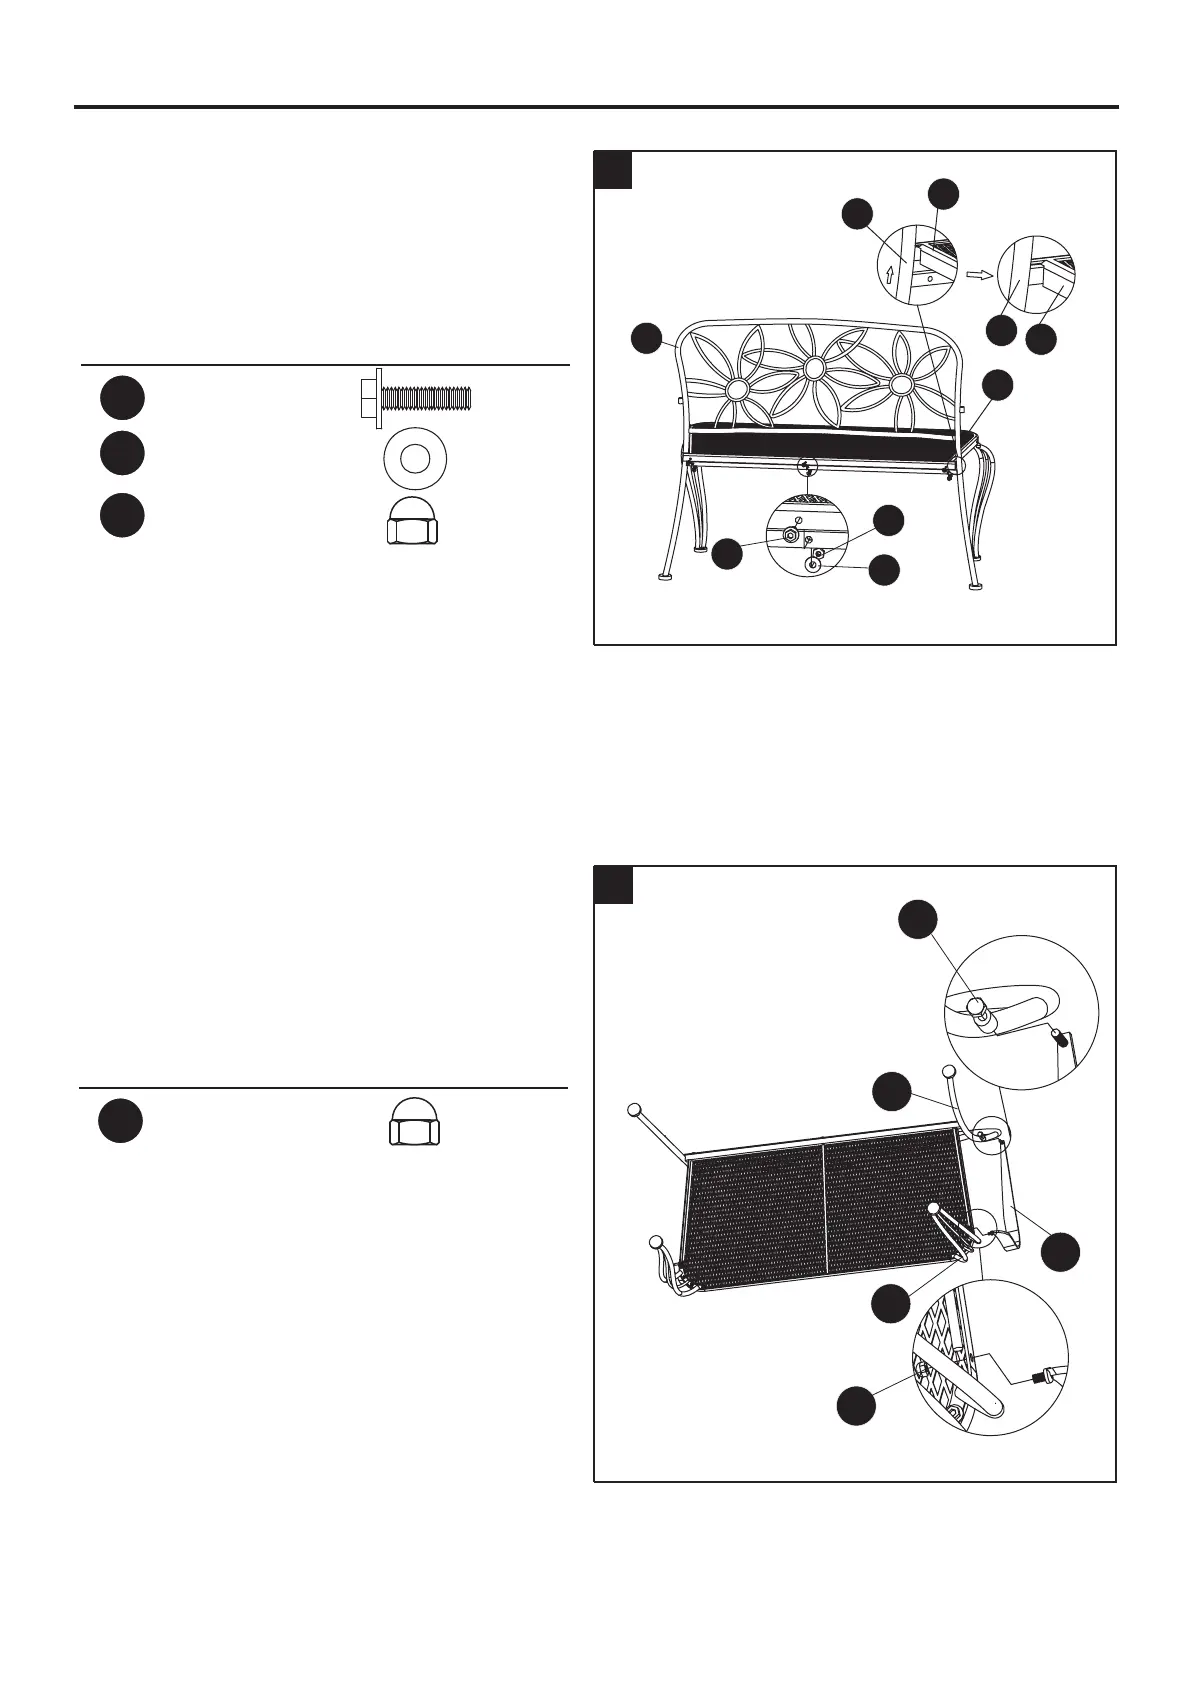
2. Attach the back (F) to the seat (A).
Line up the holes, insert an M6 x 22 L
bolt (BB) through the back (F), through the
seat (A), through a washer (CC) and secure
with a nut (DD). Do not tighten.
3. Attach the right arm (D) to the back (F) and
the seat (A). Line up the holes and secure
with a nut (DD) for each. Do not tighten.
Repeat the procedure for the left arm (E).
Tighten all bolts. Your bench is ready
for use.
ASSEMBLY INSTRUCTIONS
2
Hardware Used
M6 x 22 L Bolt
x 3
Nut
x 3
AA
BB
AA
CC
Washer
x 3
AA
DD
3
A
F
BB
CC
DD
F
A
A
F
DD
D
B
F
DD
 Loading...