24 VAC
VALVES
S/N: 00000000
MASTER
123456CCM
TOP
RESET 5s
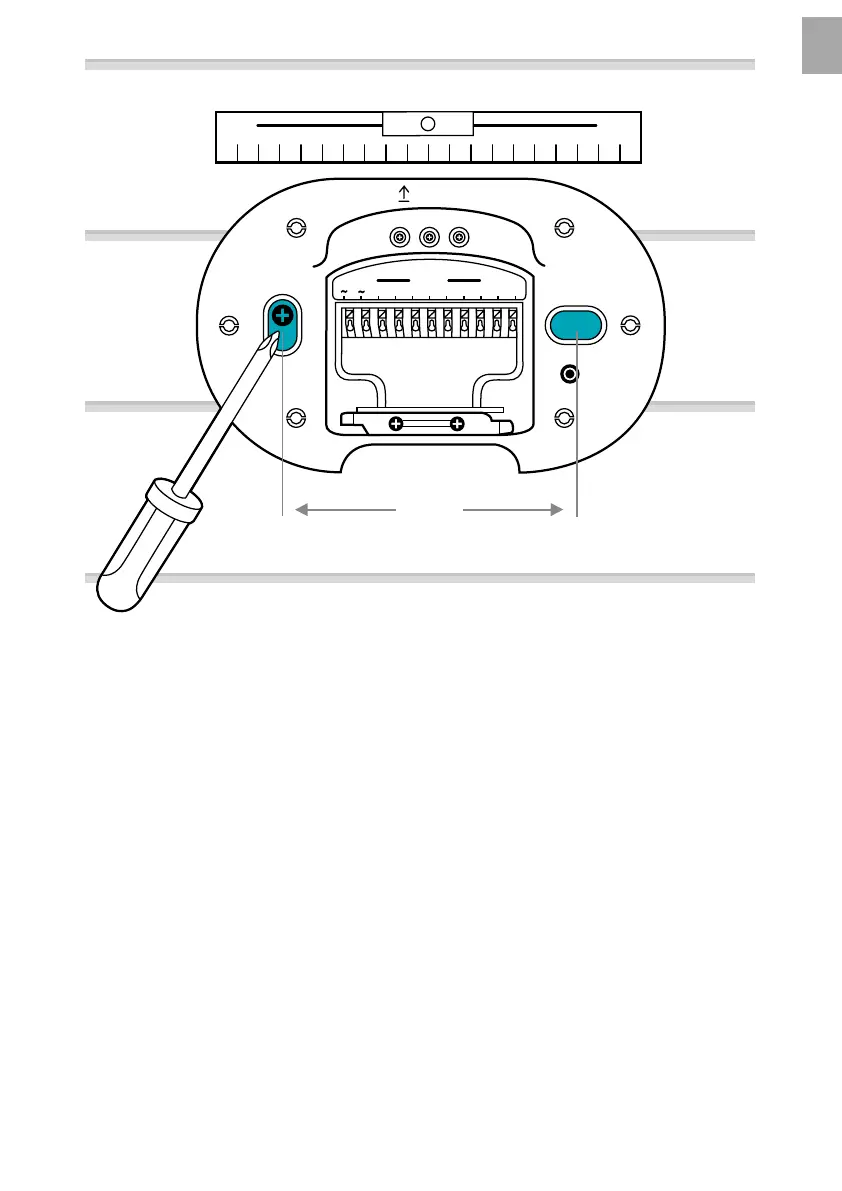
120 mm
2. Mark the positions of the holes. To do this, hold the Irrigation Control
against the wall, bring it straight and mark 2 holes at a distance of
120mm.
3. Drill the holes and assemble the Irrigation Control to the wall with the
2plugs and screws supplied.
NOTE:
The cables must be led downwards!
Pay attention to the cable lengths, especially during initial installation.
If you want to mount several irrigation controls, the distance between the holes
is 150 mm.
Due to the cable routing, up to 3 Irrigation Controls can be assembled on top
of each other.
7
EN