o
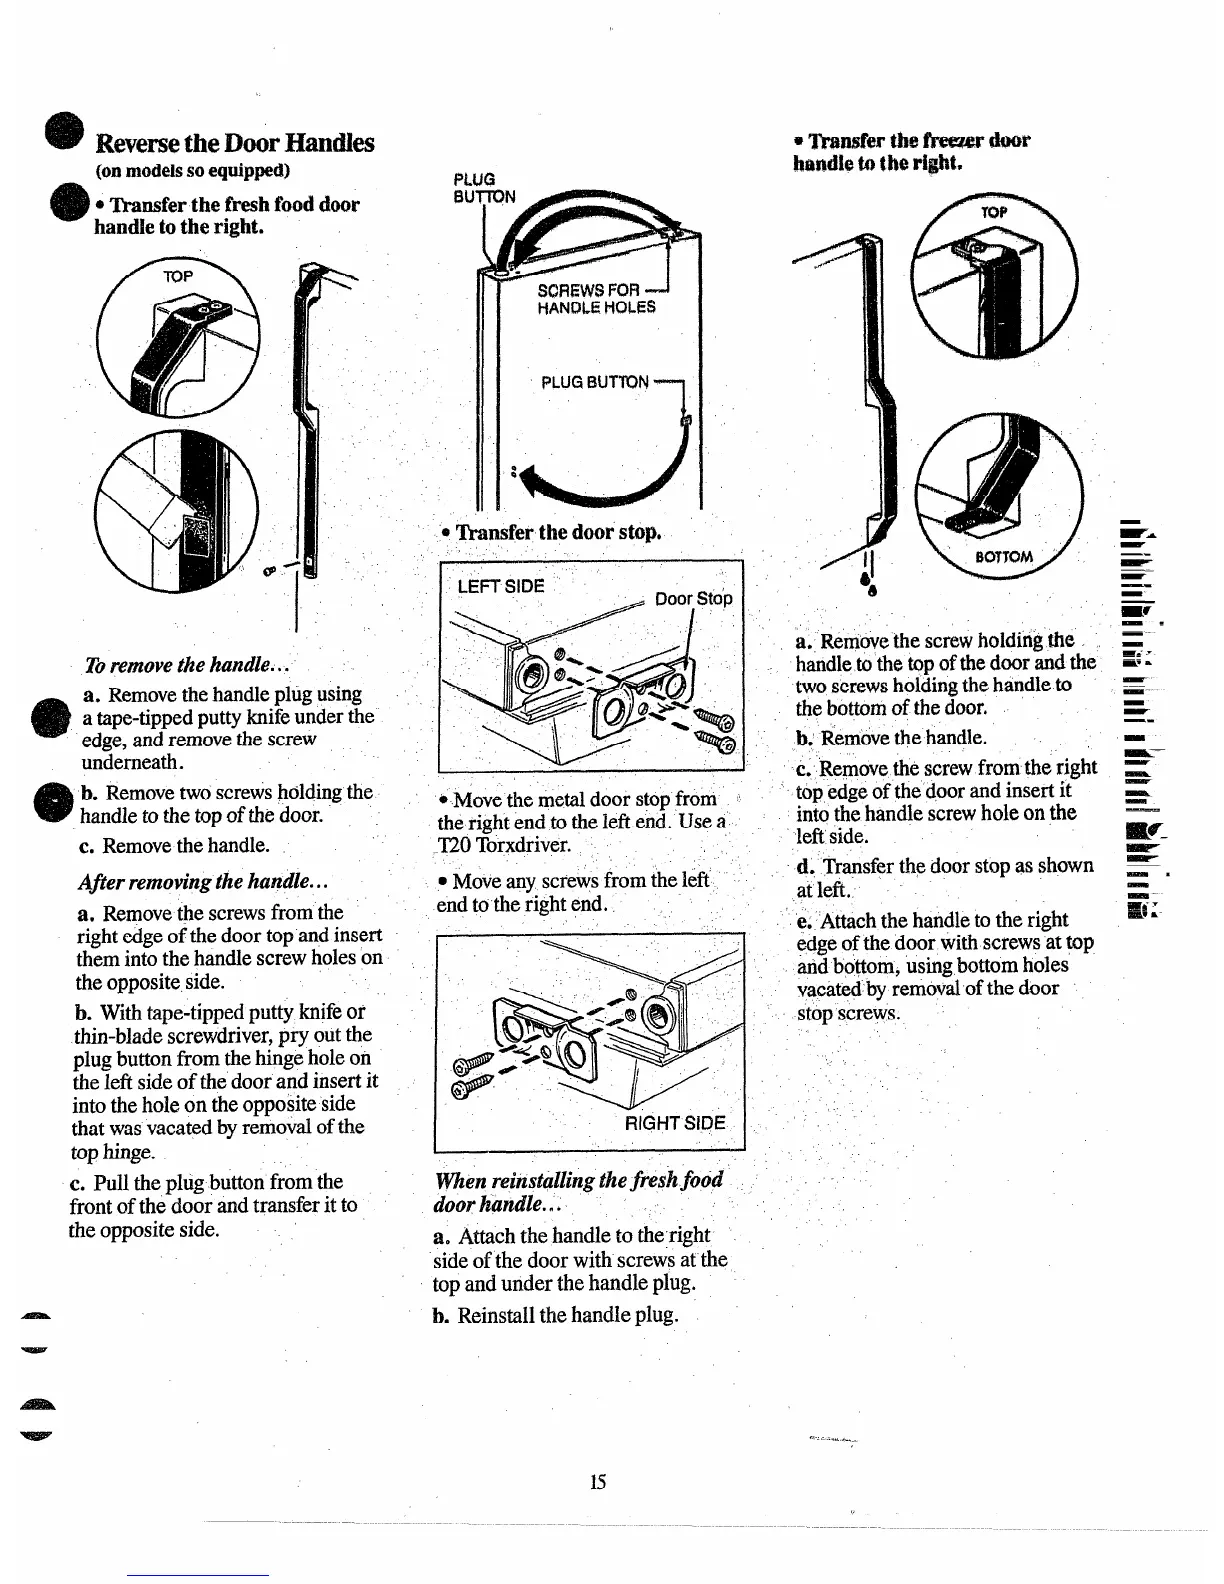
Reveme theDmrHmdm
(on
modelsSO(?cjtipWd)
PLUG
I
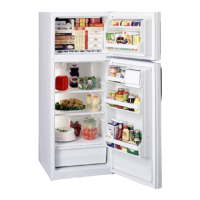
Toremovethehandle...
m
a. Removethehandlepltigusing
atape-tippedputtyknifeunderthe
edge,andremovethescrew
underneath.
@
b. Remove twoscrewsholdingthe
handletothetopofthedoor.
c.
Remove thehandle.
Afterremovingthehandle...
a. Removethescrewsfromthe
rightedgeofthedoortopandinsert
themintothehandlescrewholeson
theoppositeside.
b. Withtape-tippedputtyknifeor
thin-bladescrewdriver,pry outthe
plugbuttonfromthehingeholeon
theleftsideofthedoorandinsertit
intotheholeontheoppositeside
thatwasvacatedbyremovalofthe
tophinge.
c. I?ulltheplugbuttonfromthe
frontofthedoorandtransferitto
theoppositeside.
PLUGBUT~N
-1
Movethemetaldoorstopfrom II
therightendtotheleftend.Usea
.T20Torxdriver.
,,
a. Reriiovethescrewholdingtie
handletothetopofthedoorandthe
twoscrewshoidingthehandleto
thebottomofthedoor.
b;
Remove thehandle.
~c. Removethescrewfromtie right
topedgeofthe’doorandinserti[
intothehandlescrewholeonthe
leftside.
d. TrWsferthedoorstopasshown
. Moveanyscrewsfromtheleft
atleft.
endtotherightend.
.’
‘e.Attachthehandletotheright
\ .
edgeofthedoorwithscrewsat}op
andbottom,usingbottomholes
L
&
~
\ ~.::@/
vacatedbyremovalofthedoor
stopscrews.
g%-
‘
‘“
I
RIGHTSIDE I
I
I
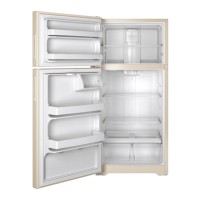
menreitistallingthefreshfood - -
doorhandle...
a. Attachthehandleto theright
sideofthedoorwithscrewsatthe
topandunderthehandleplug.
b. Reinstallthehandleplug.
,---.-.-,....
15
“
 Loading...