Installatio
I str ct"
S
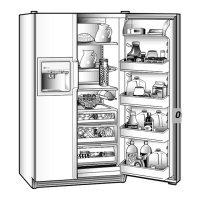
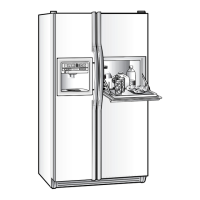
Refri erator
Models 21 and 25
Questions? Call 800.GE.CARES (800.432.2737) or visit our Website at: GEAppliances.com
in Canada, call 1.800.561.3344 or visit our Website at: www.GEAppliences.ce
BEFORE YOU BEGIN
Read these instructions completely and carefully.
• IMPORTANT-savetheseinstructionsforlocal
inspector'suse.
•IMPORTANT-Observeallgoverningcodesand
ordinances.
• NotetoInstaller- Besuretoleavetheseinstructionswith
theConsumer.
• NotetoConsumer - Keeptheseinstructionsforfuture
reference.
• Skill level- Installationof this appliance requires basic
mechanical skills.
• Completion time- RefrigeratorInstallation
20 minutes
Water Line Installation
S0 minutes
Anti-Tip Bracket Installation
20 minutes
• Properinstallation is the responsibilityof the installer.
• Productfailure due to improper installation is not covered
under the Warranty.
PREPARATION
MOVING THE REFRIGERATOR INDOORS
If the refrigerator will not fit through a doorway, the
refrigerator door and freezer drawer can be removed.
• Toremove the refrigerator door, see Step I in the
Reversingthe Door Swing section.
• Toremove the freezer drawer,see the Removingthe
FreezerDrawer section.
WATER SUPPLY TO THE ICEMAKER AND DISPENSER
(ON SOME MODELS)
Iftherefrigeratorhasanicemaker,itwill have
to beconnectedto acoldwaterline.AGEwatersupplykit
(containingtubing,shut-offvalve,fittingsandinstructions)is
availableat extracostfrom
yourdealer,byvisitingourWebsiteatGEAppliances.com(in
Canadaatwww.GEAppliances.ca)or from Partsand
Accessories,800.626.2002(InCanada1.800.661.1616).
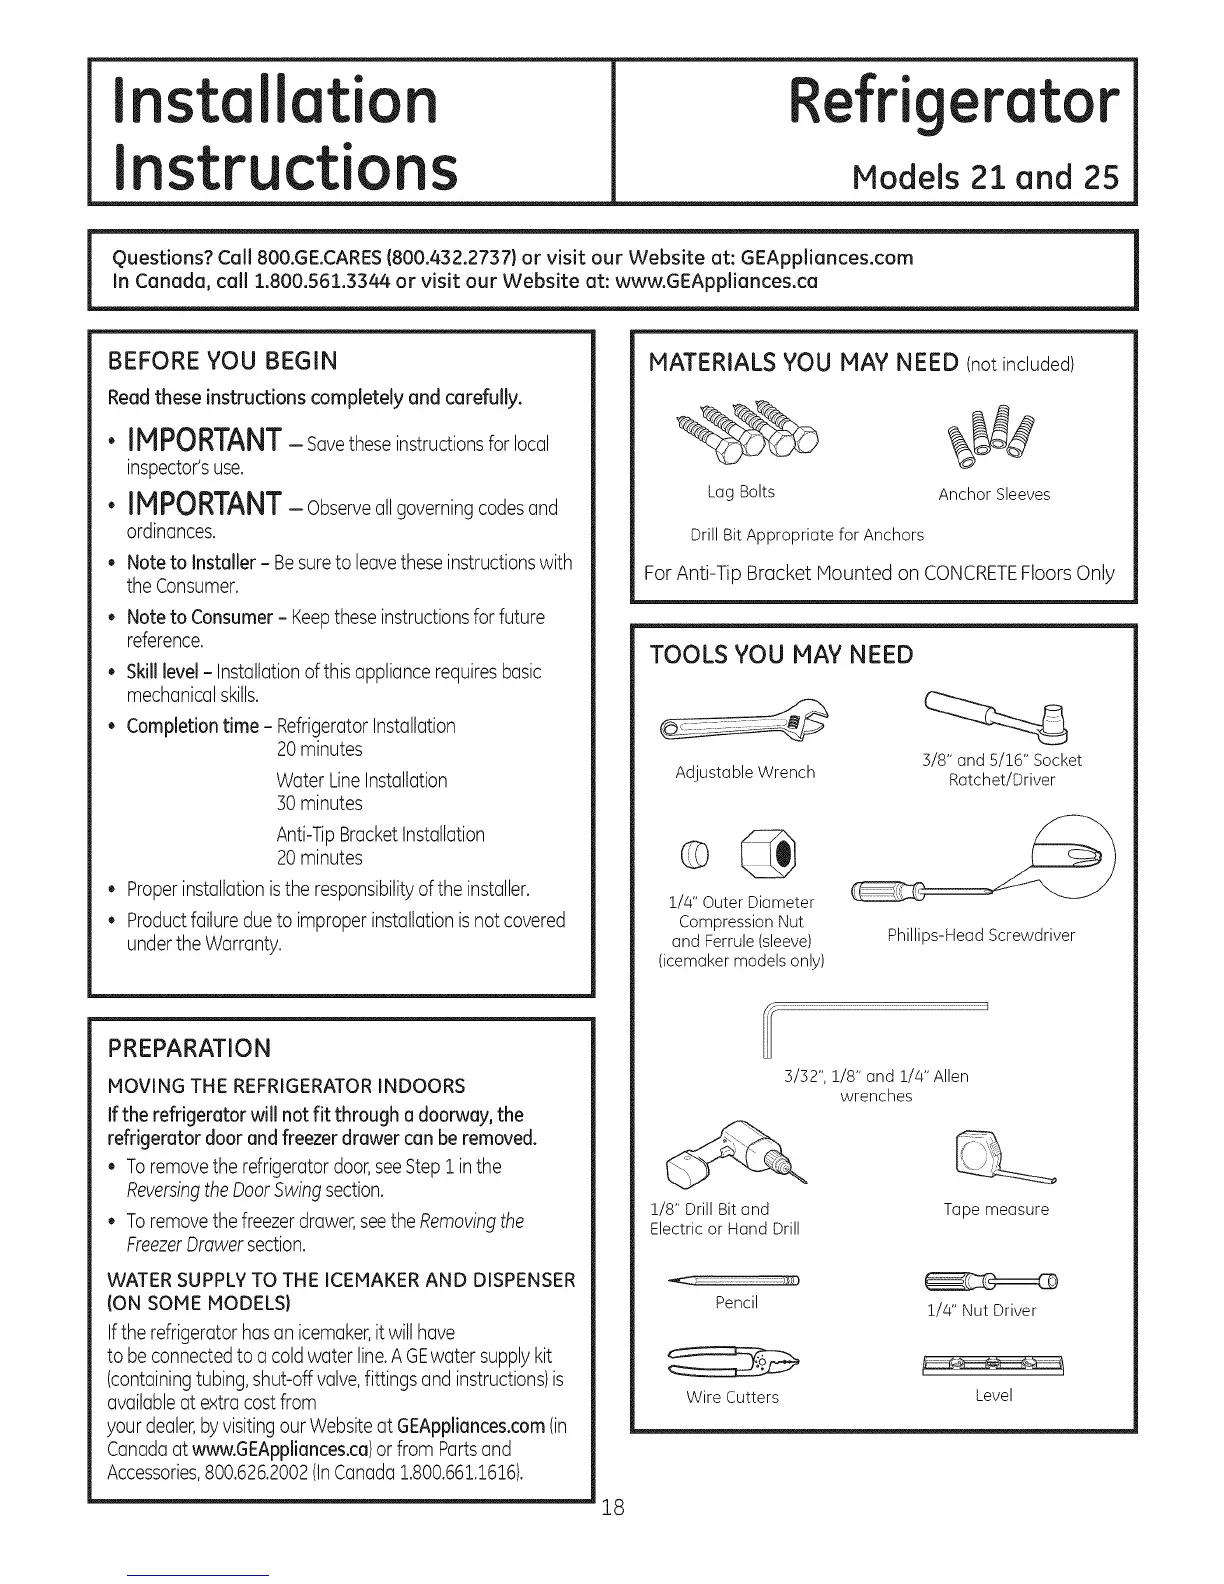
MATERIALS YOU MAY NEED (not included)
Lag Bolts
Drill Bit Appropriate for Anchors
Anchor Sleeves
For Anti-Tip Bracket Mounted on CONCRETEFloors Only
TOOLS YOU MAY NEED
Adjustable Wrench
3/8" and 5/16" Socket
Ratchet/Driver
1/4" Outer Diameter
Compression Nut
and Ferrule (sleeve)
(icemaker models only)
Phillips-Head Screwdriver
3/32", 1/8" and 1/4" Allen
wrenches
1/8" Drill Bit and
Electric or Hand Drill
Tape measure
Pencil
1/4" Nut Driver
Wire Cutters
Level
18