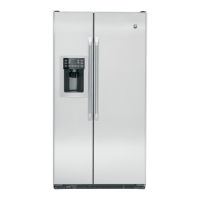
Installation Instructions
INSTALLING THE REFRIGERATOR
REFRIGERATOR LOCATION
• Donot installthe refrigerator where thetemperature will
go below60°F (16°C)because it will not run often enough
to maintain proper temperatures.
• Donot installthe refrigerator where thetemperature will
go above IO0°F(57°C)because it will not perform properly.
• Installit on a floor strong enough to support it fully loaded.
CLEARANCES
Allowthe following clearances for easeof installation,proper
air circulation and plumbing and electrical connections.
Standard Depth Counter Depth
Models Models
Sides 1/8" (3mm) 1/8" (3mm)
Top 1" (25mm) 1" (25mm)
Back 2" (50mm) 2" (50mm)
REMOVETOPCAP(onsome models)
• IMPORTANTNOTE:This refrigerator is 34-112" deep.
Doors and passageways leading to the installation
location must be at least 36" wide in order to leave the
doors and handles attached to the refrigerator while
transporting it into the installation location. If
passageways are lessthan 36", the refrigerator doors
and handles can easily be scratched and damaged.
Thetop cap and doors can be removed to allow the
refrigerator to be safely moved indoors. Start with StepA.
• If it is not necessary to remove doors, skip Step A. Leave
tape and all packaging on doors until the refrigerator is
in the final location.
• SKIDREMOVAL:Tilt refrigerator to each side to remove
skid.
• NOTE:Usea padded hand truck to move this refrigerator.
Placethe refrigerator on the hand truck with a side
against the truck. We strongly recommend that TWO
PEOPLEmove and complete this installation.
[_ Locateand remove the two Phillipshead screws on the
top ofthe refrigerator. Removethe two screws on each
sideat the rear of the top cap.
Liftoff and remove top cap.
[]_ Removethe fresh-food door. Referto Steps1 through 3
of "Reversingthe Door Swing"section.
[] Removethe bottom freezer drawer. Referto "Removing
FreezerDrawer" section.
[]_] Moverefrigerator to the installation location.
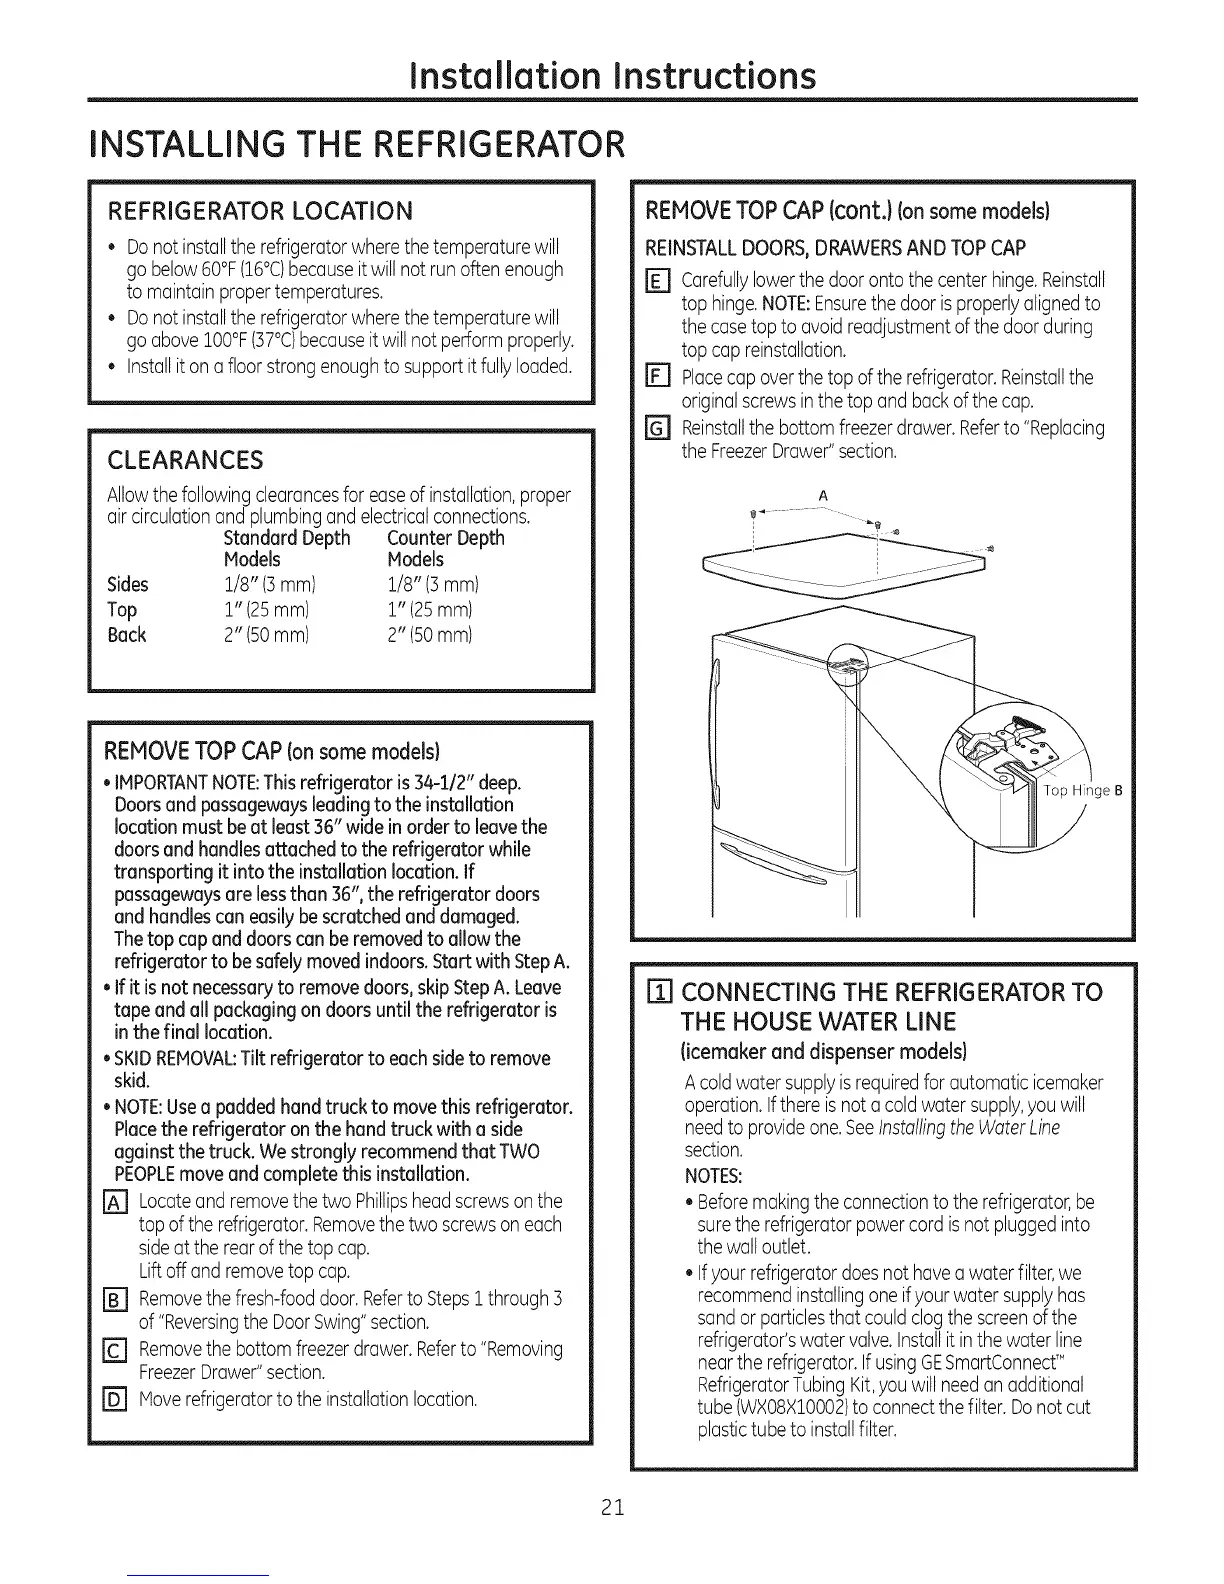
REMOVE TOP CAP (cont.)Ionsome models)
REINSTALLDOORS,DRAWERSAND TOP CAP
E] Carefullylower the door onto the center hinge. Reinstall
top hinge.NOTE:Ensurethe door is properly aligned to
the case top to avoid readjustment of the door during
top cap reinstallation.
r_ Placeca ) over the top of the refrigerator. Reinstallthe
original screws inthe top and back of the cap.
r_ Reinstallthe bottom freezer drawer. Referto "Replacing
the FreezerDrawer" section.
A
Top Hinge B
ITI CONNECTING THE REFRIGERATOR TO
THE HOUSE WATER LINE
(icemaker and dispenser models)
Acoldwatersupplyisrequiredforautomaticicemaker
operation.Ifthereisnot acoldwatersupply,youwill
needto provideone.SeeInstallingtheWaterLine
section.
NOTES:
• Before making the connection to the refrigerator, be
surethe refrigerator power cord is not plugged into
the wall outlet.
• Ifyour refrigerator does not have a water filter, we
recommend installing one if your water supply has
sandor particles that could clog the screen of the
refrigerator's water valve. Installit in the water line
near the refrigerator. If using GESmartConnecf"
RefrigeratorTubing Kit,you will need an additional
tube (WXOSXIO002)to connect the filter. Do not cut
plastictube to installfilter.
21
 Loading...