PanaFlow™ LC User’s Manual 17
Chapter 2. Installation
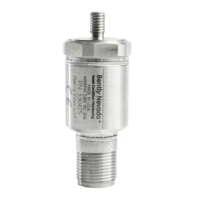
3. Determine the upstream and downstream ends of the pipe and place the appropriate transducer into
the corresponding block on one of the sub-assemblies. Make sure the transducer cable connector
faces away from the center of the installation.
Figure 21: Transducer Mounting on UCF (Top Left), MCF (Top Right), GCF (Bottom Left), and SCF
(Bottom Right)
4. Use the pressure bolt to secure the transducer in place. The pressure bolt should fit into the dimple
on the transducer. Hand tighten the bolt just enough to hold the transducer in place, but do not
overtighten it or the fixture will lift off the pipe.
5. Repeat Steps 1-4 to mount the other transducer in the fixed short block. See Figure 22 below for
completed typical clamping fixture installations.
6. Connect the other end of the transducer cables to the junction box in Section 4: Transducer Wiring of
this manual.
Note: If the transducers are mounted into the clamping fixtures properly, the two transducer cable connectors
will face away from each other as shown above.

 Loading...