49-60780-2 Rev. 4 11
Installation Instructions
INSTALLATION INSTRUCTIONS
REVERSING THE DOOR SWING (CONT.)
REMOVING THE DOORS (Cont.)
8. Remove the bottom hinge bolts and relocate the
bottom hinge to the opposite side of the cabinet.
Tighten bolts.
9. 8QVFUHZWKHKLQJHSLQDQGPRYHWRWKHRWKHUKROH
and tighten.
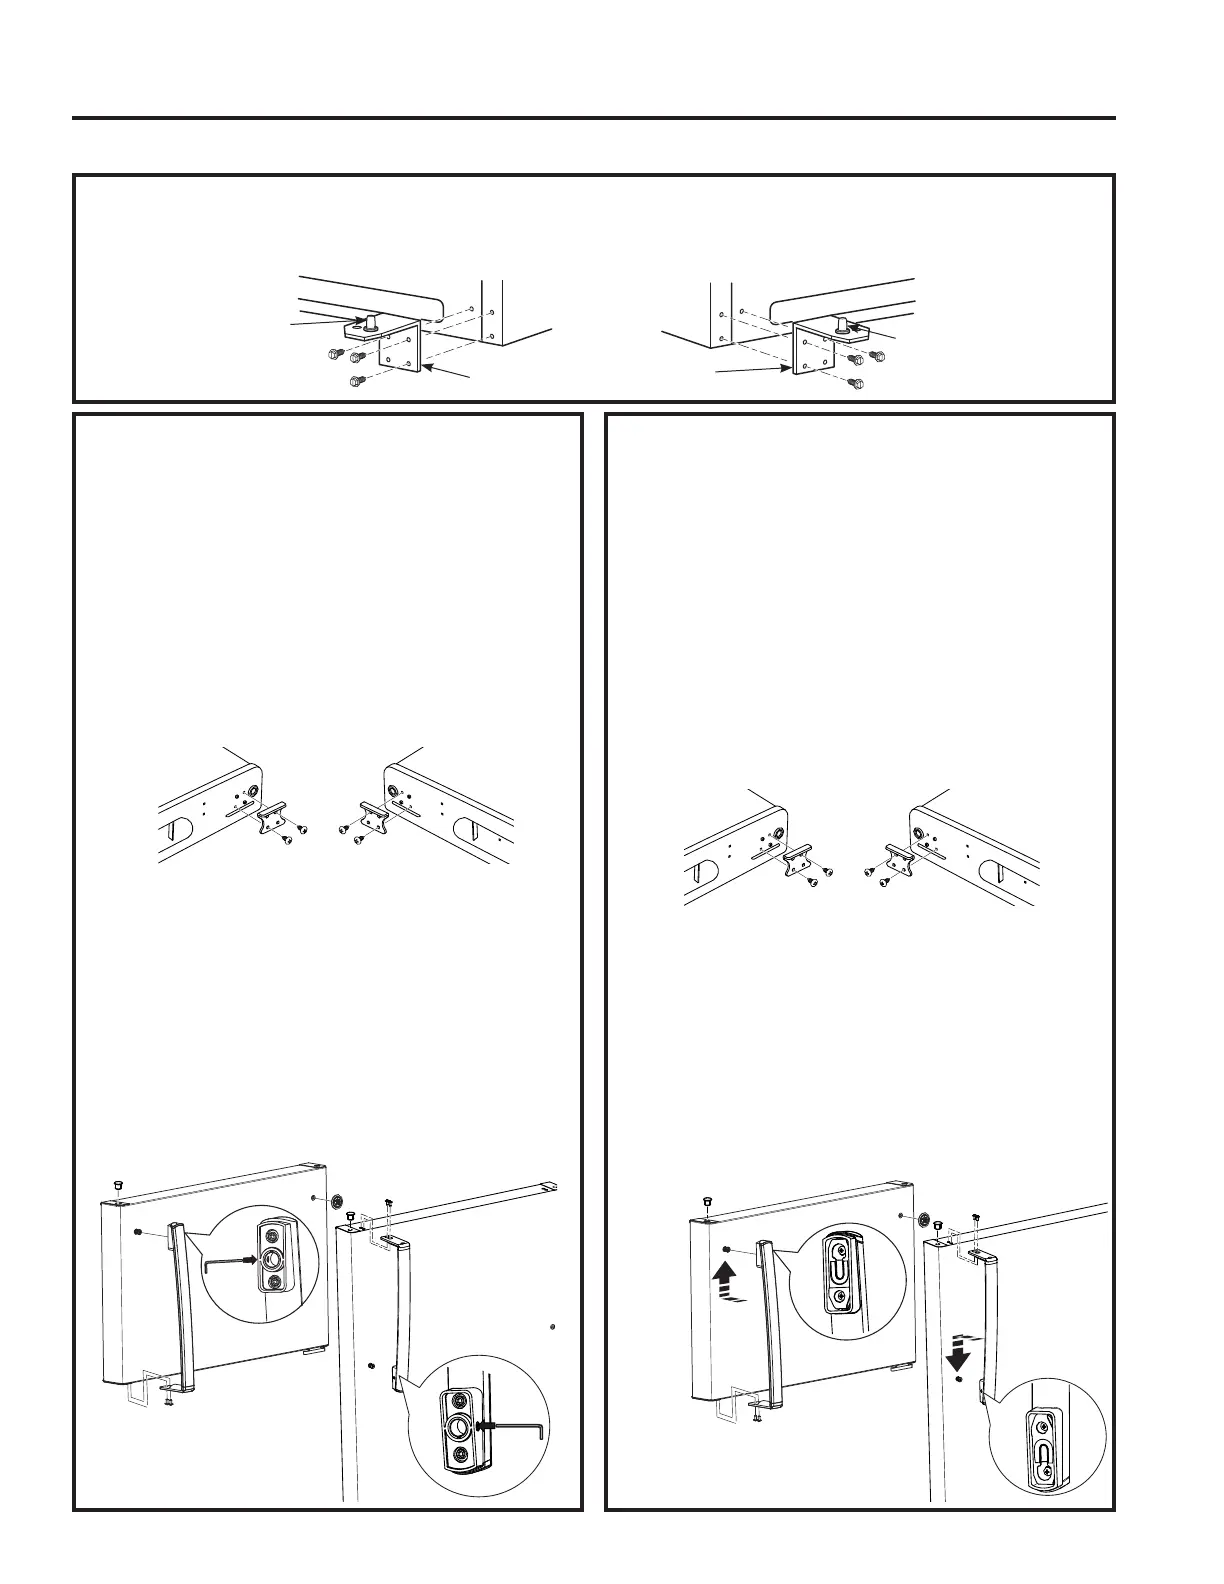
REVERSING THE DOOR HANDLES
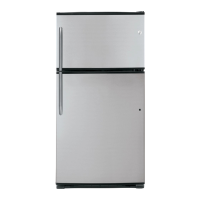
Stainless Steel Handle
1. Remove handle screws from the top and bottom of
fresh food door.
2. /RRVHQVHWVFUHZRQKDQGOHZLWKWKHSURYLGHG´
wrench.
3. Remove door handle.
4. Change places between the handle fastener and
plug button on door front.
5. Move the large and small hole covers on top and
front of the door to fill the now vacant holes.
6. 2QERWKWKHUHIULJHUDWRUDQGIUHH]HUGRRUVUHPRYH
the screws from the door stop on one side with a
3KLOOLSVVFUHZGULYHU,QVWDOOWKHGRRUVWRSRQWRWKH
other side of the door.
7. Attach handle to fresh food door with screws at
WRSRIKDQGOH8VH´DOOHQZUHQFKWRWLJKWHQVHW
screw at bottom of handle.
8. $WWDFKKDQGOHWRIUHH]HUGRRUZLWKVFUHZVDW
ERWWRPRIKDQGOH8VHWKHSURYLGHG´DOOHQZUHQFK
to tighten set screw at top of handle.
9. $WWDFKEDGJHRQIUHH]HUGRRURSSRVLWHWKHKDQGOH
REVERSING THE DOOR HANDLES
Plastic Handle Assembly
1. Remove handle screws from the top of fresh food
door. Remove handle screws from the bottom of
IUHH]HUGRRU
2. Remove door handle on fresh food door by sliding
the handle up off of the fastener. Remove door
KDQGOHRQIUHH]HUGRRUE\VOLGLQJWKHKDQGOHGRZQ
off of the fastener.
3. Change places between the handle fastener and
plug button on door front.
4. Move the large and small hole covers on top and
front of the door to fill the now vacant holes.
5. 2QERWKWKHUHIULJHUDWRUDQGIUHH]HUGRRUVUHPRYH
the screws from the door stop on one side with a
3KLOOLSVVFUHZGULYHU,QVWDOOWKHGRRUVWRSRQWRWKH
other side of the door.
6. Attach handle to fresh food door by sliding handle
down onto fastener and with screws at top of
handle.
7. $WWDFKKDQGOHWRIUHH]HUGRRUE\VOLGLQJKDQGOHXS
onto fastener and with screws at bottom of handle.
8. $WWDFKEDGJHRQIUHH]HUGRRURSSRVLWHWKHKDQGOH
Bottom Hinge
Hinge Pin
Bottom Hinge
Hinge Pin