49-60748-3
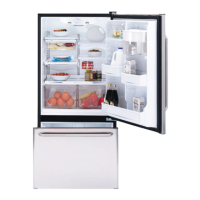
REINSTALLING THE
REFRIGERATOR DOORS
Reverse steps 1 through 4 to reinstall refrigerator
doors, follow details below for critical alignments.
A
Reinstall center hinge
first and torque the
screws to 65 in-lbs. With
WKH/+GRRUDWº to the
front of the case, lower the
refrigerator door onto the
center hinge. Ensure that
the door and hinge align correctly.
B
Rotate doors closed and make sure moveable
center sealing portion of the door aligns with the
VWULNHU,IWKHGRRUZLOOQRWVHOIFORVHDIWHU
reinstalling, remove door, turn door upside down,
FKHFNDOLJQPHQWPDUNDQGDUURZWKHUHLVDQ
DOLJQPHQWPDUNRQWKHGRRUFORVXUHPHFKDQLVP,W
corresponds to an alignment arrow on the plastic
ring. Rotate door closure mechanism to align mark
DQGDUURZUHLQVWDOOGRRU
Securely tape the door shut with masking tape or
have a second person support the door. Reinstall
the top hinge and torque the screws to 65 in-lbs.
C
Be sure to reinstall the ground wire and strain
relief to the top hinge.
D
Reinstall hinge cover. NOTE: Ensure wires are not
pinched or under screw bosses before tightening
screws.
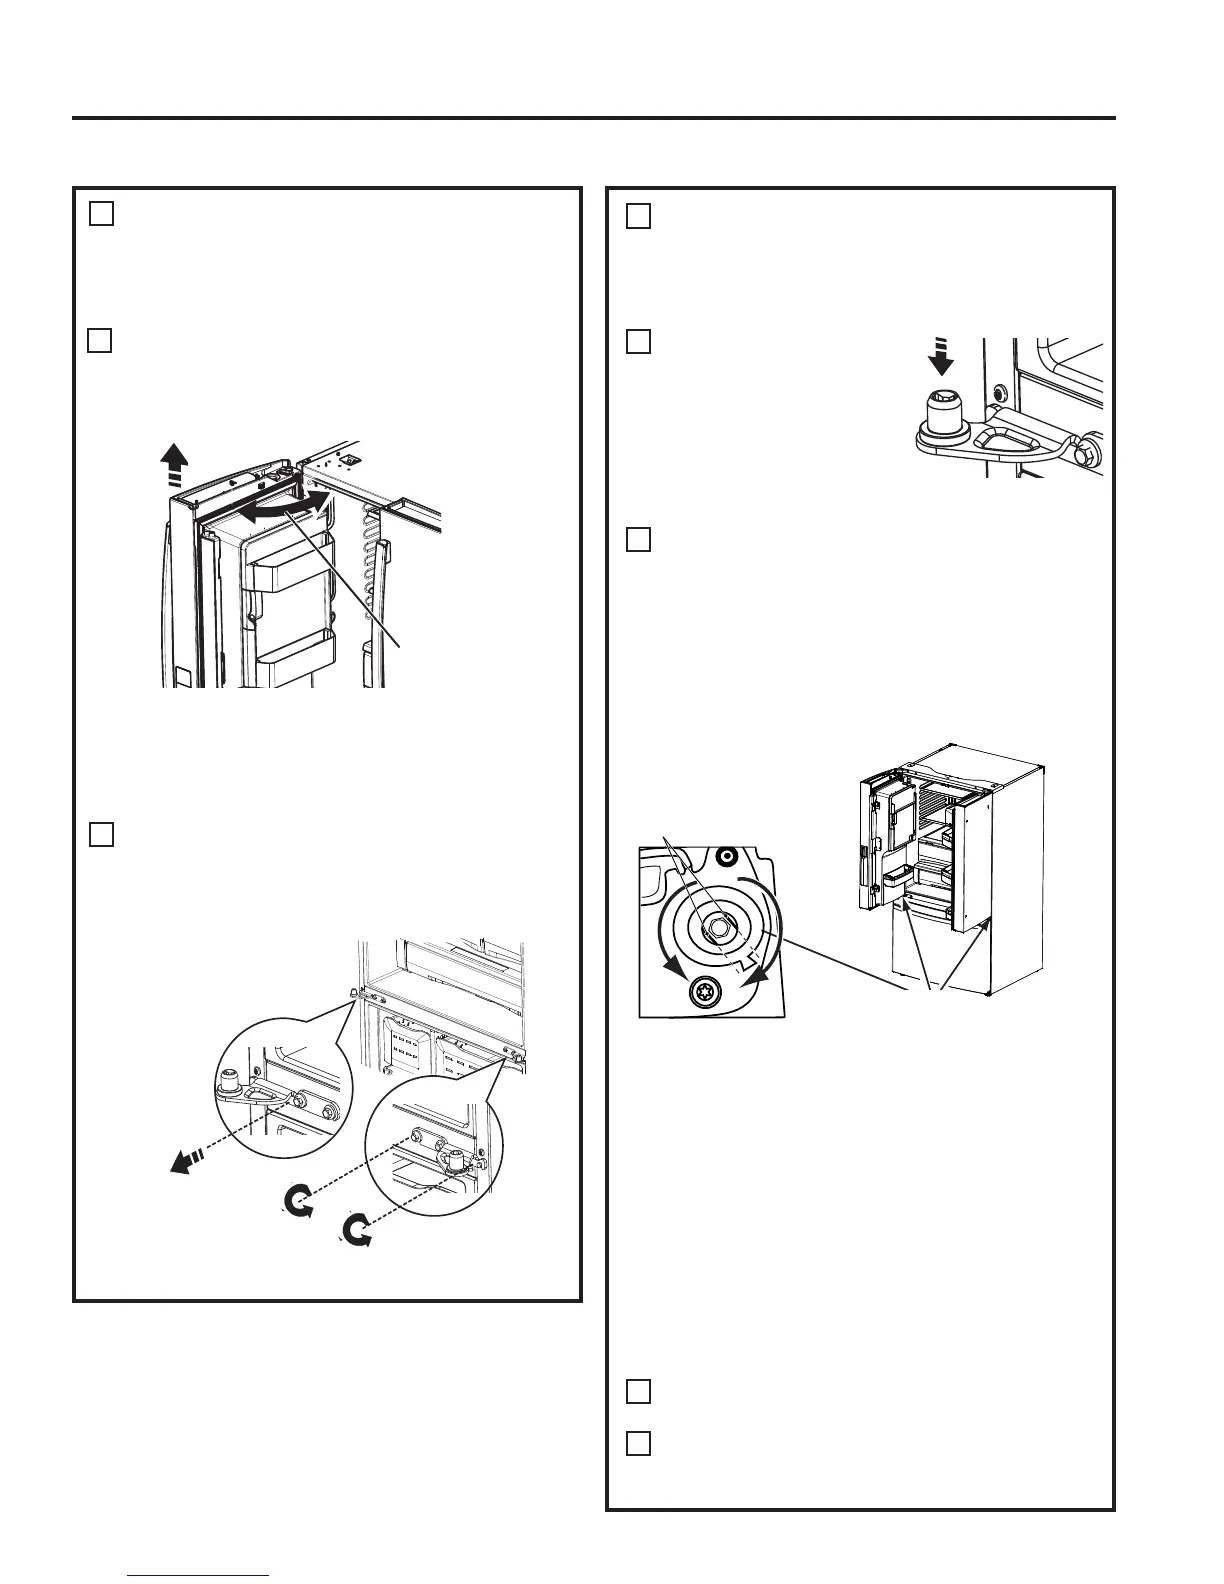
3
REMOVE THE REFRIGERATOR
DOORS (cont)
Note: For proper installation later, please follow
the next step carefully.
F
Remove the tape and keeping the door as
VWUDLJKWDVSRVVLEOHRSHQWKHGRRUWRº then lift
straight up to remove it.
REMOVE OPPOSITE DOOR
)ROORZWKHVDPHSURFHGXUHRQWKHRSSRVLWHGRRU
There are no wires or water lines on the opposite
side.
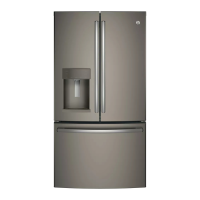
4
REMOVE CENTER HINGE (if necessary)
5HPRYHWKHƎVFUHZVVHFXULQJWKHFHQWHUKLQJH
to the cabinet.
8VH7GULYHUWRUHPRYHRXWERDUGVFUHZ
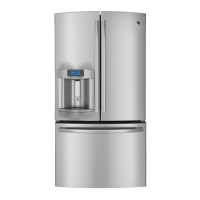
5
Remove
center screw
/LIWXSRII
center hinge
2SHQ'RRUWR
Align flats with tab.
8QGHUVLGHRI
)UHVK)RRG'RRU
If door cannot be installed at 90° follow steps below:
,QVWDOOGRRUDWWRFDVHIURQW
,IVSDFHOLPLWVRSHQLQJGRRUWROHVVWKDQWKHQ
D5HPRYHGRRUFDUHIXOO\WXUQGRRUXSVLGHGRZQ
E&KHFNDOLJQPHQWRIGRRUFORVXUHPHFKDQLVPVKDIW
on underside of door. The flats on the shaft should
correspond to alignment tab on plastic ring or
mark on bottom end cap.
F,IVKDIWLVQRWDOLJQHGWRWDEPDUNXVLQJ´
Allen wrench, rotate door closure mechanism
shaft counterclockwise for right door and clock-
ZLVHIRUOHIWGRRU7KHQDOLJQIODWZLWKWDEPDUN
G,QVWDOOWKHGRRUDW
/RRVHQRXWHU
screws
INSTALLATION INSTRUCTIONS
Installation Instructions
INSTALLING THE REFRIGERATOR (Cont.)