GE MEDICAL SYSTEMS
D
IRECTION FK091075, REVISION 04 VIVID 3N PRO/EXPERT SERVICE MANUAL
Chapter 8 Replacement Procedures 8-89
8-5-14 Hard Disk Replacement Procedure
8-5-14-1 Tools
Use the appropriate flat and Phillips-type screw drivers and a wire cutter as indicated in the Hard Disk
replacement procedure.
8-5-14-2 Preparation
Shut down the Vivid 3N Pro/Expert ultrasound unit, as described in Chapter 3 - Installation.
8-5-14-3 Hard Disk Removal Procedure
1) Remove the left cover, as described 8-2-2-3 "Side Covers Removal Procedure" on page 8-4.
2.) Remove the BEP side cover as described in the appropriate procedure:
8-5-2-3 "BEP1 - Left and Right Side Cover Removal Procedure" on page 8-62, or 8-5-3-3 "BEP2 -
Side Cover Removal Procedure" on page 8-64.
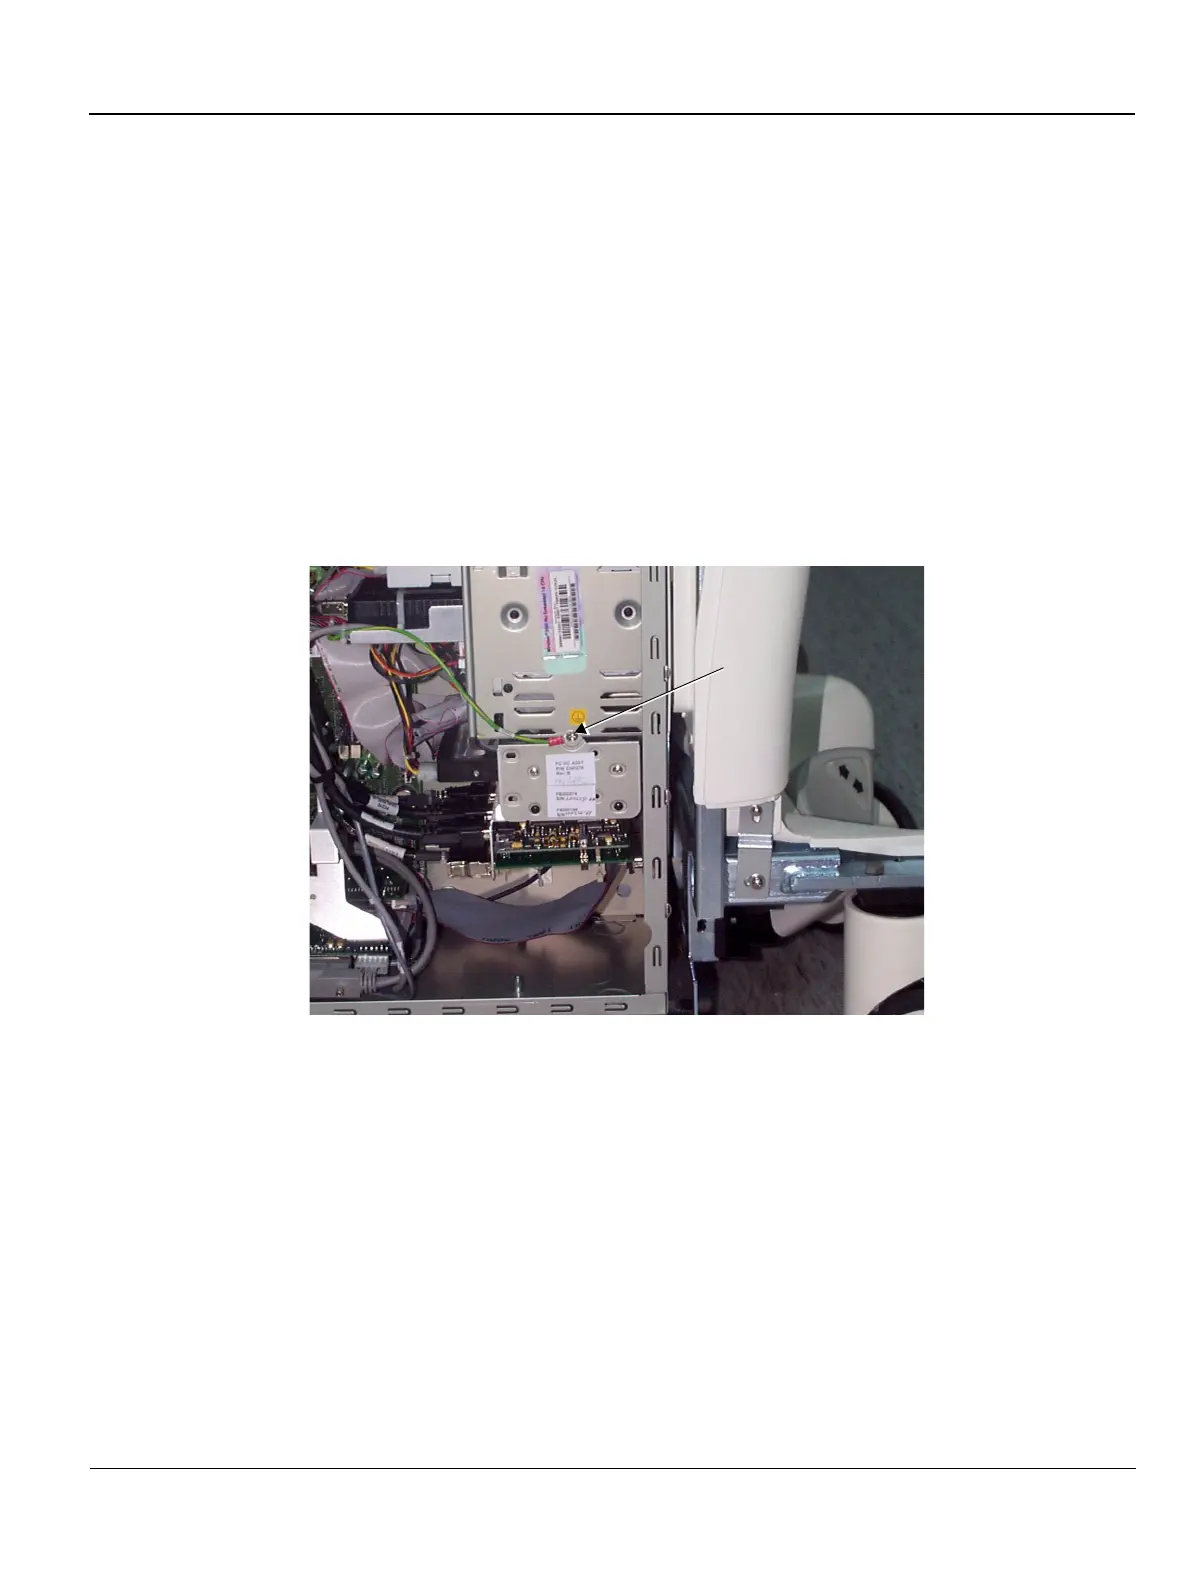
3.) Remove the screw that holds the hard disk module in position (as shown in Figure 8-74 below).
4) Carefully slide the module out from the unit.
5) Remove each of the four screws (two on each side), as shown in Figure 8-77 "Hard Disk Removal
2" on page 8-90.
Figure 8-76 Hard Disk Removal 1

 Loading...