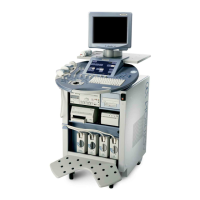
GE MEDICAL SYSTEMS - KRETZTECHNIK RAFT VOLUSON® 730PRO / 730PROV (BT´04)
D
IRECTION KTI105947, REVISION 2 SERVICE MANUAL
3-20 Section 3-6 - Completing the Installation
Section 3-6
Completing the Installation
3-6-1 Power On / Boot Up
3-6-1-1 Scanner Power On
1.) Connect the Power Cable to the back of the system.
2.) Connect the Main Power Cable to a hospital grade power receptacle with the proper rated voltage.
Never use an adapter that would defeat the safety ground.
3.) CPN6 only - Switch ON the Circuit Breaker (F1) and the Power Switch of peripherals (F2).
4.) CPN80 only - Switch ON the Circuit Breaker at the rear of the system.
3-6-1-2 Back-end Processor Boot Up
Press the ON/OFF Standby switch left below the Control Panel.
When the ON/OFF Standby switch left below the Control Panel is pressed once, the System (including
the Back-end Processor) starts and the software code is distributed to initiate the scanner.
Boot up time is about 2 minutes.
NOTE: The mains outlet of the system for peripheral auxiliary equipment are commonly switched with
the Standby switch. The switch of printers has to be in ON position before starting the system.
However, be aware some auxiliary equipment may switch itself to standby mode when
Standby power is on (e.g., Color video printer) and must therefore be switched on separately.
(CPN6 only - Auxiliary equipment need not to be switched ON/OFF separately if the F2 power
switch on the rear of the system is always ON.)
Figure 3-22 Circuit Breaker at rear of system with CPN80 installed
NOTICE
When AC power is applied to the scanner, the ON/OFF switch on the control panel is illuminated,
indicating that the System (including the Back-end Processor) is in standby mode.
Figure 3-23 ON/OFF Standby Switch
Circuit Breaker
Connector for
Mains Power Cable
ON/OFF Standby Switch

 Loading...