GE VOLUSON
i / VOLUSON
e
D
IRECTION KTI106052, REVISION 10 SERVICE MANUAL
4-18 Section 4-4 - Functional Checks
For further details refer to the Voluson i / Voluson e Basic User Manual, Chapter “Volume Mode”
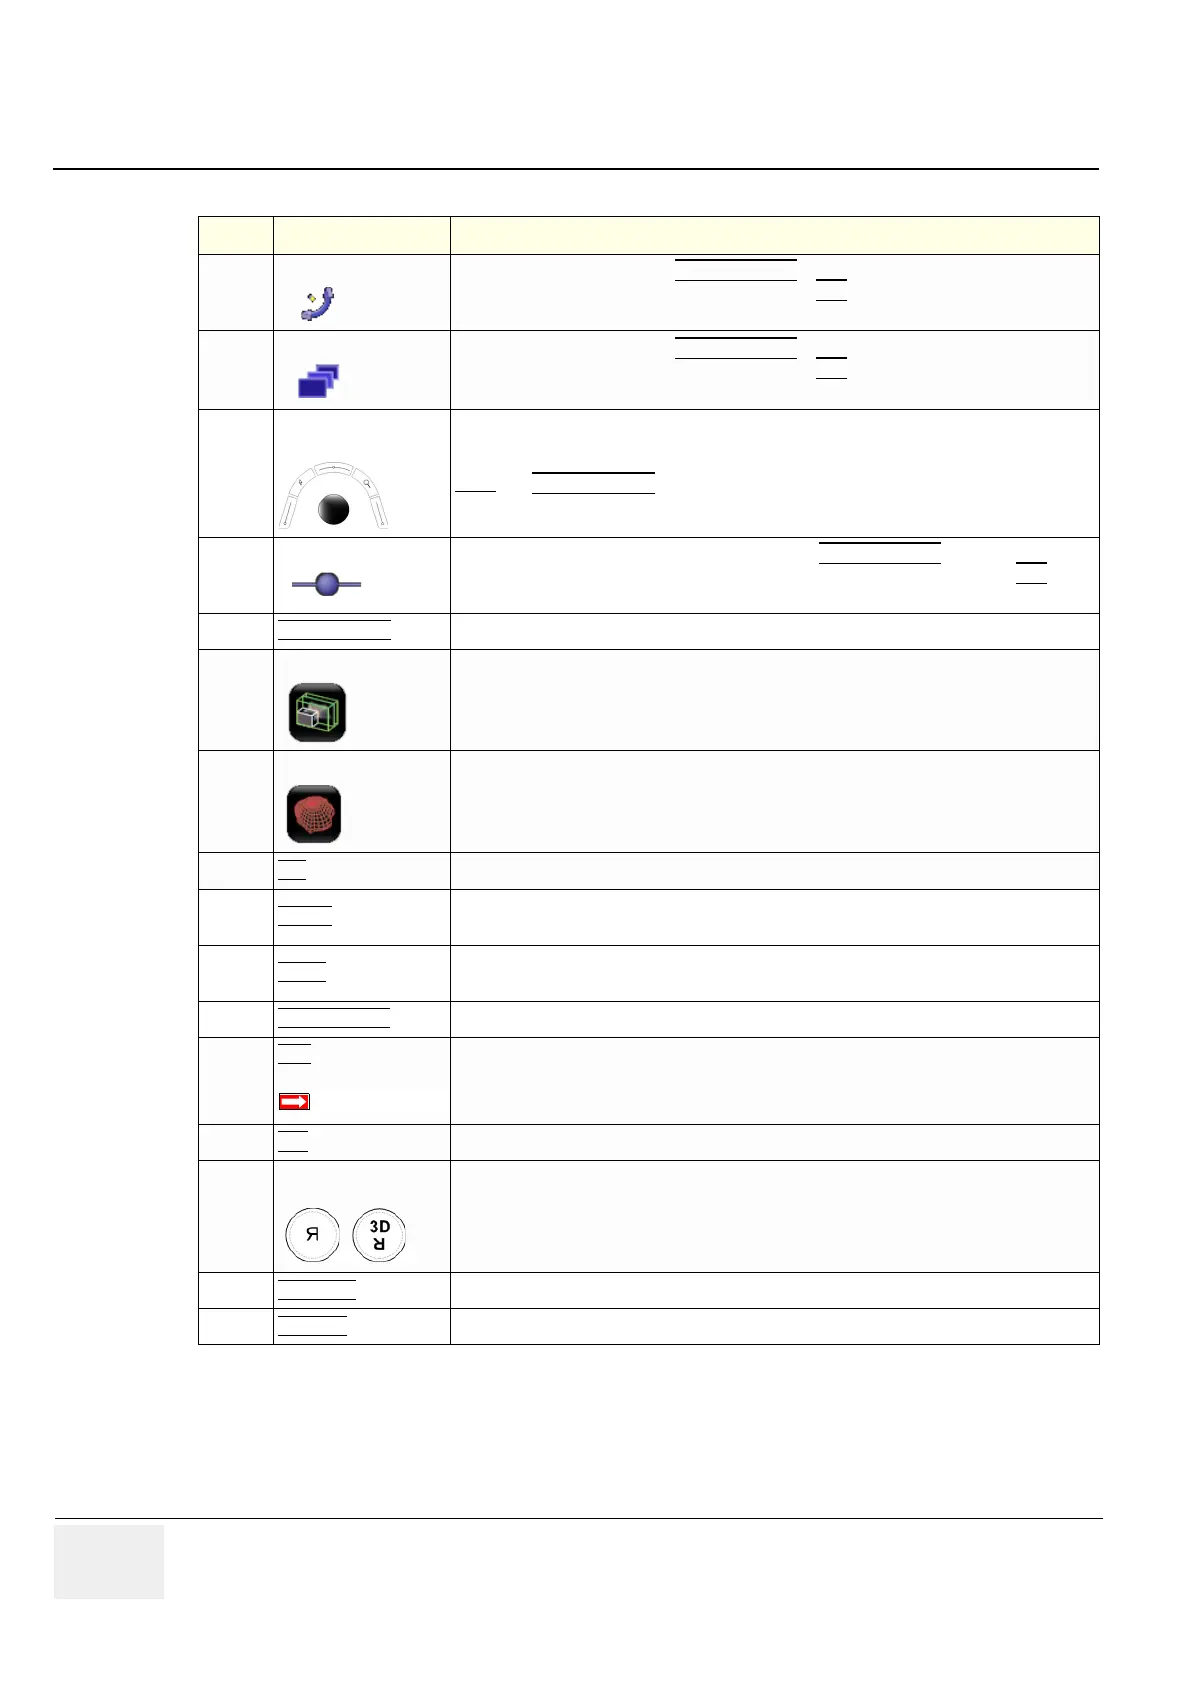
5
Rotation about Z-axis
If not currently active, press the MENU POINTER [Cursor] key near the trackball. Now move
the cursor to this icon on the screen and then press SET
(right or left trackball key). Use the
trackball to rotate the reference image about the Z-axis.
6
Parallel Shift (Z-axis)
If not currently active, press the MENU POINTER [Cursor] key near the trackball. Now move
the cursor to this icon on the screen and then press SET
(right or left trackball key). Use the
trackball to shift the reference image along the Z-axis.
7
Movement along X- and
Y-axis
Use the trackball to move the reference image along the X- and Y-axis.
Note:
The MENU POINTER [Cursor] key nearby the trackball must be inactive.
8
Curved Render Start If not currently active (key is illuminated), press the MENU POINTER
[Cursor] key nearby
the trackball. Move the cursor to the “globe” on the render start line, then press SET
(right
or left trackball key). Move the trackball to adjust the bending (curve) of the render start line.
9
RESET CURVE
Resets the curvature of the render start line to the default position.
10
Niche Mode
Parts of the orthogonal sections A, B and C are complied to a 3D section aspect.
The aspect shows quasi a spatial cut into the reference image.
11
VOCAL*
VOCAL is the combination of 3D ultrasound tissue (presented as voxels) and the geometric
information of surfaces in a 3D data set. The main contour axis should lie in the center of the
3D lesion. (The 3D object should be centered with respect to the rotation axis.)
12
MIX Press the Soft-menu buttons to adjust the mix ratio between two calculated modes.
13
TRESH
Press the Soft-menu buttons to adjust the setting.
All echoes (or color values) below the level will be disregarded for calculation of the surface.
14
ZOOM
Press the Soft-menu buttons to vary image magnification of the 3D image as well as the
sectional planes.
15
OH GRAPHICS
Display of orientation help image figure.
16
VCI*
BT-Version:
Volume Contrast Imaging - improves the contrast resolution and the signal / noise ratio and
therefore facilitates finding of diffuse lesions in organs
This feature is only available at Voluson i systems with BT´07 software and higher.
17
INIT Resets the rotations and translations of a volume section to the initial (start) position.
18
3D Image Orientation
(left/right, up/down)
To change the image orientation of the rendered 3D image.
19
MAGI CUT
Ability to electronically manipulate the images and cut away “3D artifacts”.
20
EDIT ROI
Readjustment of the volume render box (Region Of Interest = ROI).
Table 4-8 Functions after the 3D Acquisition
Step Task Expected Results
 Loading...


