4. cautions and advices
The crossed-out dustbin symbol indicates
are harmful to health and the environment. Please
help to protect the environment from health risks. If
the toy is out of use, please use common household
tool to break the product for built-in rechargeable
disposal laws.
WEEE
When this appliance is out of use, please
separately. Bring electrical appliances
Other components can be disposed of in
4
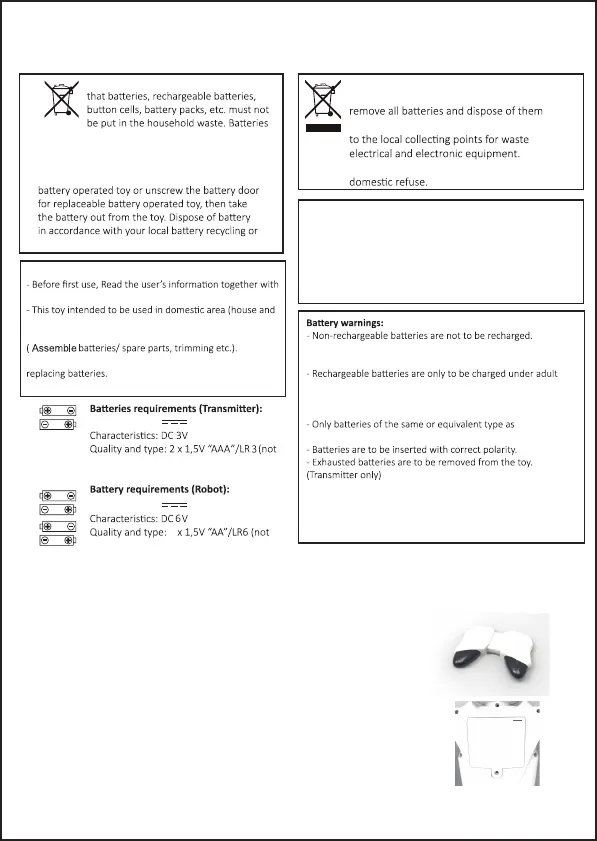
Power supply:
included)
Power supply:
included)
Care and Maintenance:
- Always remove baeries from the toy when it is not
being used for a long period of me.
- Keep the toy away from direct heat.
- Do not submerge the toy into water that can damage
the
electronic assemblies.
supervision.
recommended are to be used.
- The supply terminals are not to be short-circuited.
- Do not mix old and new baeries.
- Different types of baeries or new and used baeries are
not to be mixed.
- Rechargeable baeries are to be removed before being
charged.
- Do not mix alkaline, standard (carbon-zinc) or rechargeable
(nickel-cadmium) baeries.
Special notes to adults:
your child.
garden) only.
- Assembly should be performed under adult supervision
- Parental guidance is recommended when installing or
- Do not change or modify anything on the toy.
5. batteries installation
in the transmitter
in the robot
-2-
1. Use a philips screwdriver to open the baery compartment lid
of the robot.
2. Put 4 x 1.5V "AA" baeries inside the baery box.
3. Put the baery compartment lid back and use a screwdriver to
ghten the screw.
1. Use a philips screwdriver to open the baery compartment lid
of controller.
2. Put 2 x 1.5V "AAA" baeries inside the baery box.
3. Put the baery compartment lid back and use a screwdriver to
ghten the screw.