www.geeetech.com
Page 7
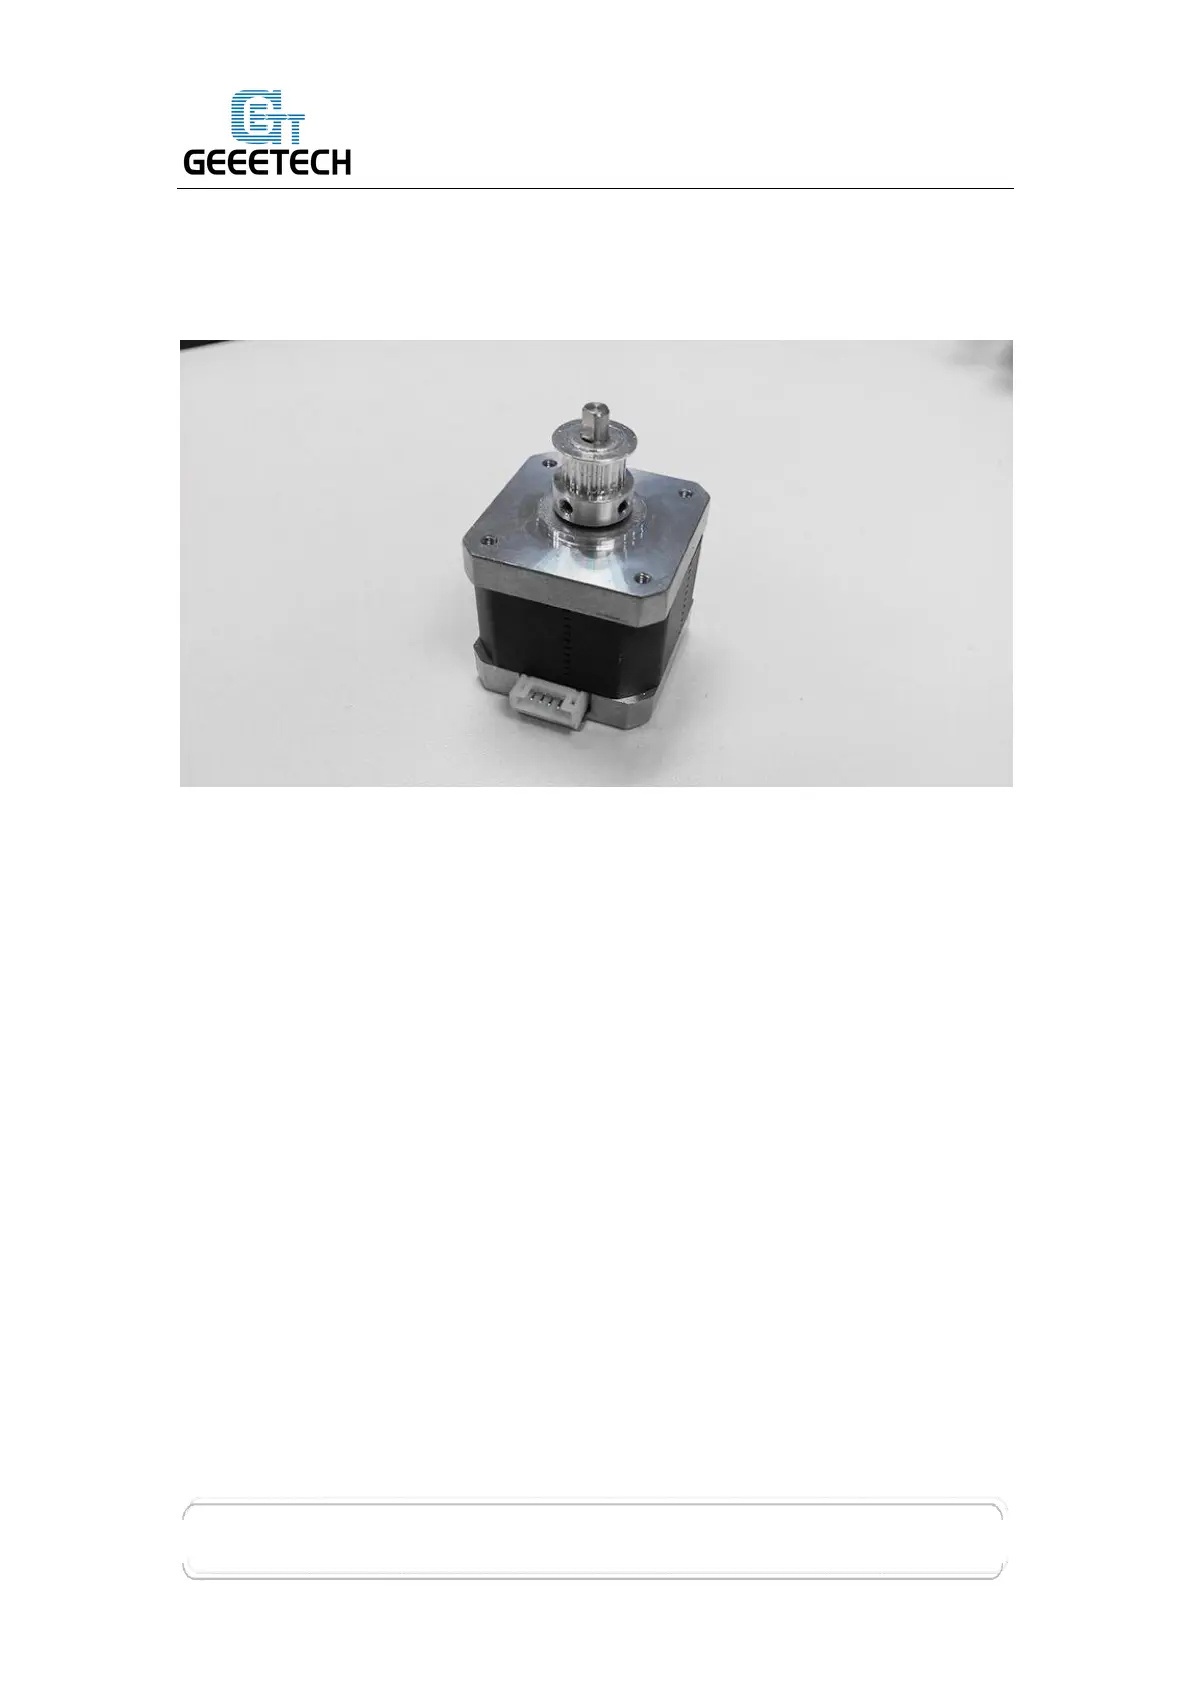
Step 2. Mount the pulley on to the motor shaft. One of the screws should be
screwed on the flat section of the shaft – ensure to screw them tightly, be
careful not to damage the screws.
Note: Pulley looks different here in the picture, but it will not affect the assembly and
use.
Step 3. Mount the 3 motors to the assembled motor holders. Fix them with the
M3x12 screws (#20) and M3 washers (#5).
* Note: It is better to have the wire connector mounted so then it is facing either left
or right. Do not mount it so the connector is facing up or down as it will
interfere with the base or the table.
 Loading...