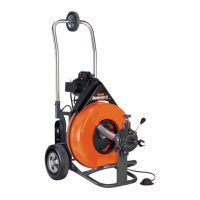
Speedrooter 91™
Cable Applications (Table 1)
Cable Size Pipe Size Typical Applications
3/4"
(Large Drum)
4" to 10" Large Drains, Long
Runs, Roots
5/8"
(Large Drum)
3" to 6" Stacks, Floor Drains,
Roots
1/2"
(Small Drum)
2" to 4" Stacks & Small Drains
(No Roots)
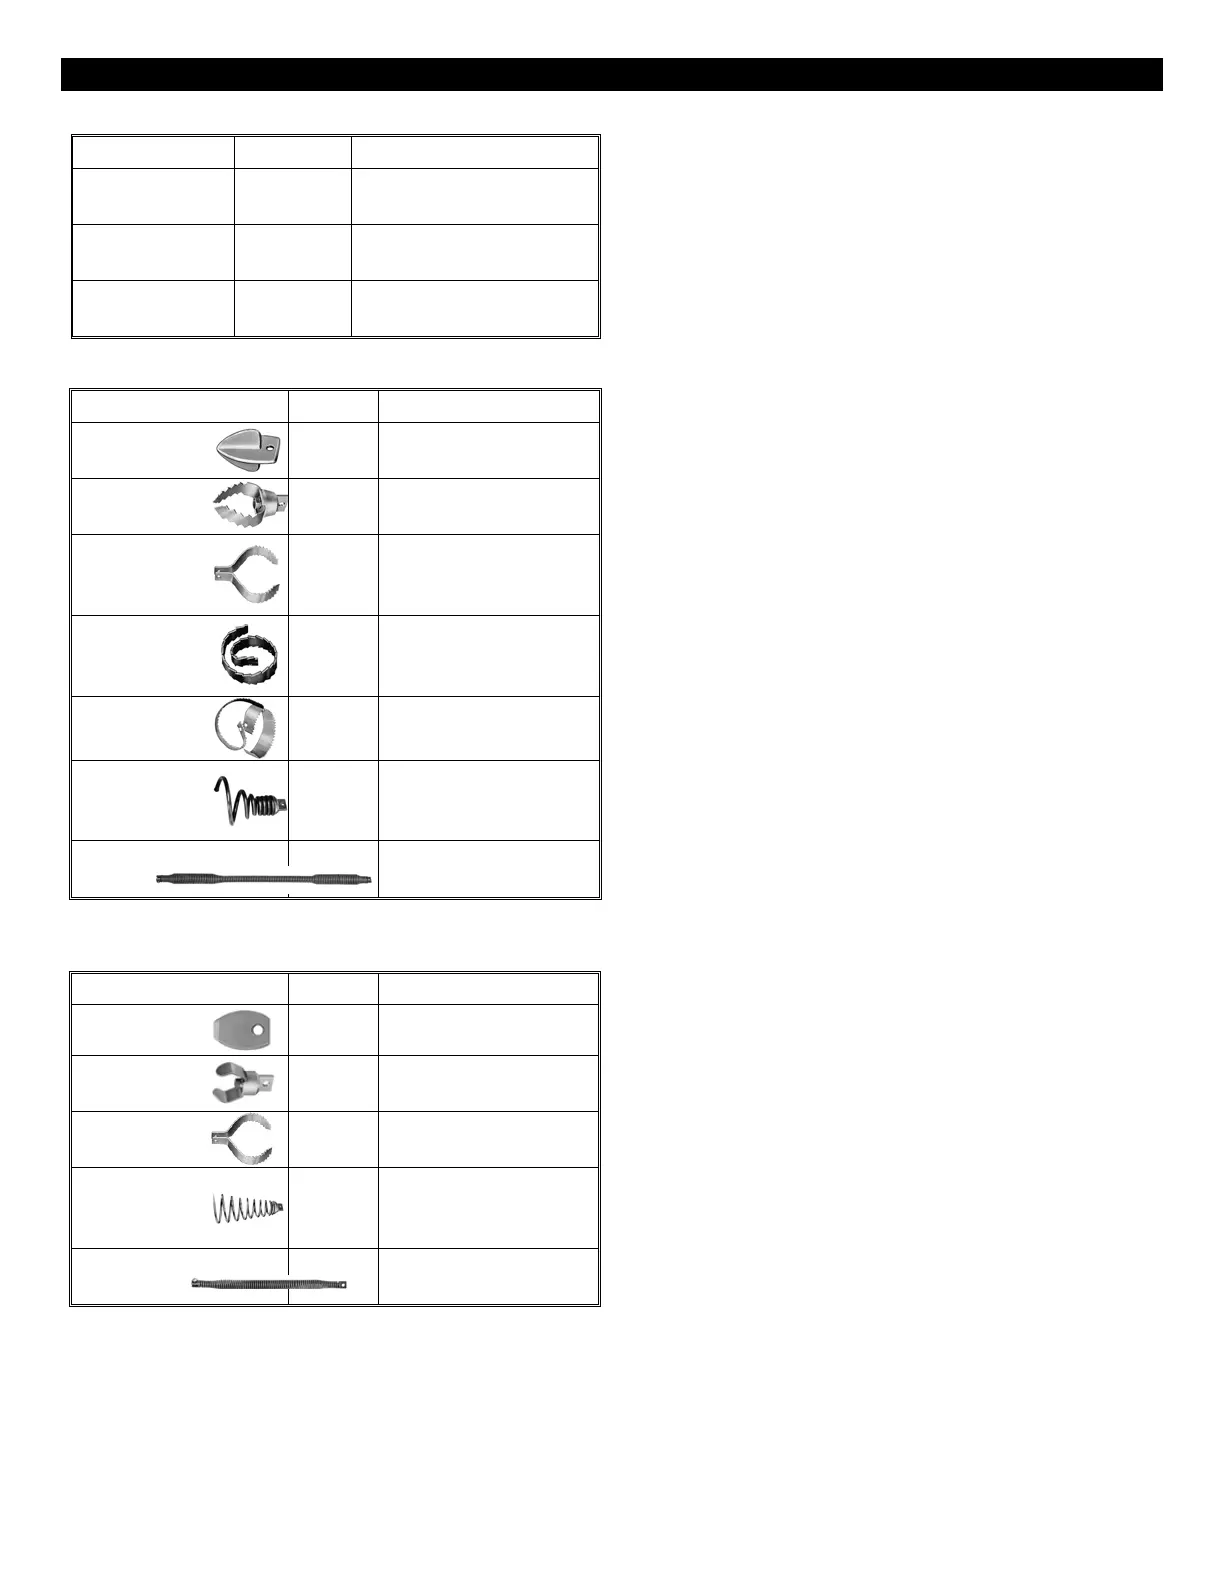
Cutter Applications (Table 2)
Cutter Cat. # Typical Applications
Spear
Head
SHD Starting Drill – gets
water flowing.
2" U-Cutter 2UC For Cutting and
Scraping.
3" & 4"
Side Cutter
Blades
3SCB
&
4SCB
For Cutting –
Scrapes walls of
pipe.
3" Heavy
Duty Saw
Blade
3HDB For Cutting Roots.
4" Rotary
Saw Blade
4RSB For Cutting Roots.
Large
Retrieving
Tool
RTR-2 For removing loose
objects or broken
cables.
33" Flexible
Leader
LE-2 Helps cable get
through tight traps.
Additional cutters for use with 1/2" cable (included
in Combination Cutter Set sold with P-S91-A).
Cutter Cat. # Typical Applications
Arrow Head
AH Starting Drill – Gets
water flowing.
1-1/2”
U-Cutter
1-1/2UC For Cutting and
Scraping.
2” Side
Cutter Blade
2SCB For Cutting – Scrapes
walls of pipe.
Small
Retrieving
Tool
RTR-1 For removing loose
objects or broken
cables.
13" Flexible
Leader
LE-1 Helps cable get
through tight traps.
Note: There are no fixed rules for what cutter to use. If
one tool doesn't take care of a stoppage, simply try
another.
Operating Instructions
Set-up
1. Place machine within approximately two feet of
drain opening. Be sure the Speedrooter Guide
Tube (S91-GT) is in place. If you can't get the
machine this close to the drain opening, run the
cable through the optional Guide Tube
Extension (GTE) or a metal guide tube to
prevent cable whipping. On manual feed
machines, always keep a gloved hand on the
cable.
2. Position the air foot pedal for easy accessibility.
The machine is designed for one person
operation. Be sure you can quickly remove
your foot from the pedal in an emergency.
3. Lock the wheels by lifting the brake handle
located next to the left wheel and pressing it
into the clip.
4. Be sure the motor switch is in the
off
position.
5. Make sure the Power Cable Feed is set to
match the cable size you have selected. If
you’re using 3/4" or 5/8” cables, the feed should
be assembled with the raised side of the lower
two caps outward. If you are using 1/2" cables,
the feed should be assembled with the raised
side of the caps inward.
6. Select the proper cutting tool (See Cutter
Application Chart—Table 2). A good tool to
start with is the Spearhead or 2” U-Cutter. If
you are having difficulty getting around a P-
Trap or close bend, try the flexible leader. After
the line has been opened, follow with larger
blades, which scrape the inside edges of the
pipe, assuring a real cleaning job.
7. Insert the cutter into the female connector at the
end of the cable and tighten the connecting
screw and lock washer
firmly
in place.
Hint: Some users “mix” their cutters on certain jobs.
For instance, they use one 2” Side Cutter
Blade with one 4” Side Cutter Blade. This
combination is especially good when working
through 4” P-Traps.
5
 Loading...