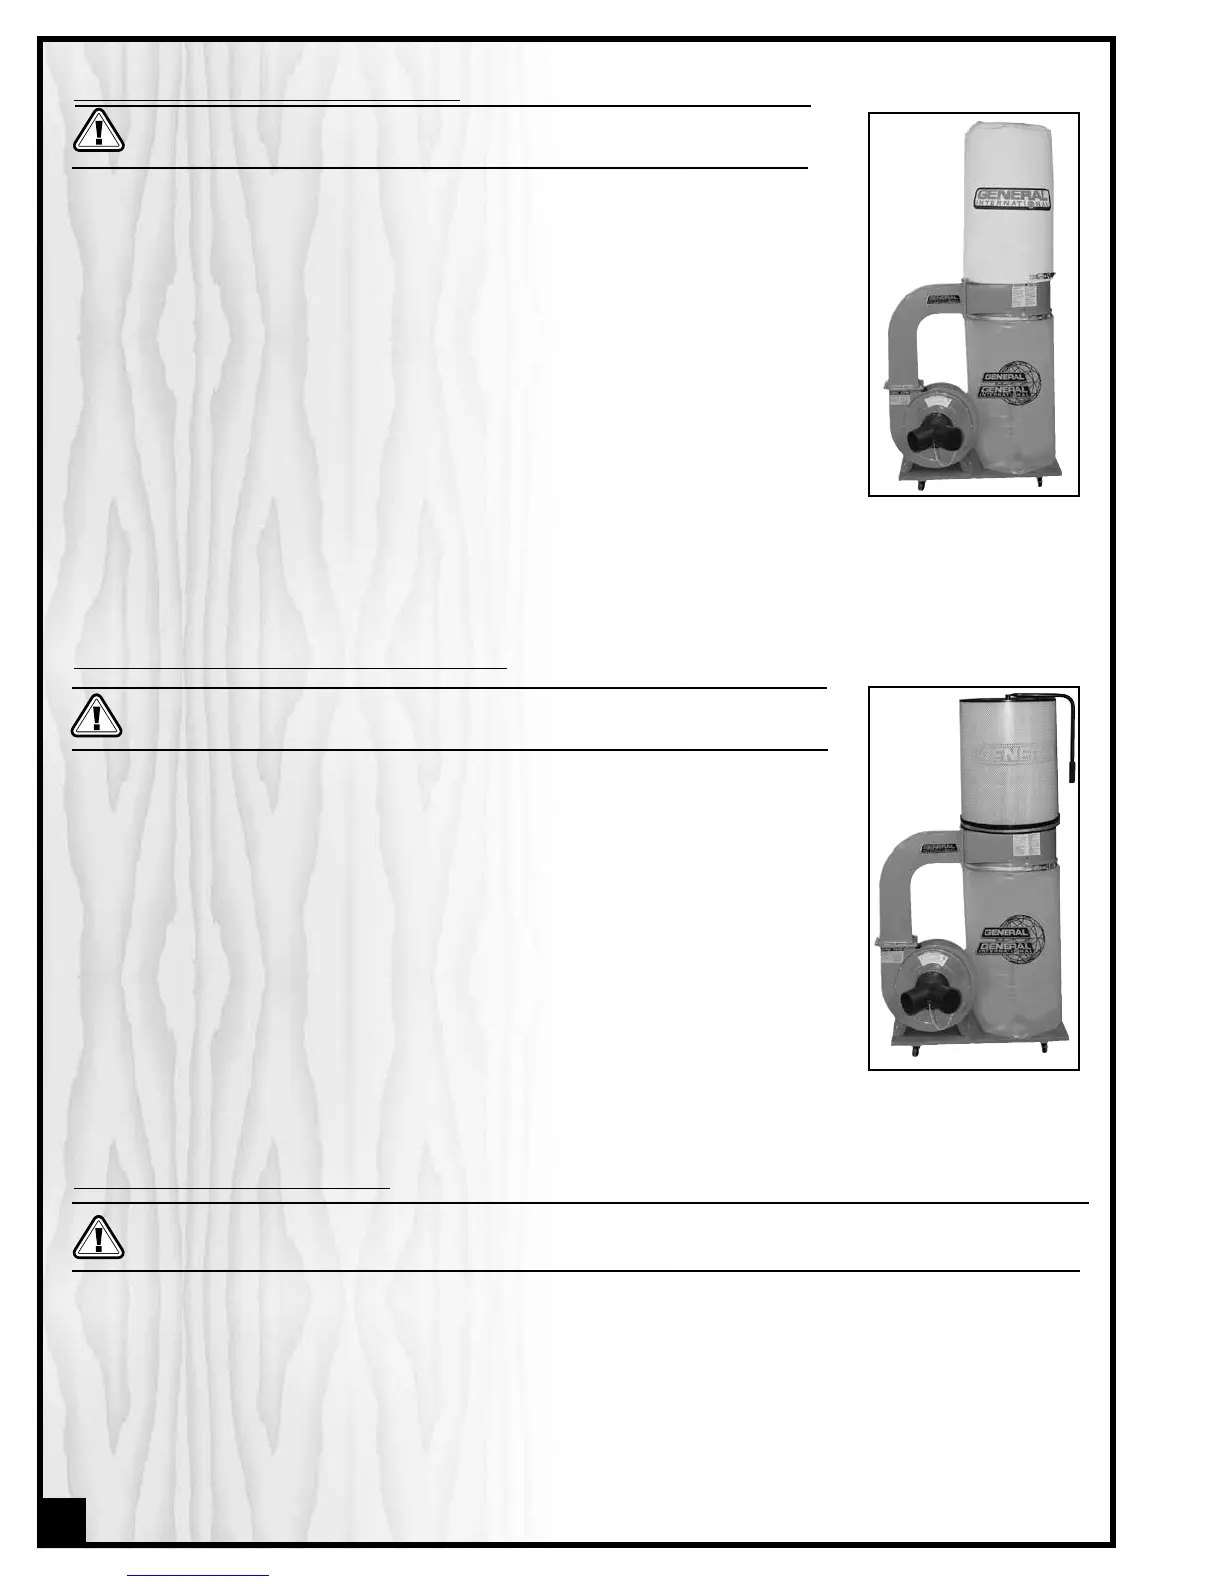
CLEANING OR REPLACING THE FILTER BAGS (10-110 only)
Tip/Hint: To avoid potentially costly down-time, consider keeping a spare filter bag on-hand
and nearby for use if needed.
After a period of time, depending on the frequency of use, the filter bag may become
clogged and affect airflow as well the overall efficiency of the unit. Should you notice
a drop in the efficiency or performance of the unit, it may be a sign that it is time to
clean the filter bag. If so, proceed as follows:
1. Turn off and unplug the machine.
2. Unclip the belt clamp and remove the bag from the machine.
3. Clean the dust from inside the filter bag using a vacuum.
4. For extreme cases, after the initial cleaning with a vacuum, turn filter bag inside out
and vacuum a second time, laying the bag on a flat hard surface (such as a table
or workbench) and slowly passing the vacuum nozzle over the entire surface area.
5. Reinstall the bag and reattach the clamp.
Note: Filter bags can also be machine washed (gentle cycle only) in cold or warm water.
Do not use hot water or detergent. Make sure the bag has completely dried before reinstalling on the machine. Make sure
to remove the belt clamp from the bag before washing!
TURN THE SWITCH TO THE “OFF” POSITION AND UNPLUG THE UNIT FROM THE POWER
SOURCE BEFORE CLEANING OR REPLACING FILTER BAGS OR BEFORE PERFORMING ANY
MAINTENANCE.
CLEANING OR REPLACING THE CANISTER FILTER (10-110CF only)
After a period of time depending on the frequency of use, the canister filter may
become clogged and affect airflow as well the overall efficiency of the unit. Should
you notice a drop in the efficiency or performance of the unit, it may be a sign that it
is time to clean the filters. If so, proceed as follows:
1. Turn off and unplug the machine.
2. For basic cleaning, simply rotate the handle on the canister several rotations. The
internal flap will rub against the corrugated inner filter and shake free any built-
up dust from inside the filter.
3. For a more thorough cleaning, after rotating the handle, unclip the belt clamps
and remove the canister from the machine and place it on the ground upside
down.
4. Vacuum the inside of the canister to remove any remaining dust from inside.
5. Re-install the canister and reattach the clamp.
TURN THE SWITCH TO THE “OFF” POSITION AND UNPLUG THE UNIT FROM THE POWER
SOURCE BEFORE CLEANING OR REPLACING CANISTER FILTER OR BEFORE PERFORMING
ANY MAINTENANCE.
CLEANING OR REPLACING THE COLLECTOR BAG
Note: Depending on your needs, shop situation and local regulations collections bags can be emptied and
reused or disposed (with their contents) and replaced with a new bag.
1. Turn off and unplug the machine.
2. Unclip the bag clamp and remove the bag from the machine.
3. Empty the bag (or simply dispose of the bag and its contents and replace with a new bag) disposing of the con-
tents in a safe and responsible manner that complies with all local codes and regulations regarding waste
disposal.
4. Re-install the bag and reattach the clamp.
TURN THE SWITCH TO THE “OFF” POSITION AND UNPLUG THE UNIT FROM THE POWER SOURCE BEFORE CLEANING OR
REPLACING COLLECTOR BAG OR BEFORE PERFORMING ANY MAINTENANCE.
12
 Loading...