11
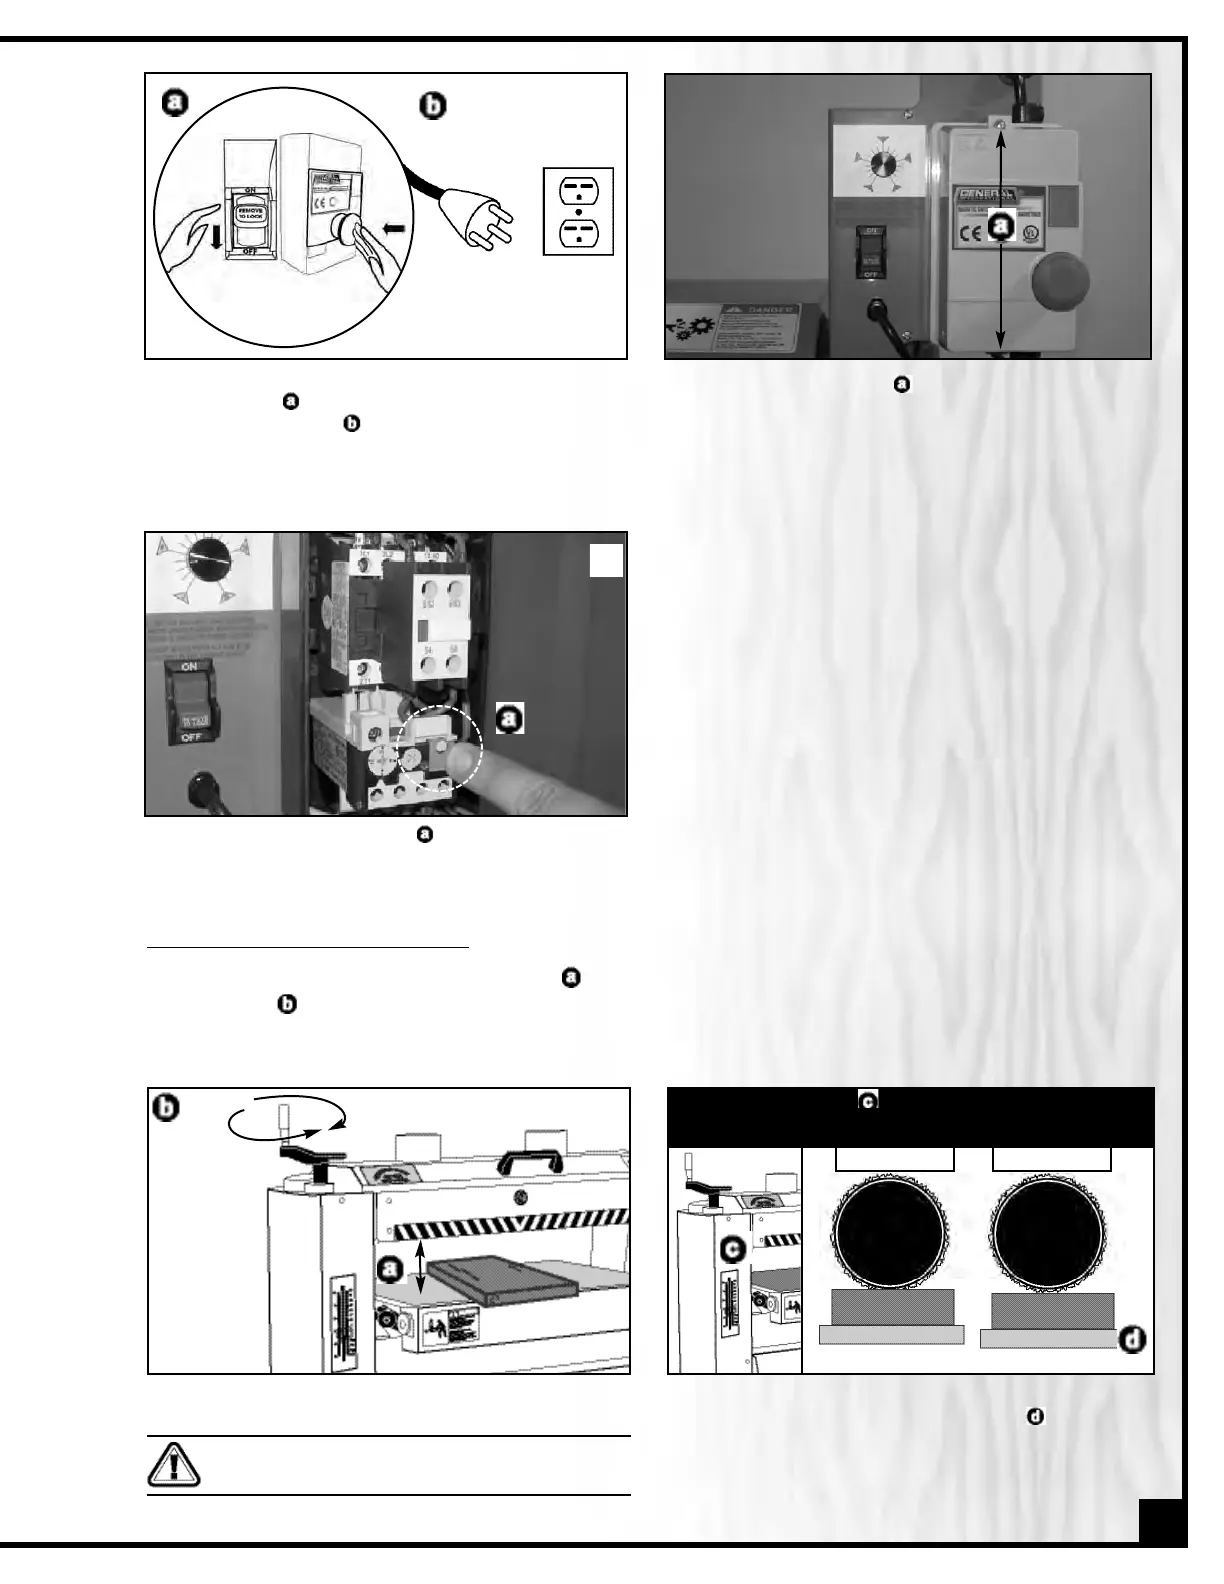
1. Set both of the power switches on the sander to the
off position
,,
and disconnect the machine from
the power source
,.
Note: If the sander is permanently connected to a cir-
cuit (hard-wired), set the wall panel circuit breaker or
main circuit interrupter to the off position.
2. Unscrew the 2 screws
,,
and remove the control
box front cover
.
SWITCHES OFF
4. Reinstall and rescrew the control box cover.
5. Reconnect the sander to the power source.
6. You can now restart the drum motor by pushing on
the green button ON.
3. Press the blue reset button
,.
RAISING/LOWERING THE CONVEYOR TABLE
The conveyor table can be raised or lowered
,
, as needed to suit the thickness of the workpiece, by rotating the
crank handle
,
. (Fig. 3)
Note: The maximum workpiece thickness capacity for this machine is 5”
.
1. Put the workpiece on the conveyor belt.
2. Set the height of the conveyor table so that the work-
piece barely touches the front drum
,.
Note: To avoid overworking the motor, creating a potential
circuit overload, or damaging the sanding drums, do not
force the workpiece against or into the drums.
DOWN
UP
RAISING/LOWERING THE CONVEYOR TABLE
Note: The depth gauge,
,
on the front of the machine can be
used as a reference but it is not intended for high precision
measurements.
Fig. 3
WORK PIECE
DRUM
DO NOT
CONVEYOR BELT
DO
* Effect exaggerated for clarity
Never attempt to sand workpieces that are greater
than 5”.
 Loading...